
It is one of my favorite sandwiches!!!

It is one of my favorite sandwiches!!!
One of the most beautiful festivals in DC is the Cherry Blossom Festival. It only lasts for a couple of weeks a year usually from mid March to the beginning of April. After a long, cold winter, this event signals the beginning of the warm weather. When the blossoms are fully bloomed, the entire area gets covered in a white coat of blossoms that give it a spectacular view.


I can call DC a second home. We come here often and enjoy the many exciting sights and attractions that DC offers.
There is nothing better than spending a day on the mall, enjoying the monuments and museums, finishing the day off with a nice meal in Georgetown.
It is definitely the capital of outdoor activities from walking to running to biking.
Enjoy a couple of pictures that I took during my stay in DC.


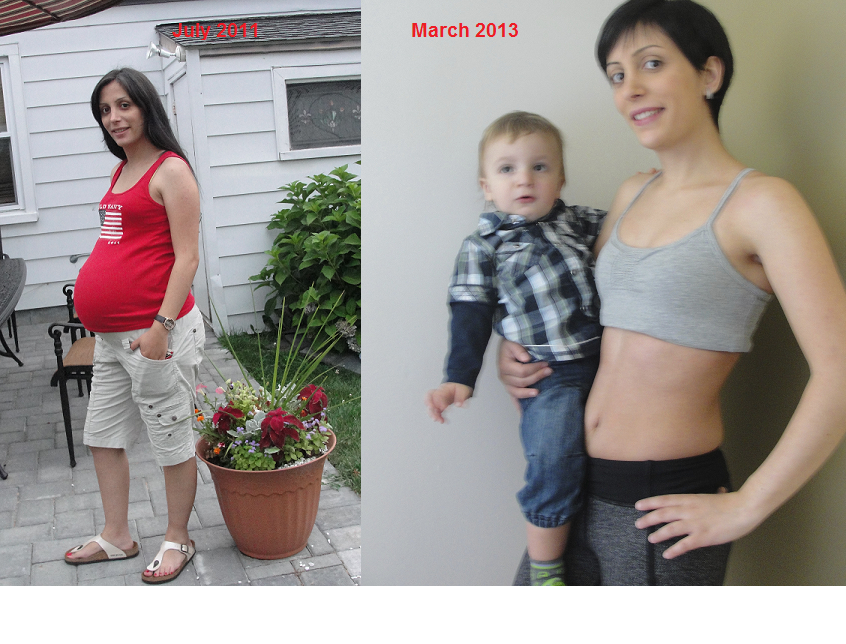
Pregnancy is difficult and it can sometimes result in many changes to the body which are hard to get rid of.
This post is about my experience during pregnancy and after delivery. I hope that I can share some healthy tips that can help moms-to-be keep healthy during this journey so they can meet their bundle of joy stronger and happier than ever. Since I do not workout in the gym, I counted on my healthy diet to get me back in shape as fast and healthy as possible
 It is the time you are pregnant when everyone wants to feed you and give you millions of advice which can be overwhelming, especially since it was something new to me and I was far away from family and friends.
 “24 Weeks”
The most common thing that I heard was that you are eating for two people so you need to eat more. Some would say, “Give her the biggest piece, she is pregnant”, or “Are you craving some sweets?”, or “Don’t worry, just eat you are pregnant after all.” I also had my colleagues giving me extra chocolate and dessert everyday during work since I am the “pregger”. I will not lie to you, it was kind of tempting and nice to not worry about what to eat and how many calories I indulged in.
 “31 Weeks”
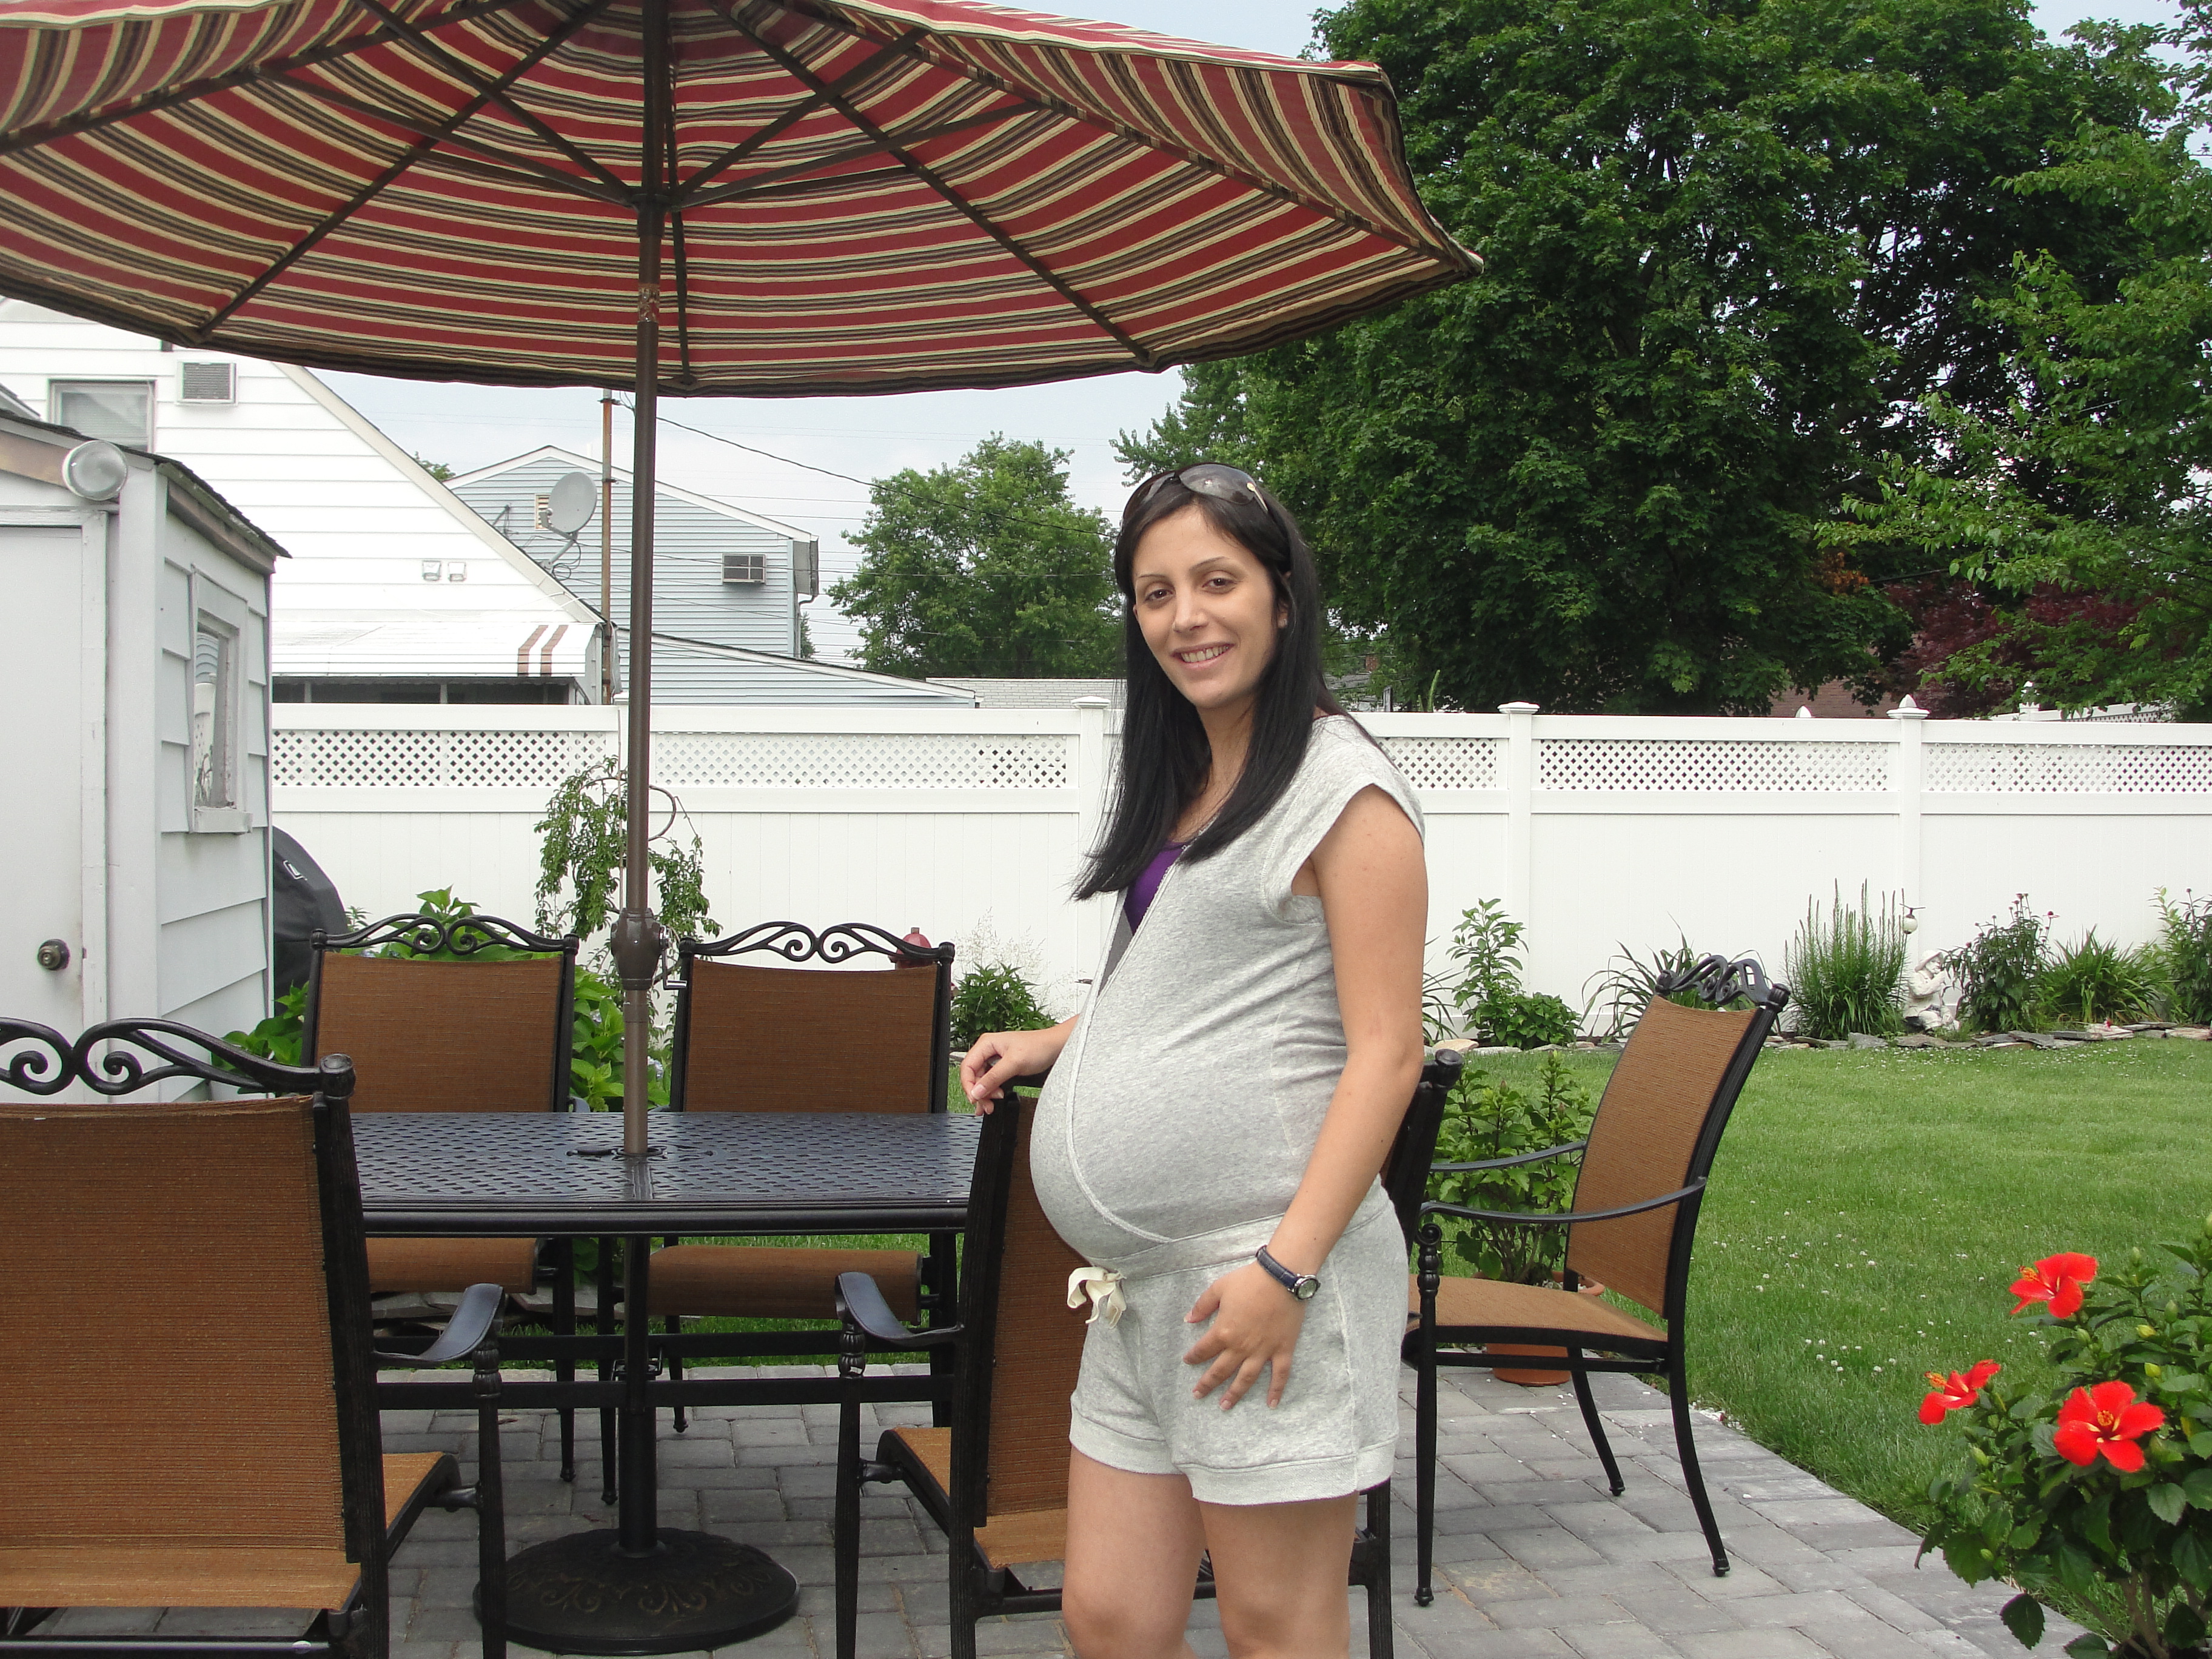 “33 Weeks”
At some point of the pregnancy, I had to take a sugar test for gestational diabetes. The results showed that my sugar was a little high. Luckily, I didn’t have it but it was a warning to me to watch my sugar intake.

The doctor didn’t seem to worry much about it but he told me to limit my sugar. I didn’t want to end up having anything to worry about other than shopping for the baby :). I decided to go on a low carb diet. It is also worth mentioning that vitamins and prenatal vitamins were upsetting my stomach and I am lactose intolerant so I had to make sure I got all the necessary vitamins, calcium, fat, protein in my system to keep healthy and have a healthy baby.

Here’s a list of my diet during my pregnancy:
Breakfast: One Banana + 2 Hard boiled eggs with butter or mayonnaise. I also sometimes sliced the eggs and added a little salt and olive oil on top.
Lunch: I sometimes ate left overs from the night before or just made a salad and occasionally a ham and cheese sandwich.
Here are some lunch recipes:
Dinner: Every night for dinner, I had to make a dish with meat in it. I love steak so I ate that often.
Here are the recipes that are most nutritious .
Eggplant dish, middle eastern style Moussaka, or Sheikh Al-Mahshi
Beef Stew with Peas, Carrots and Potatoes
Kafta in a Tray (Syrian Meat Loaf)
Pork Chops and Rice Vegetables
Chicken and Rice Yogurt Casserole
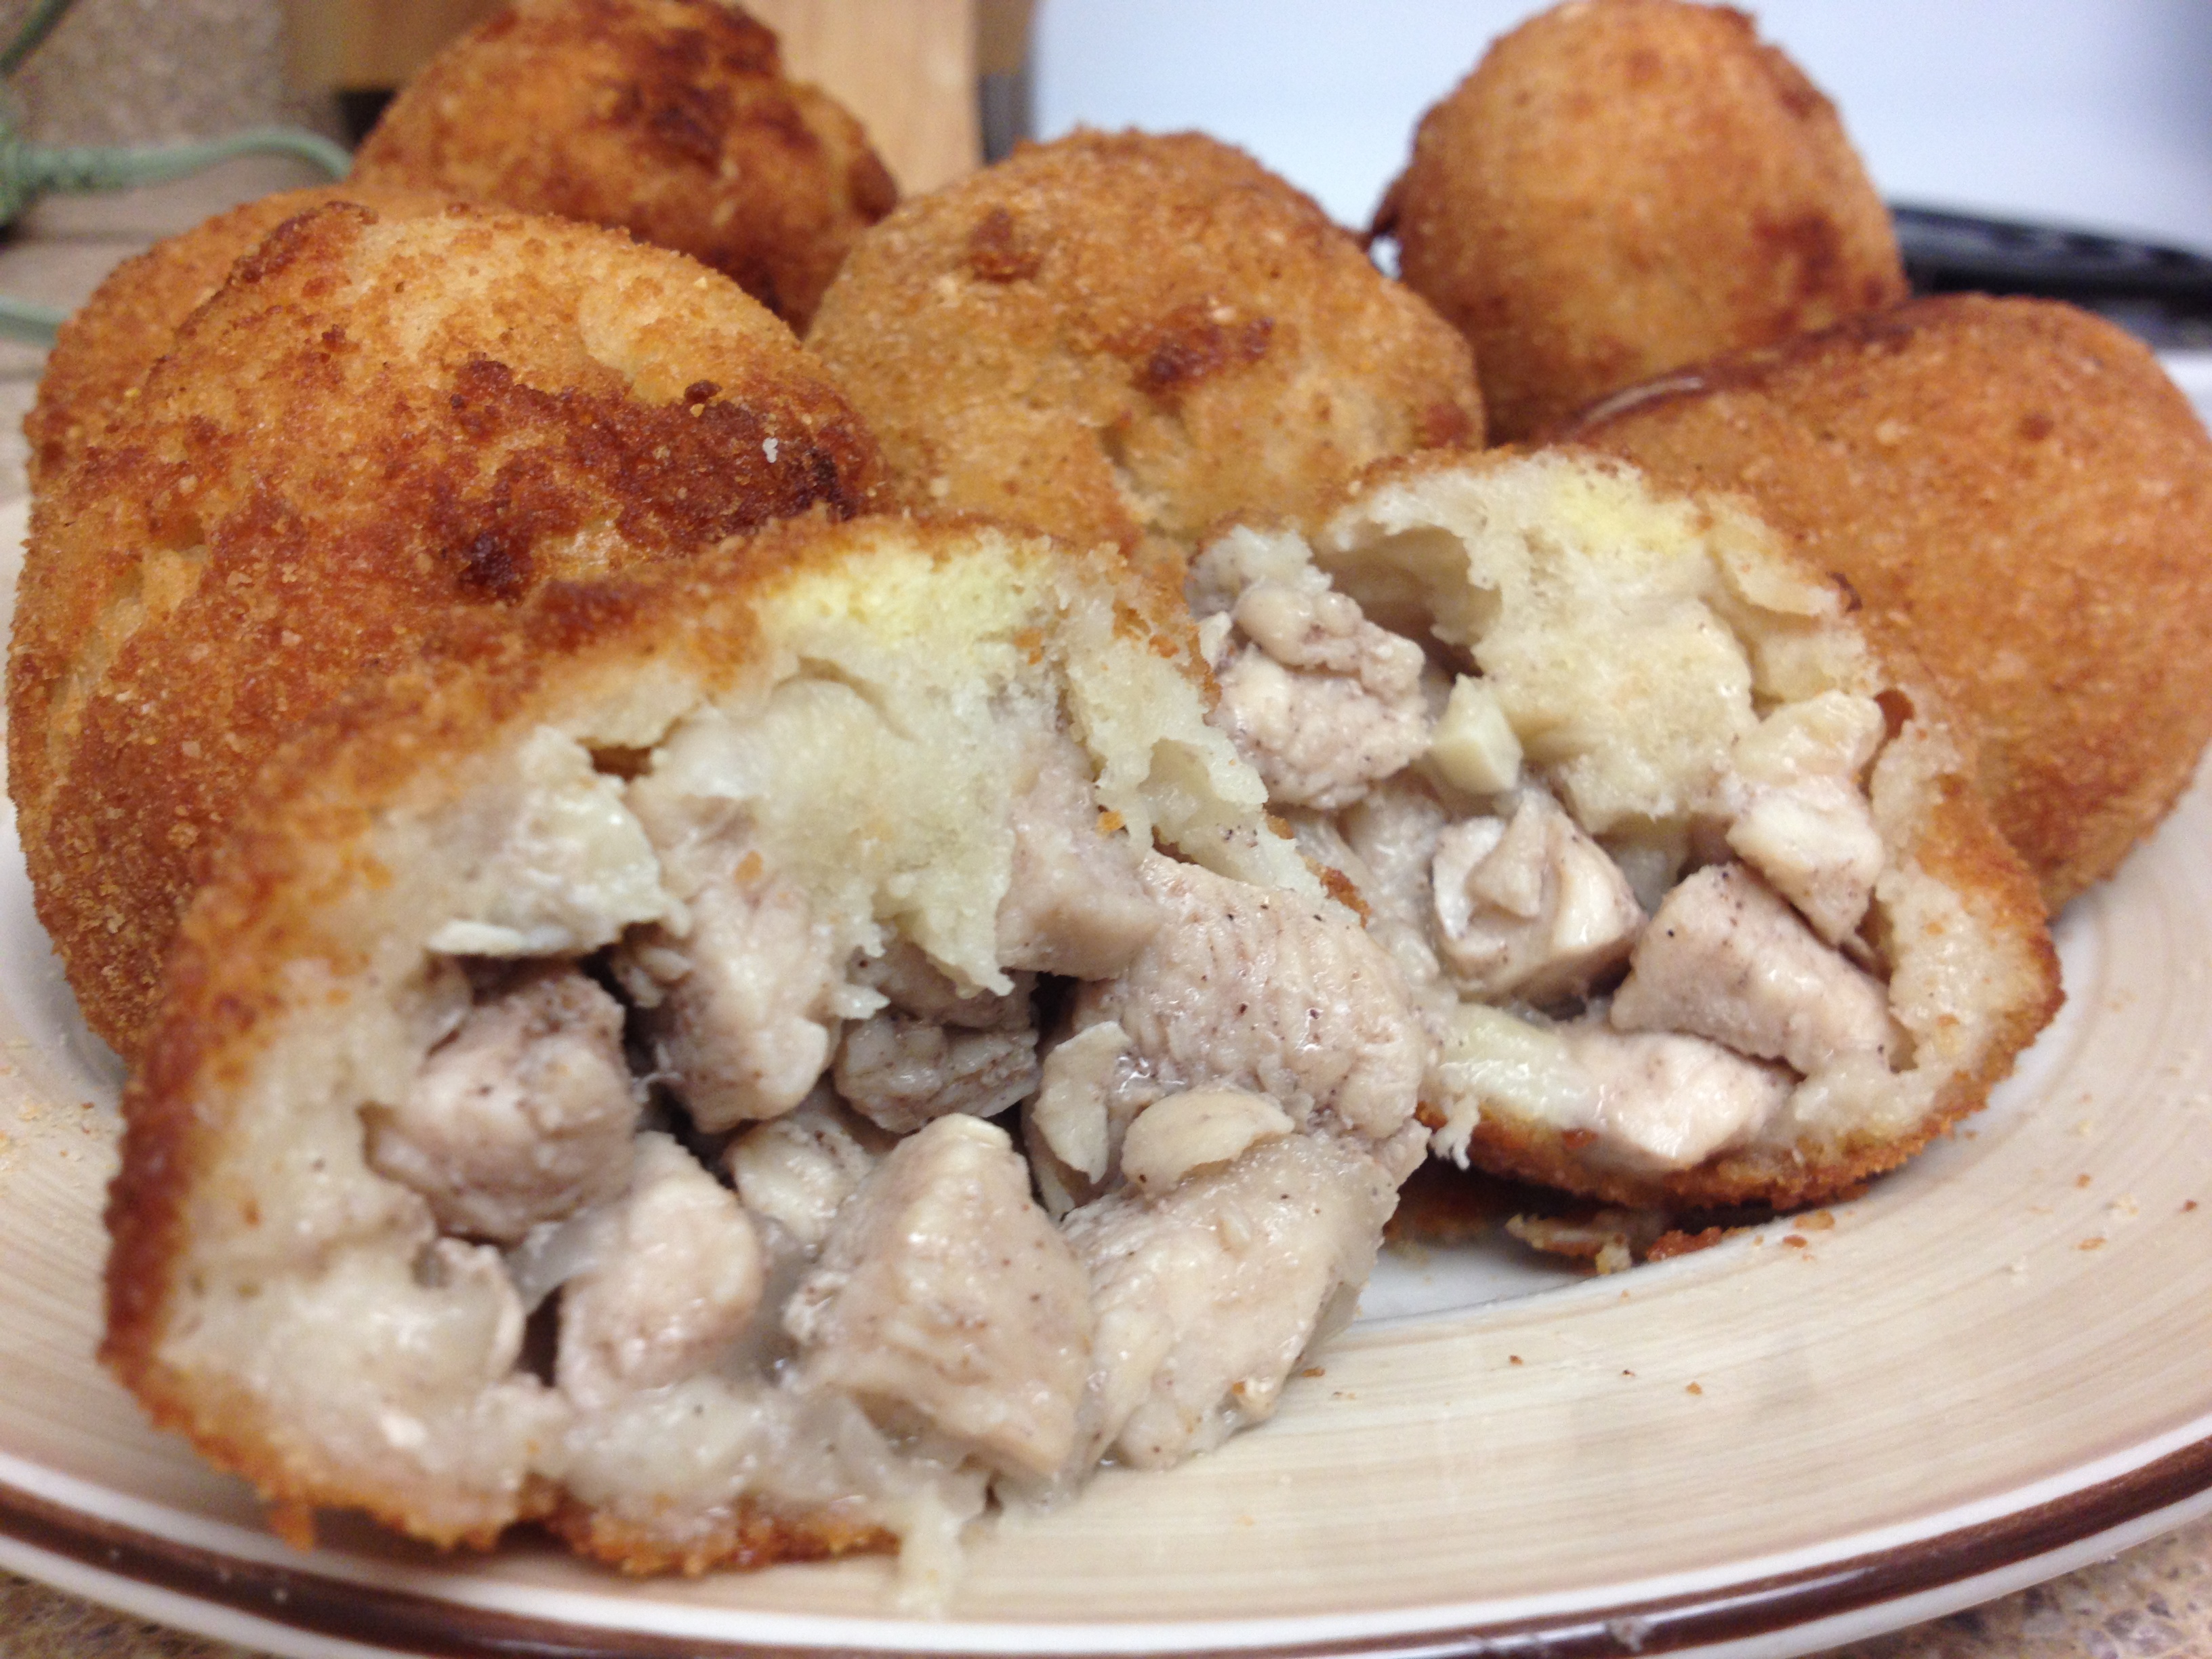
Chicken Kiev (Butter-Stuffed Chicken)
As a snack, I enjoyed eating olives and a piece of chocolate on the weekends.
Plenty of water helped me a lot. My daily walk was getting less and less as I grew bigger and bigger :).
I know it is hard to give up carbs and temptations, that is why I had a nice slice of pizza or some delicious ravioli once a week.
I made sure to stay away from dessert and caffeine. I only enjoyed a cup of chamomile tea at night while watching my favorite shows :).
After I had my beautiful baby, I made sure to stay on the low carb diet to make sure I stay strong after the delivery and get used to being a mom with all the sleepless nights.

Being a mom is a beautiful thing that I never knew about until I became one. It is not easy and it is for sure tiring. It taught me that women are the strongest creatures on earth. Today, I am sharing my experience to help moms to stay healthy and beautiful as they are.
Although, I am not a workout person, I made sure to swim whenever I could plus I would do a 25 minute kettle bell workout as a total body workout now and then.
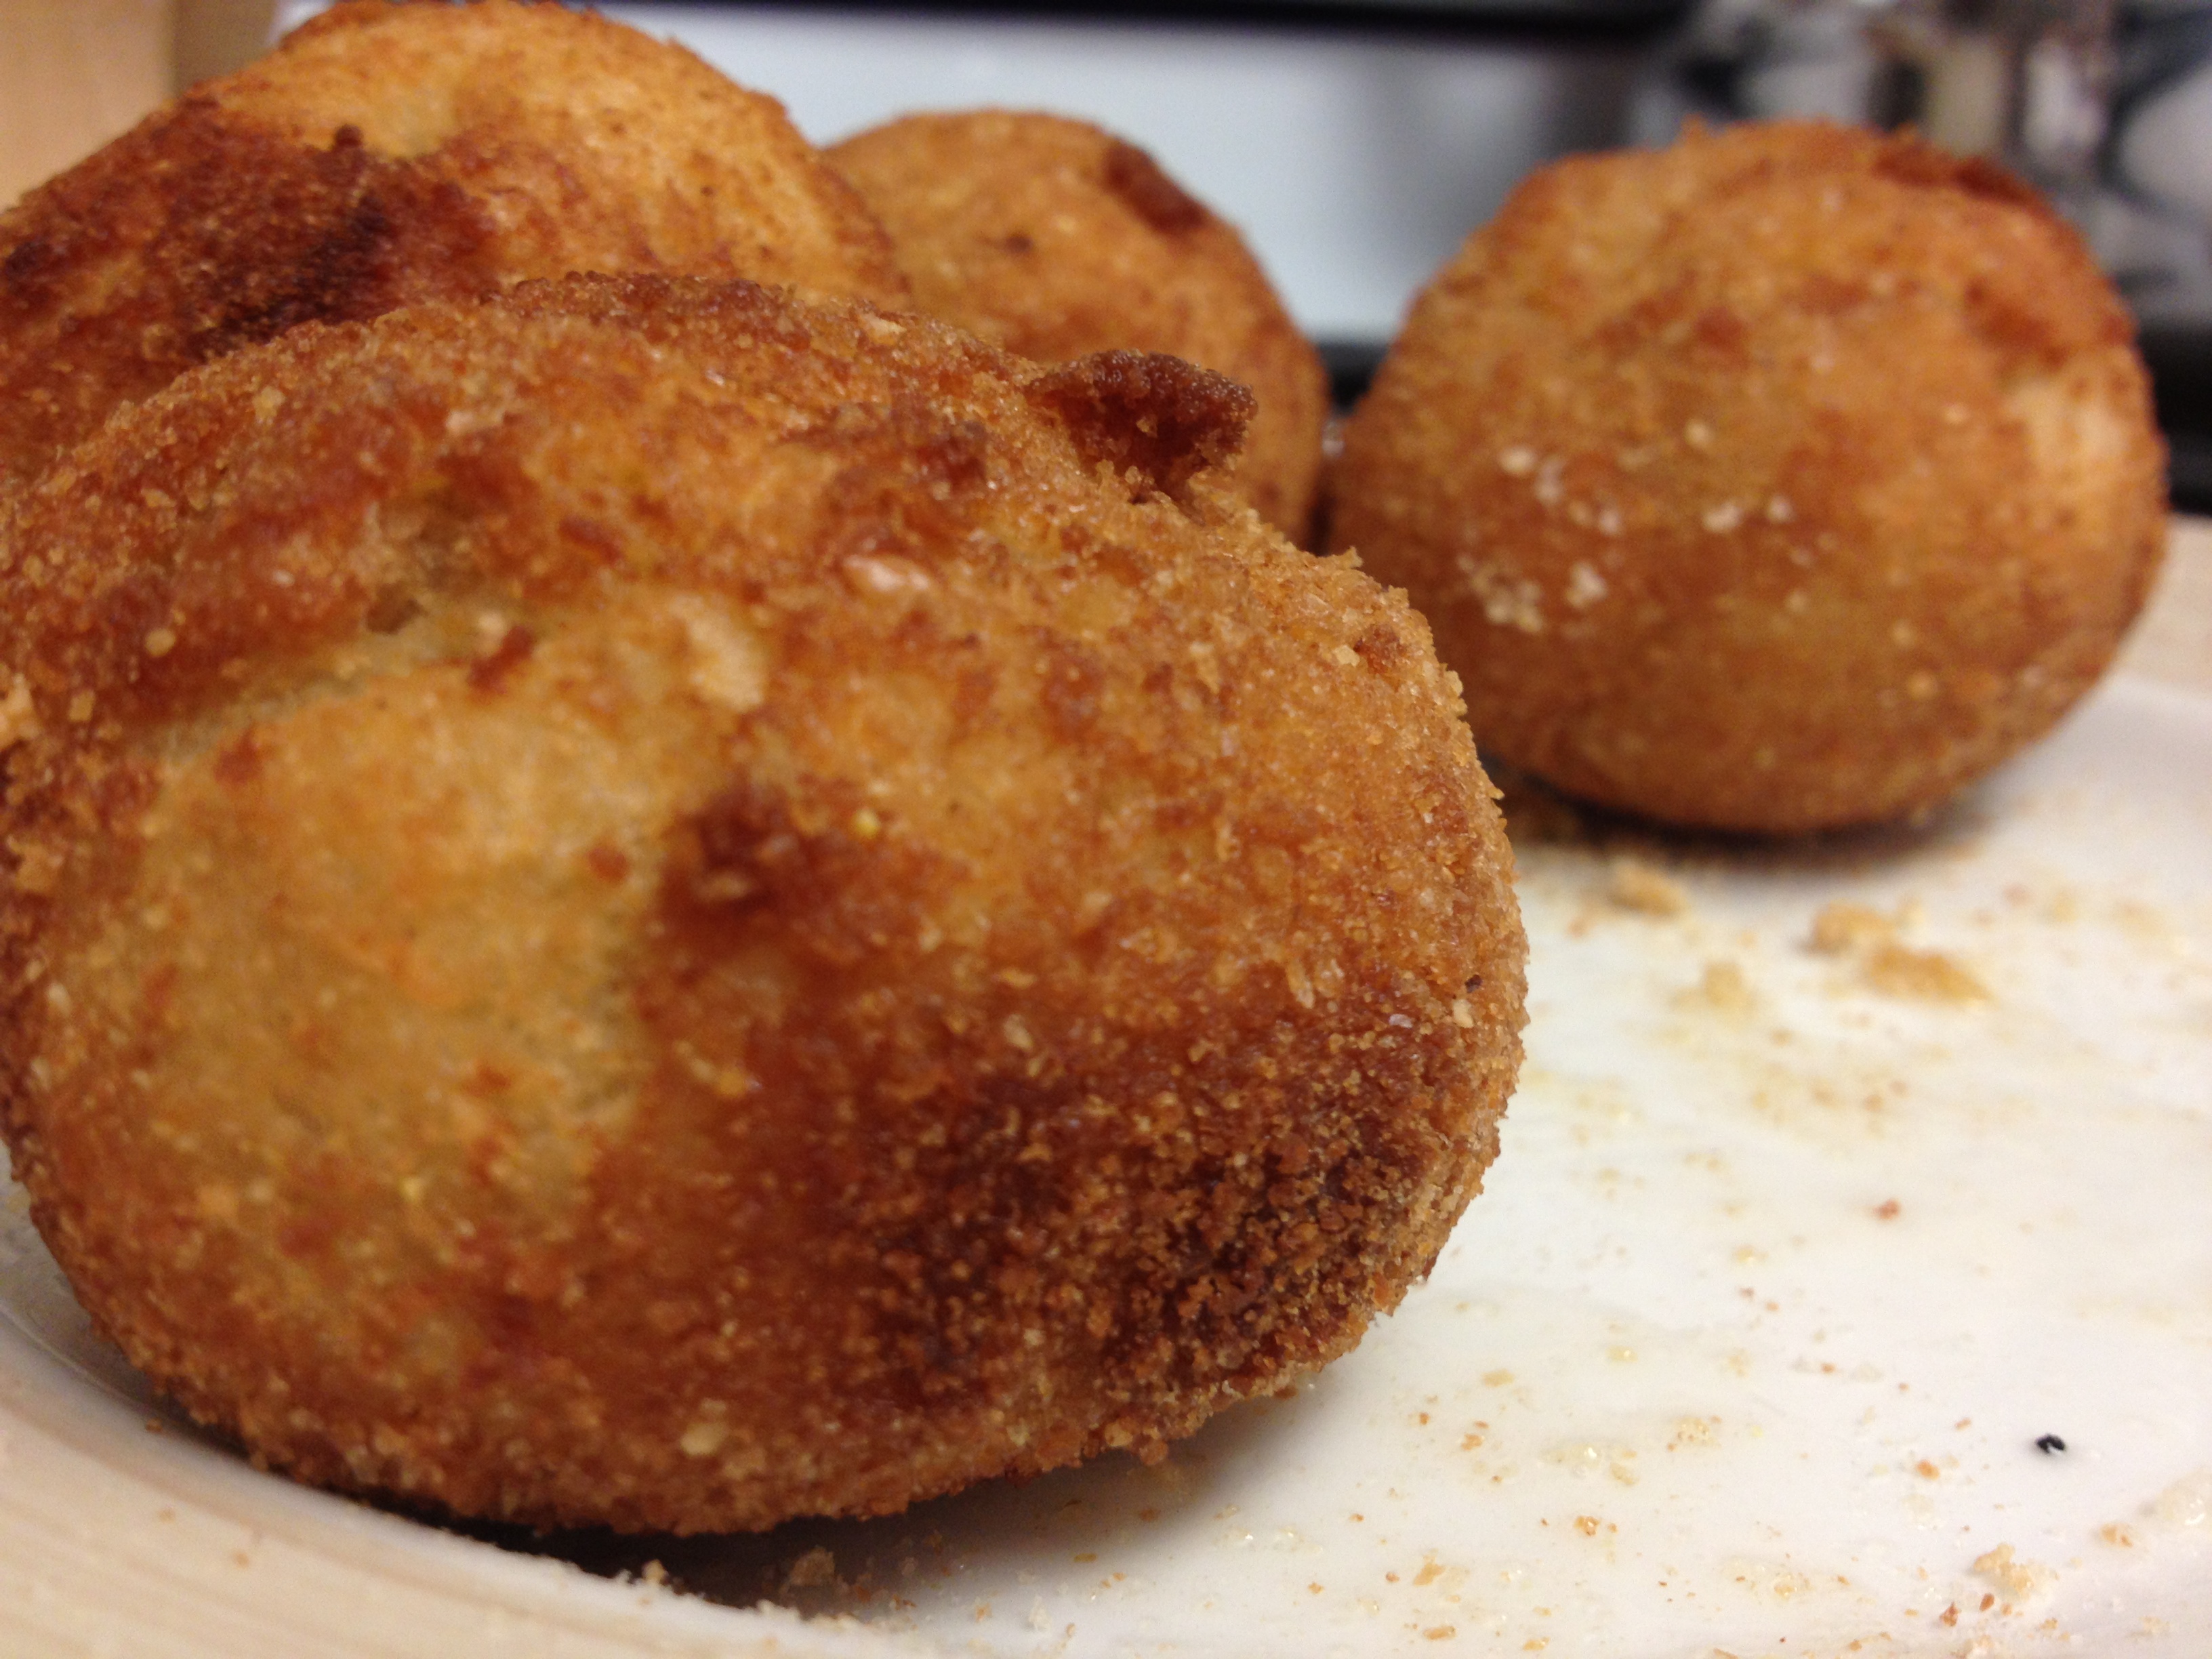
A nice twist to a chicken sandwich which is a nicer version of a sandwich to serve.

 Ingredients:
Chicken Breast
Diced Onion
Diced Garlic
Butter
Salt and Pepper
Fresh Bread (I used Italian)
Milk
One Egg
Bread Crumbs
Vegetable Oil
How to Prepare:
Cut the chicken breast into small cubes.
Heat one tablespoon of butter and add the diced onion and garlic and stir until soft.
Add the chicken cubes with salt and pepper and cook until well cooked.

Remove the skins of the bread and wet it with milk then wrap around one tablespoon of the chicken in a ball. Repeat until all the chicken is used. (I use water instead of milk for mine since I am lactose intolerant)

Beat one egg then roll the chicken/bread ball in the egg batter until all sides are covered then roll it in the bread crumbs.


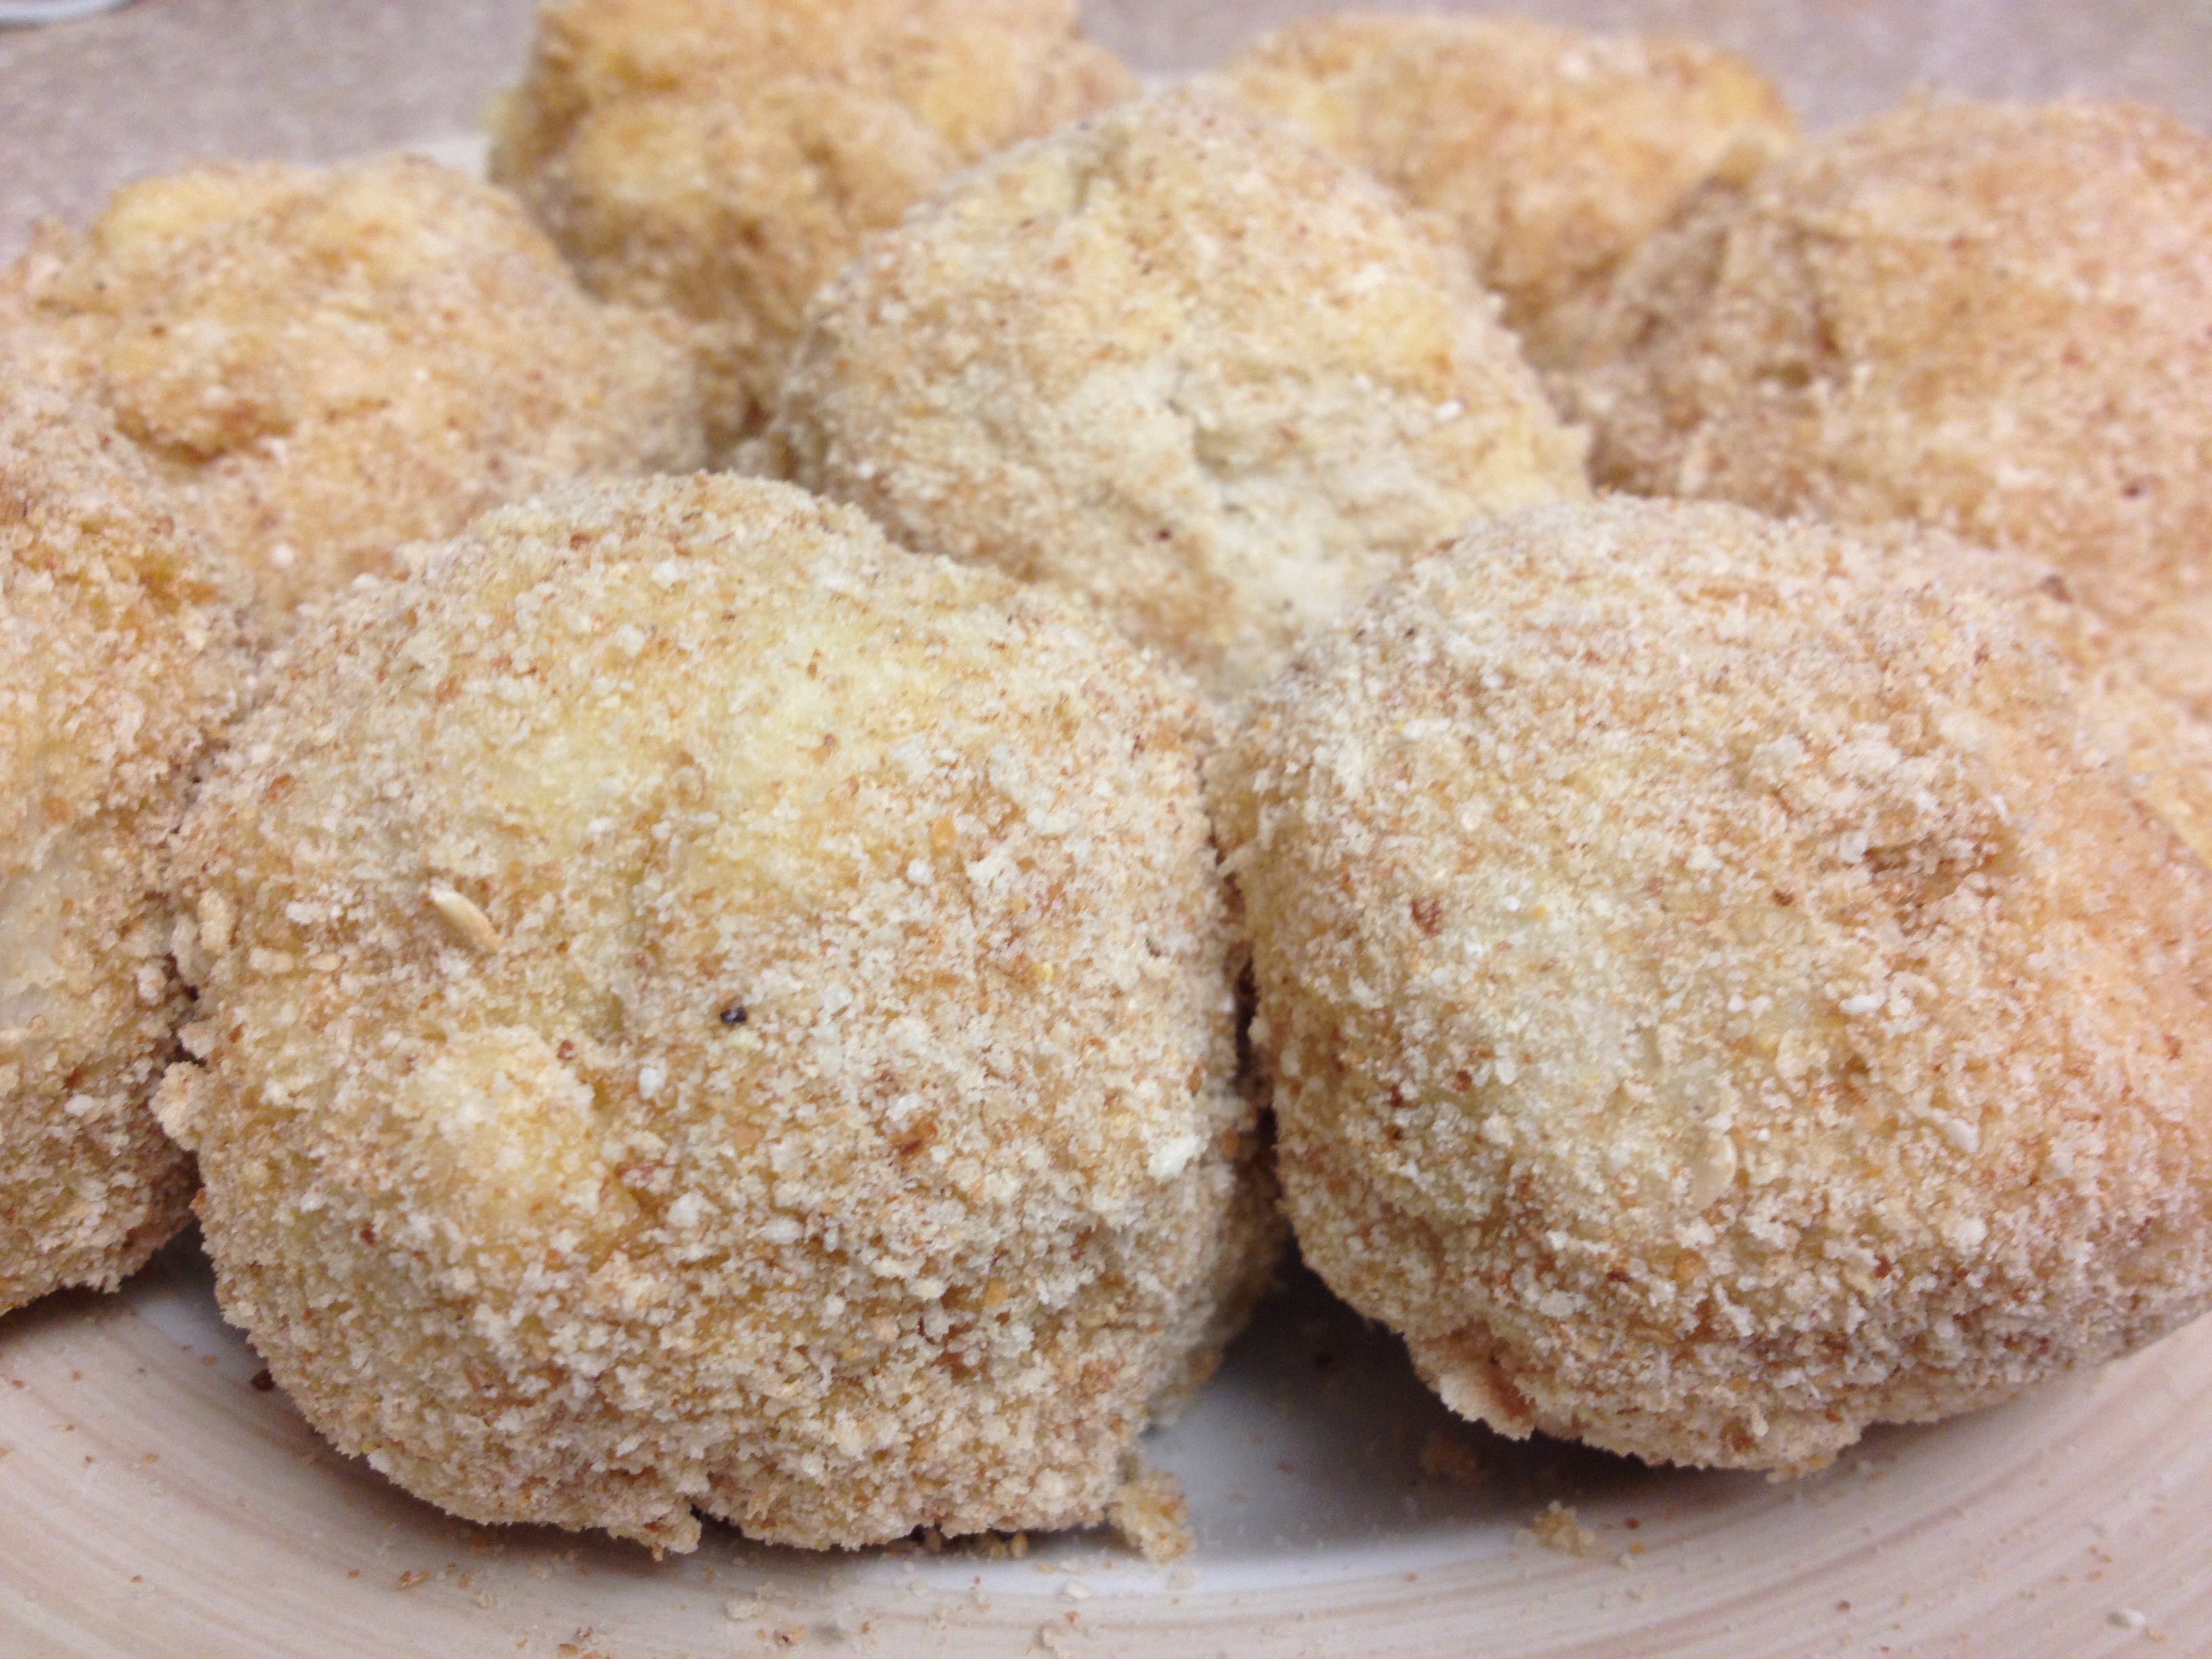
Deep fry the chicken/bread ball until golden.


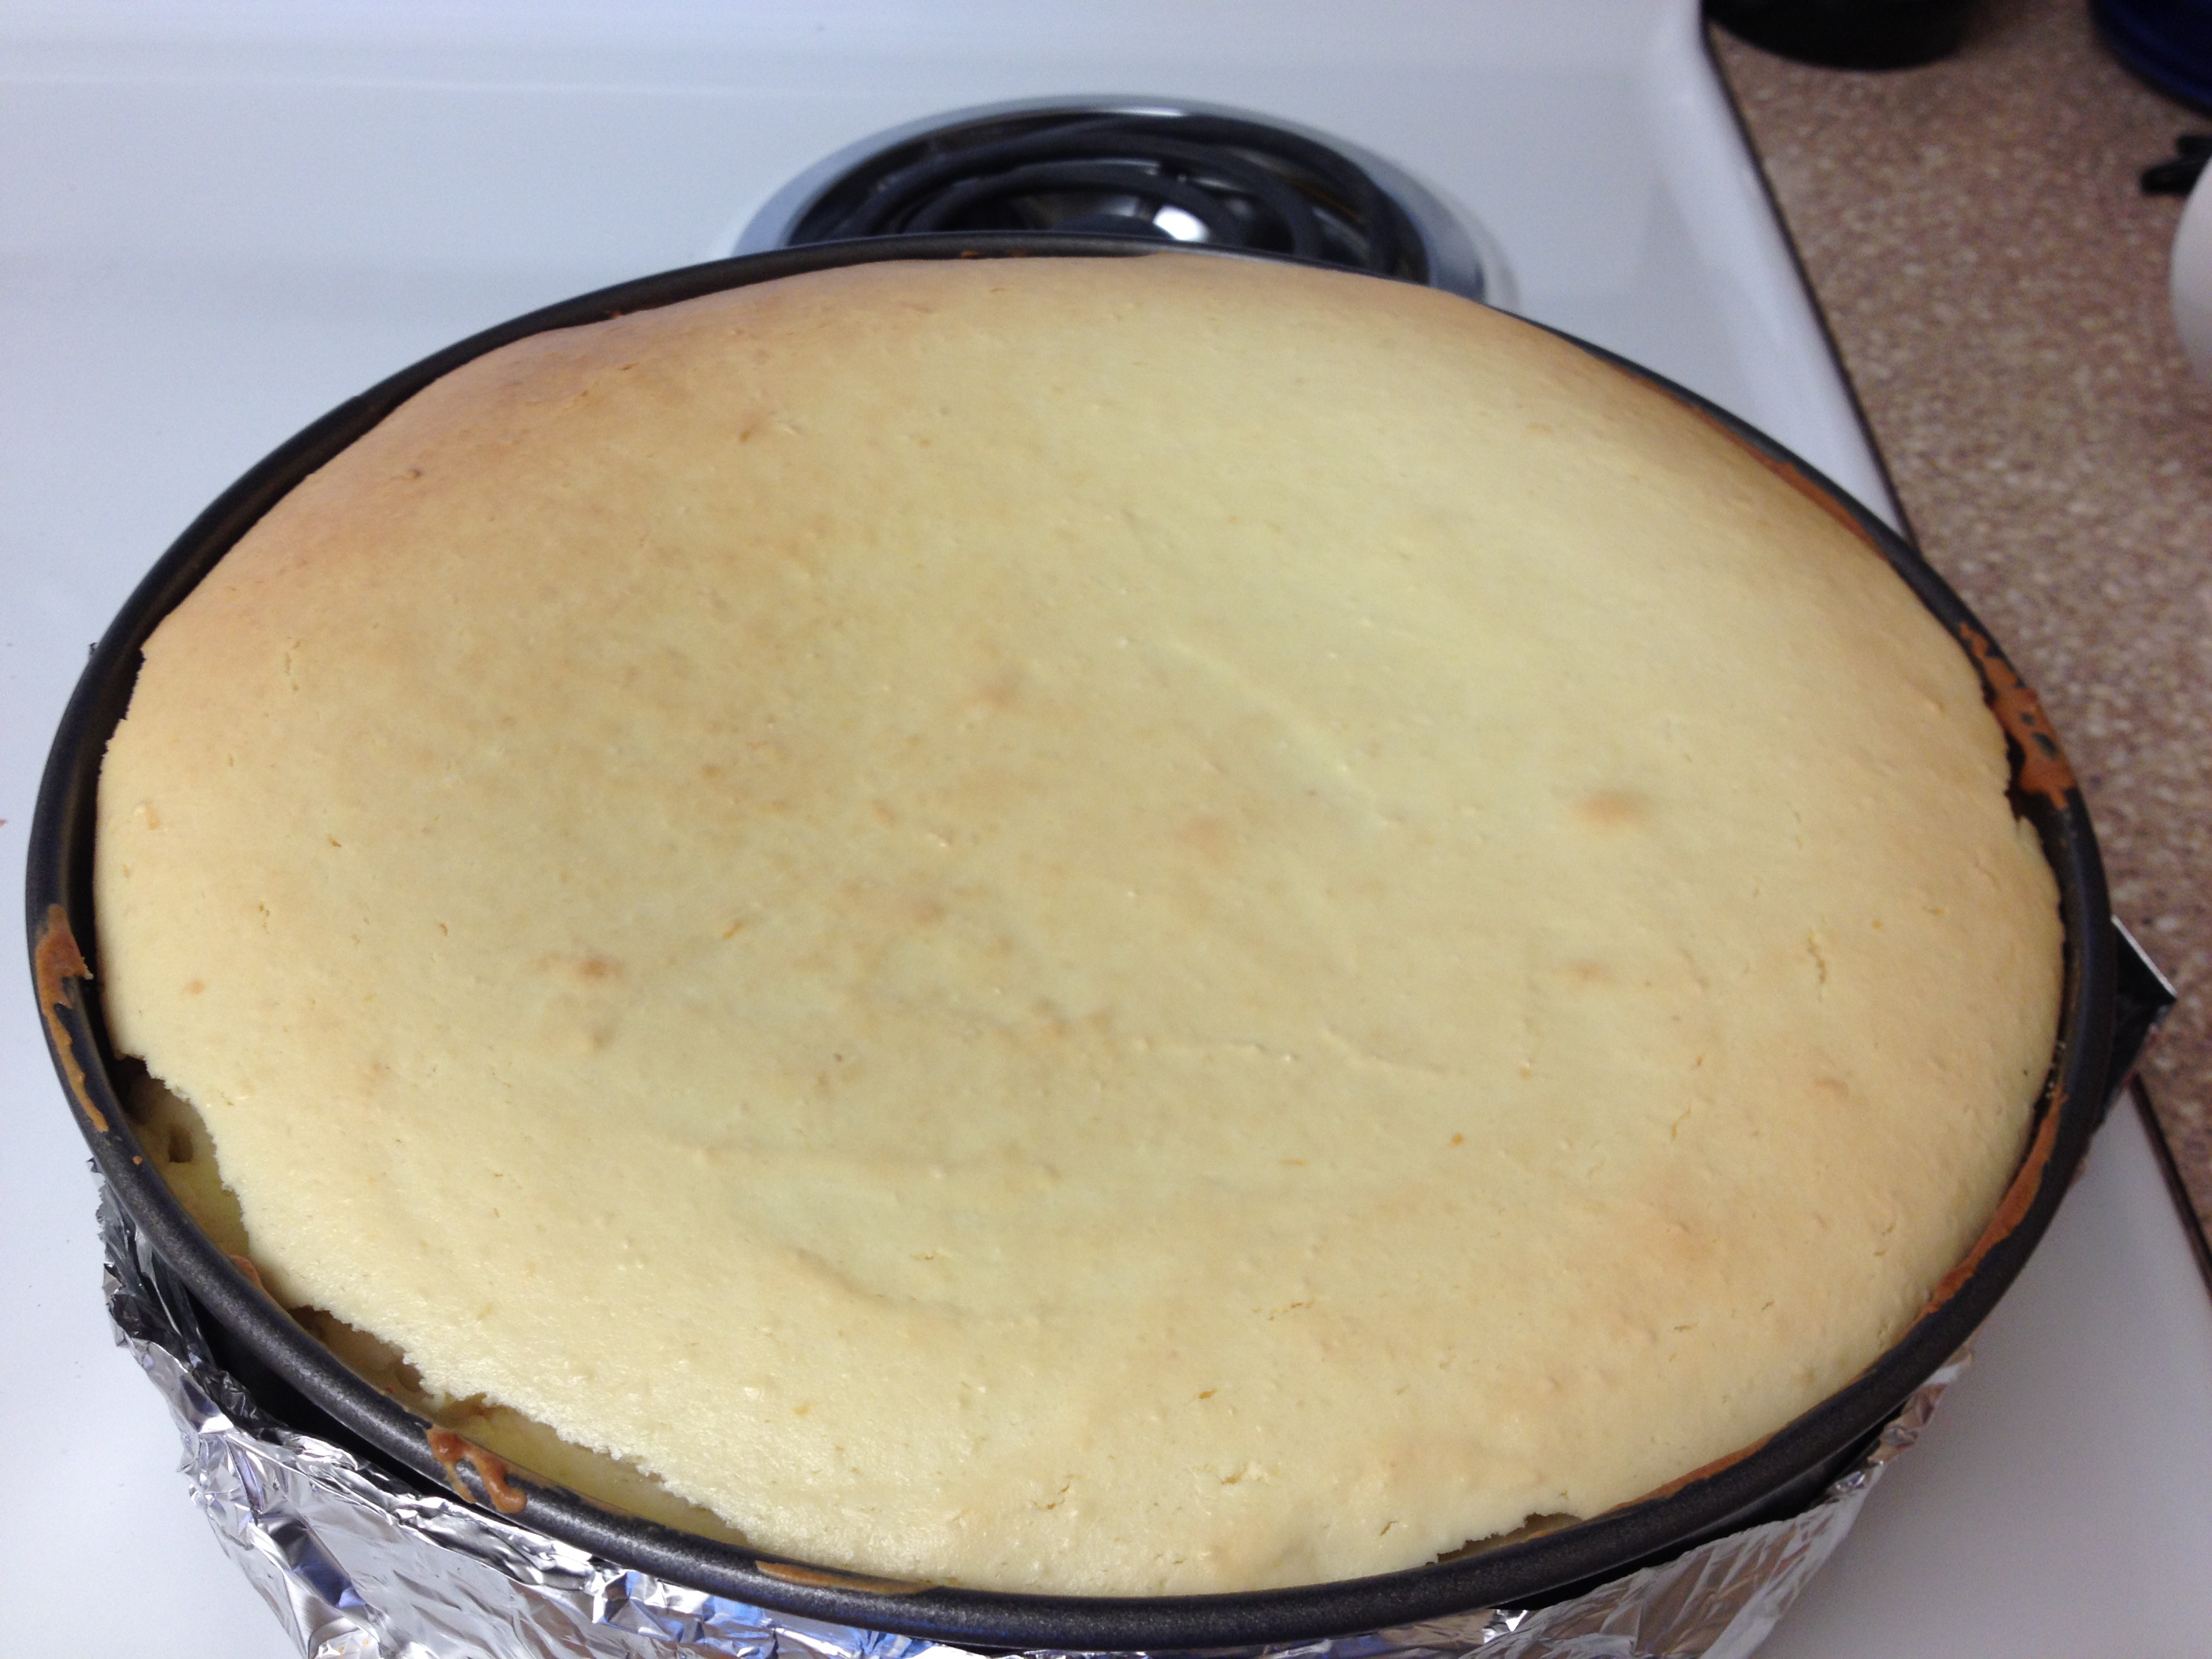
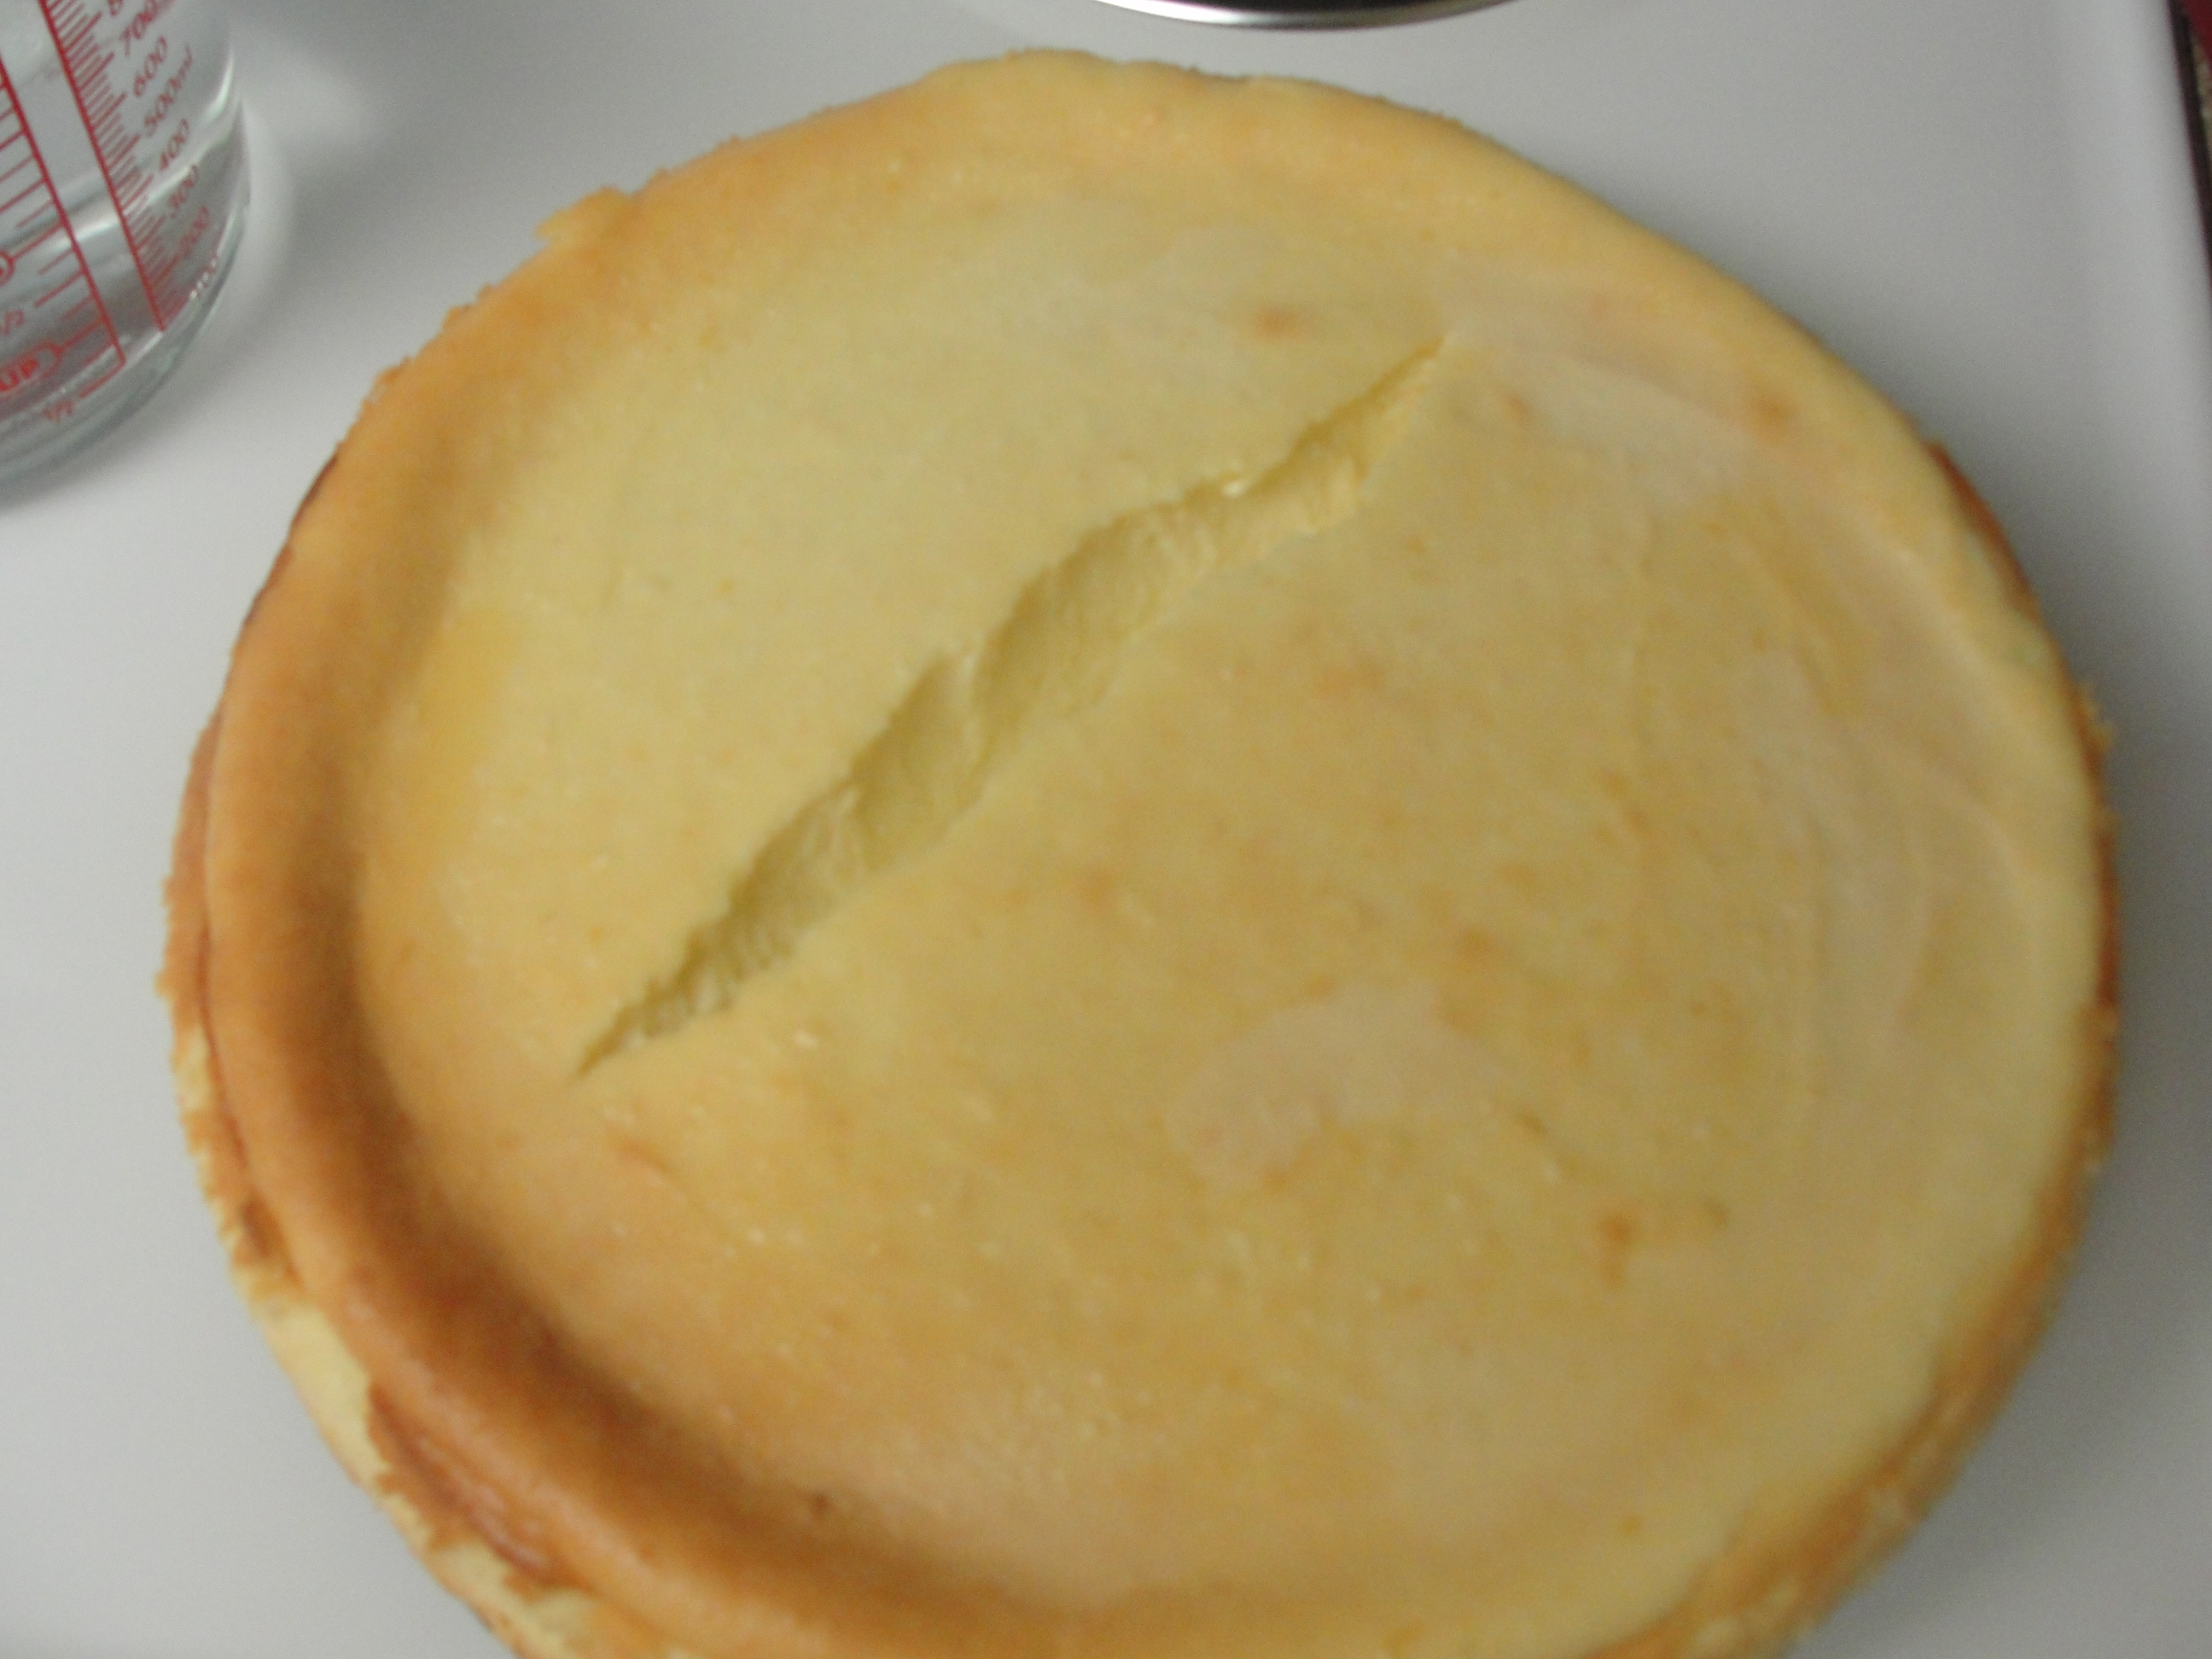
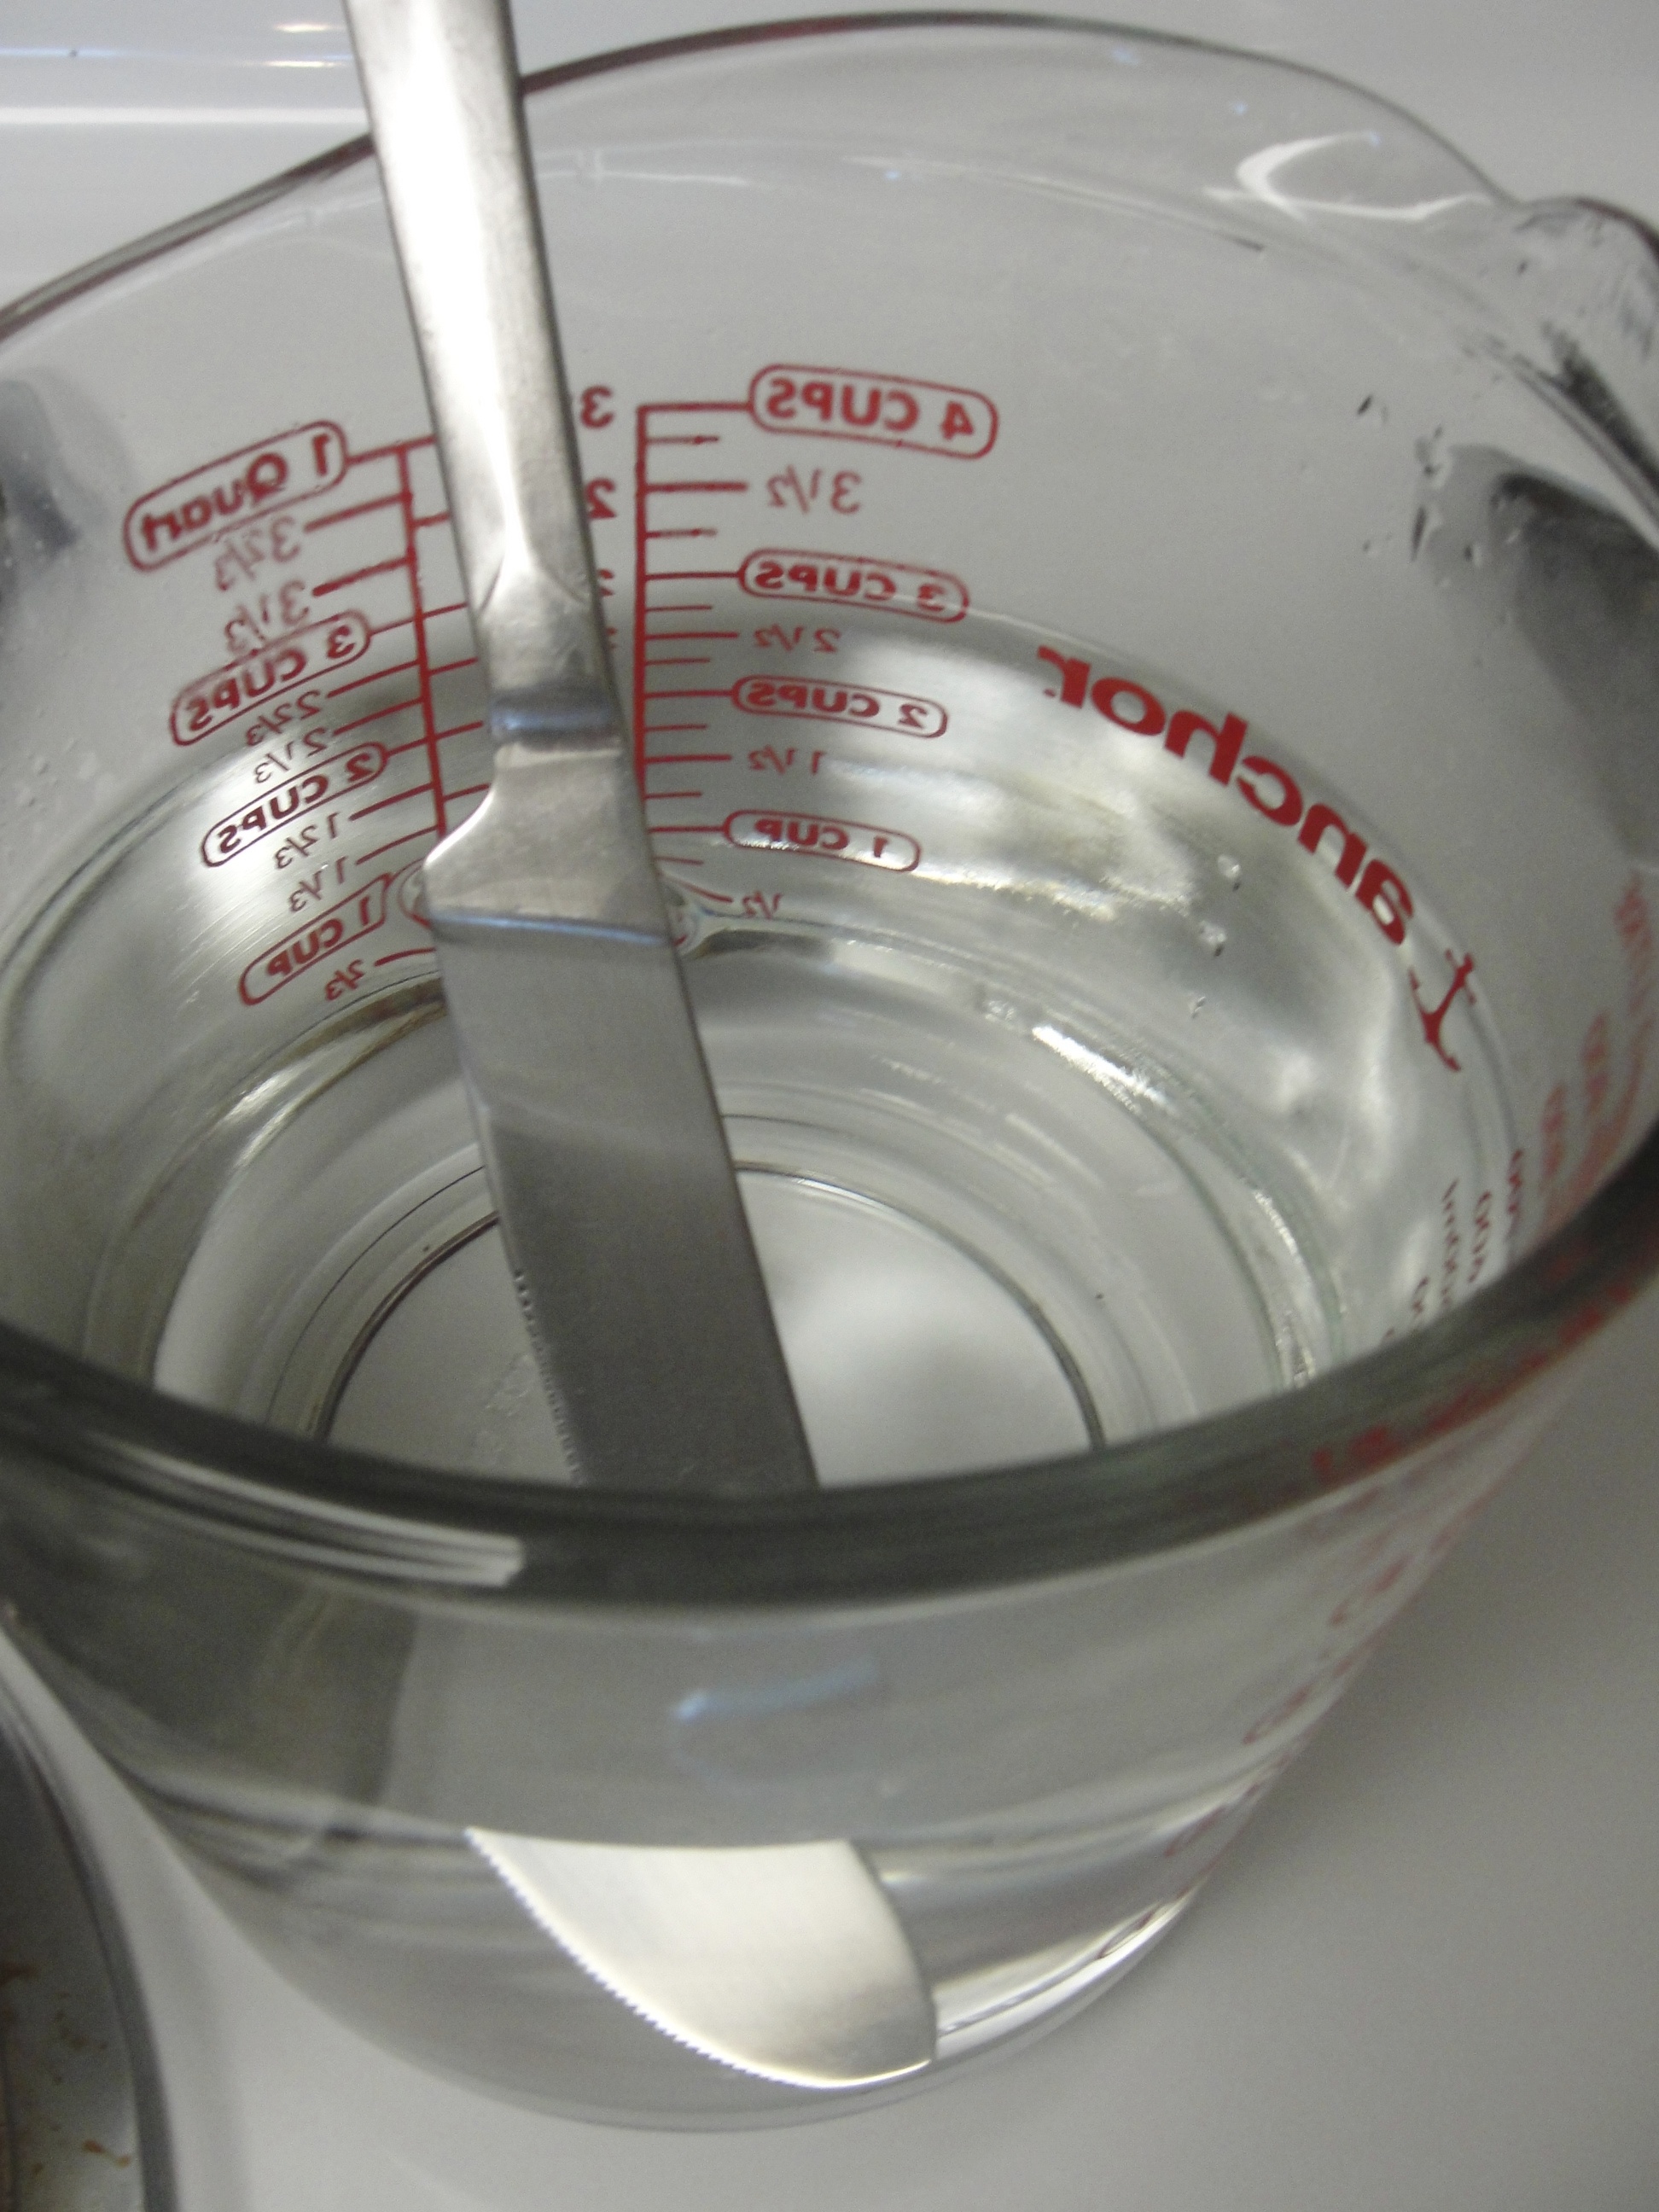
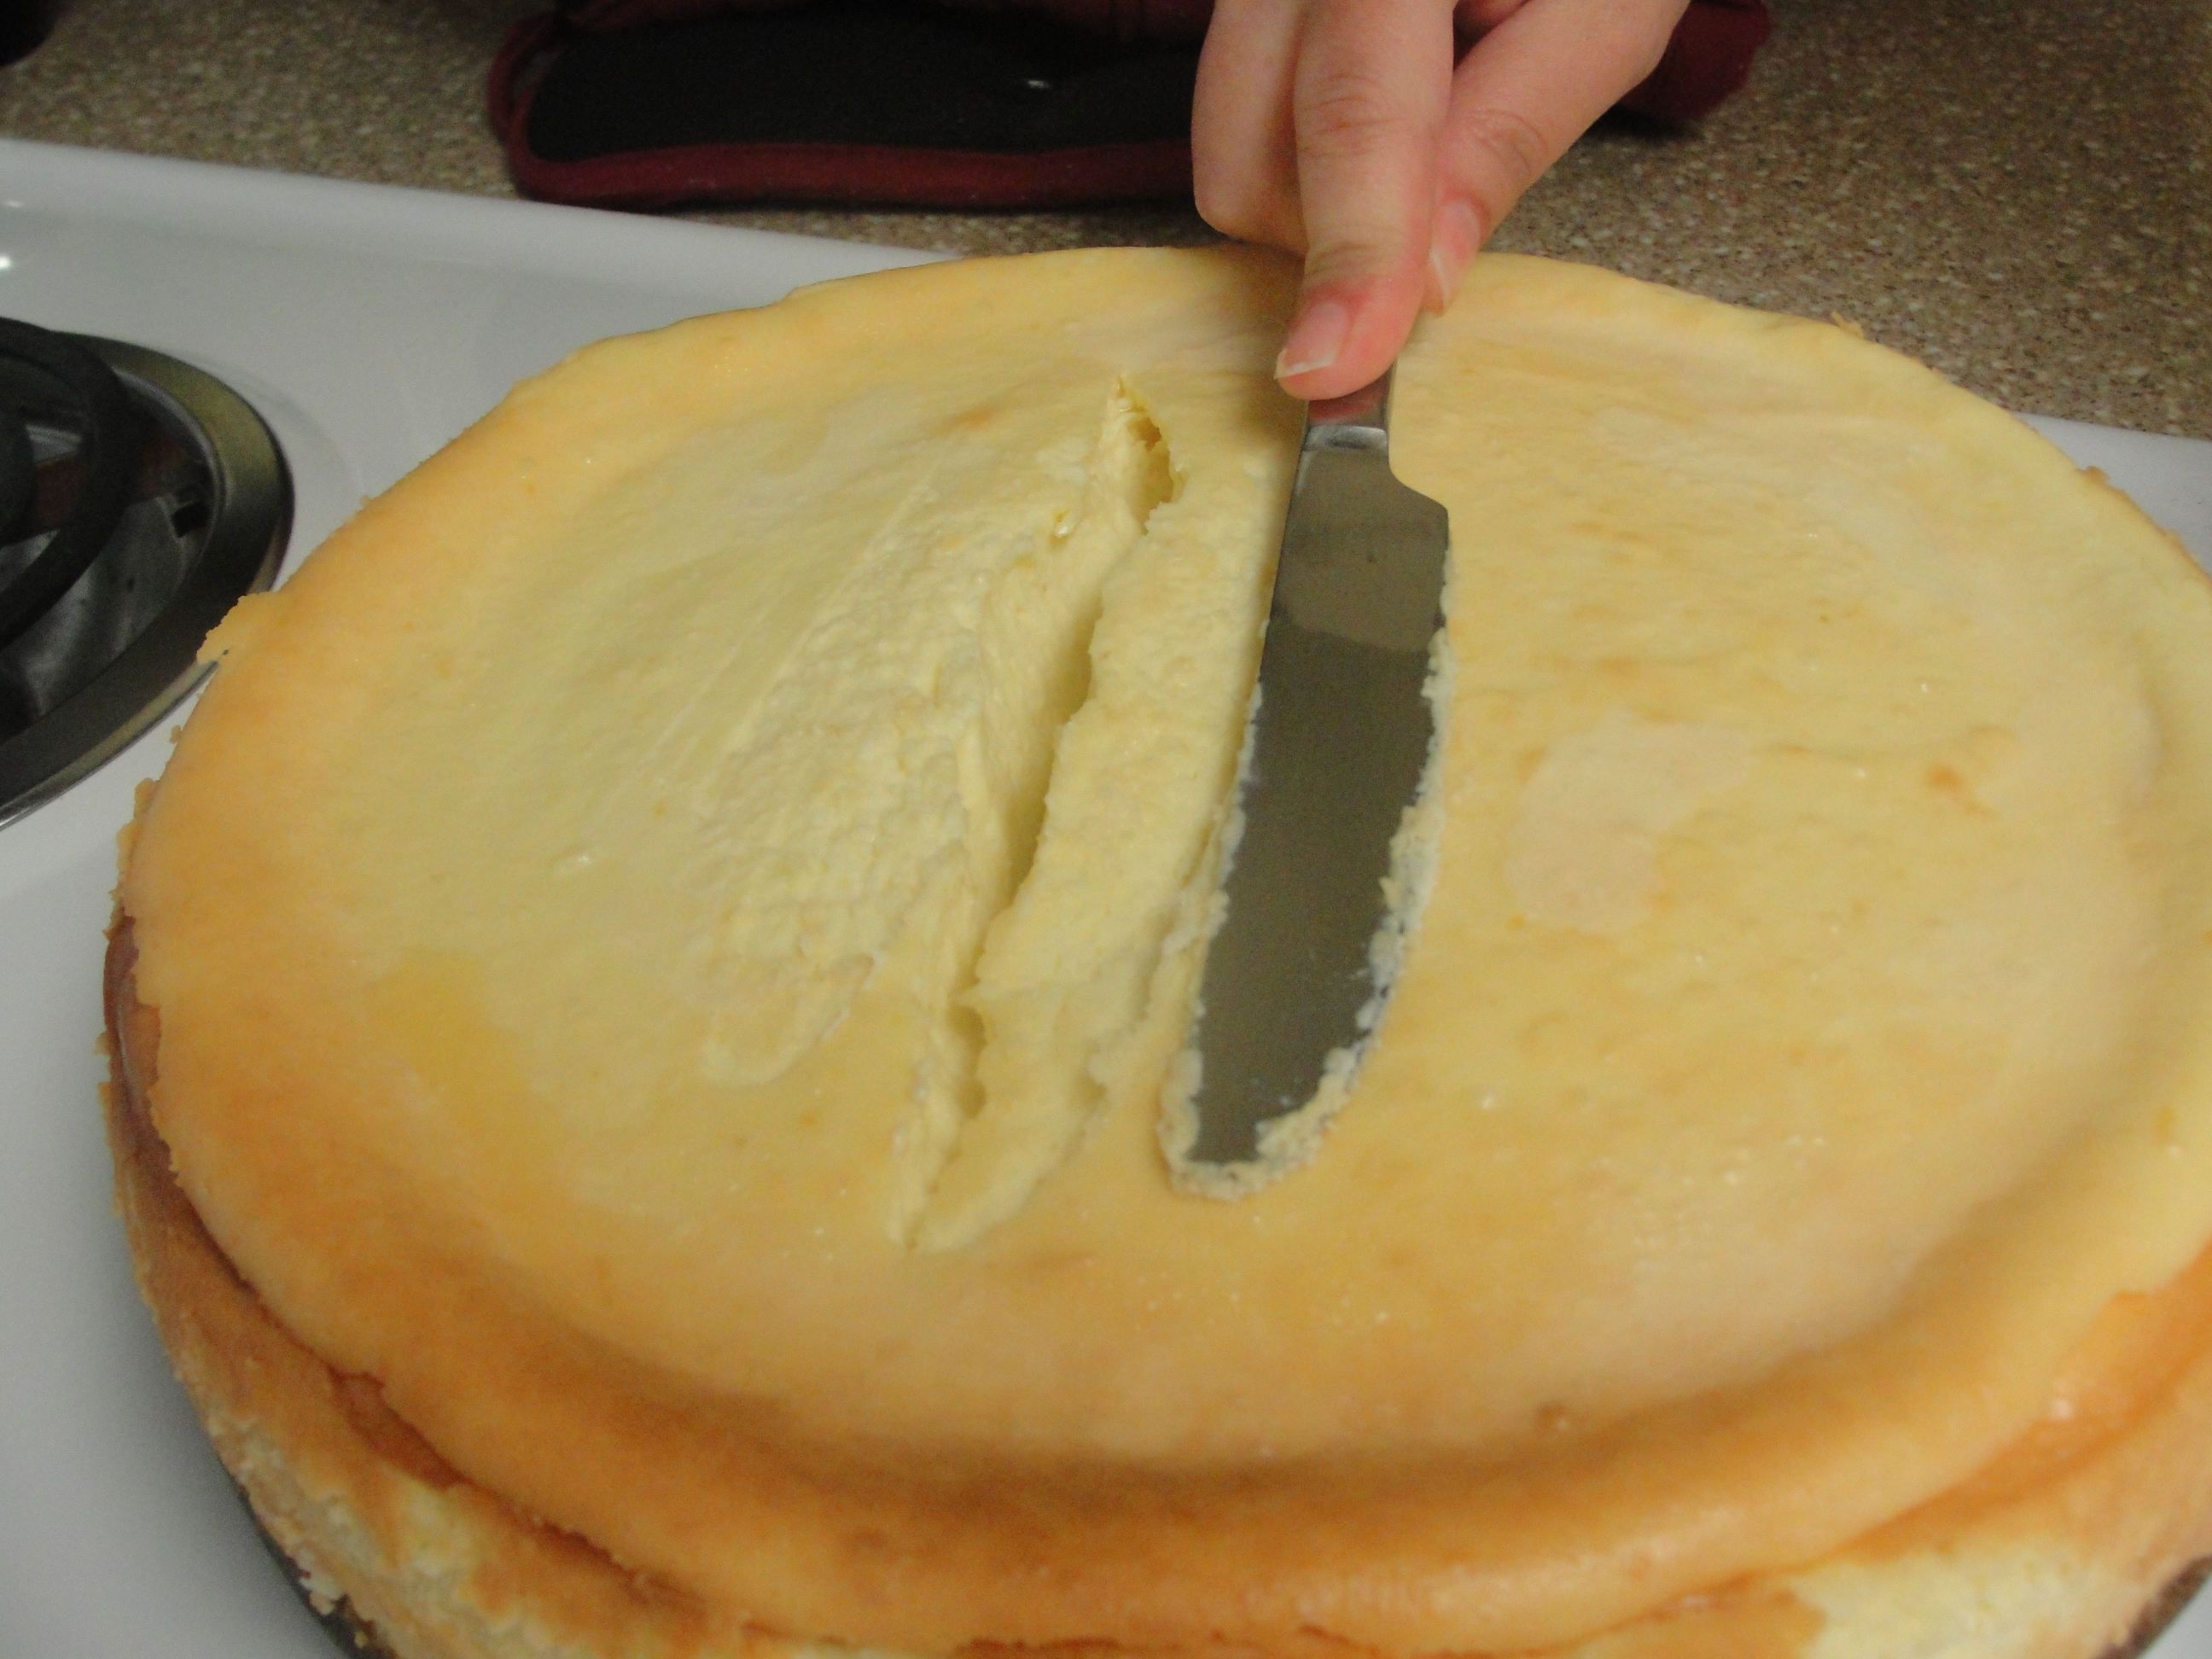
Having a crack in a cheesecake is very common so I will show you an easy way to fix it. The only tools you need are hot water and a butter knife.
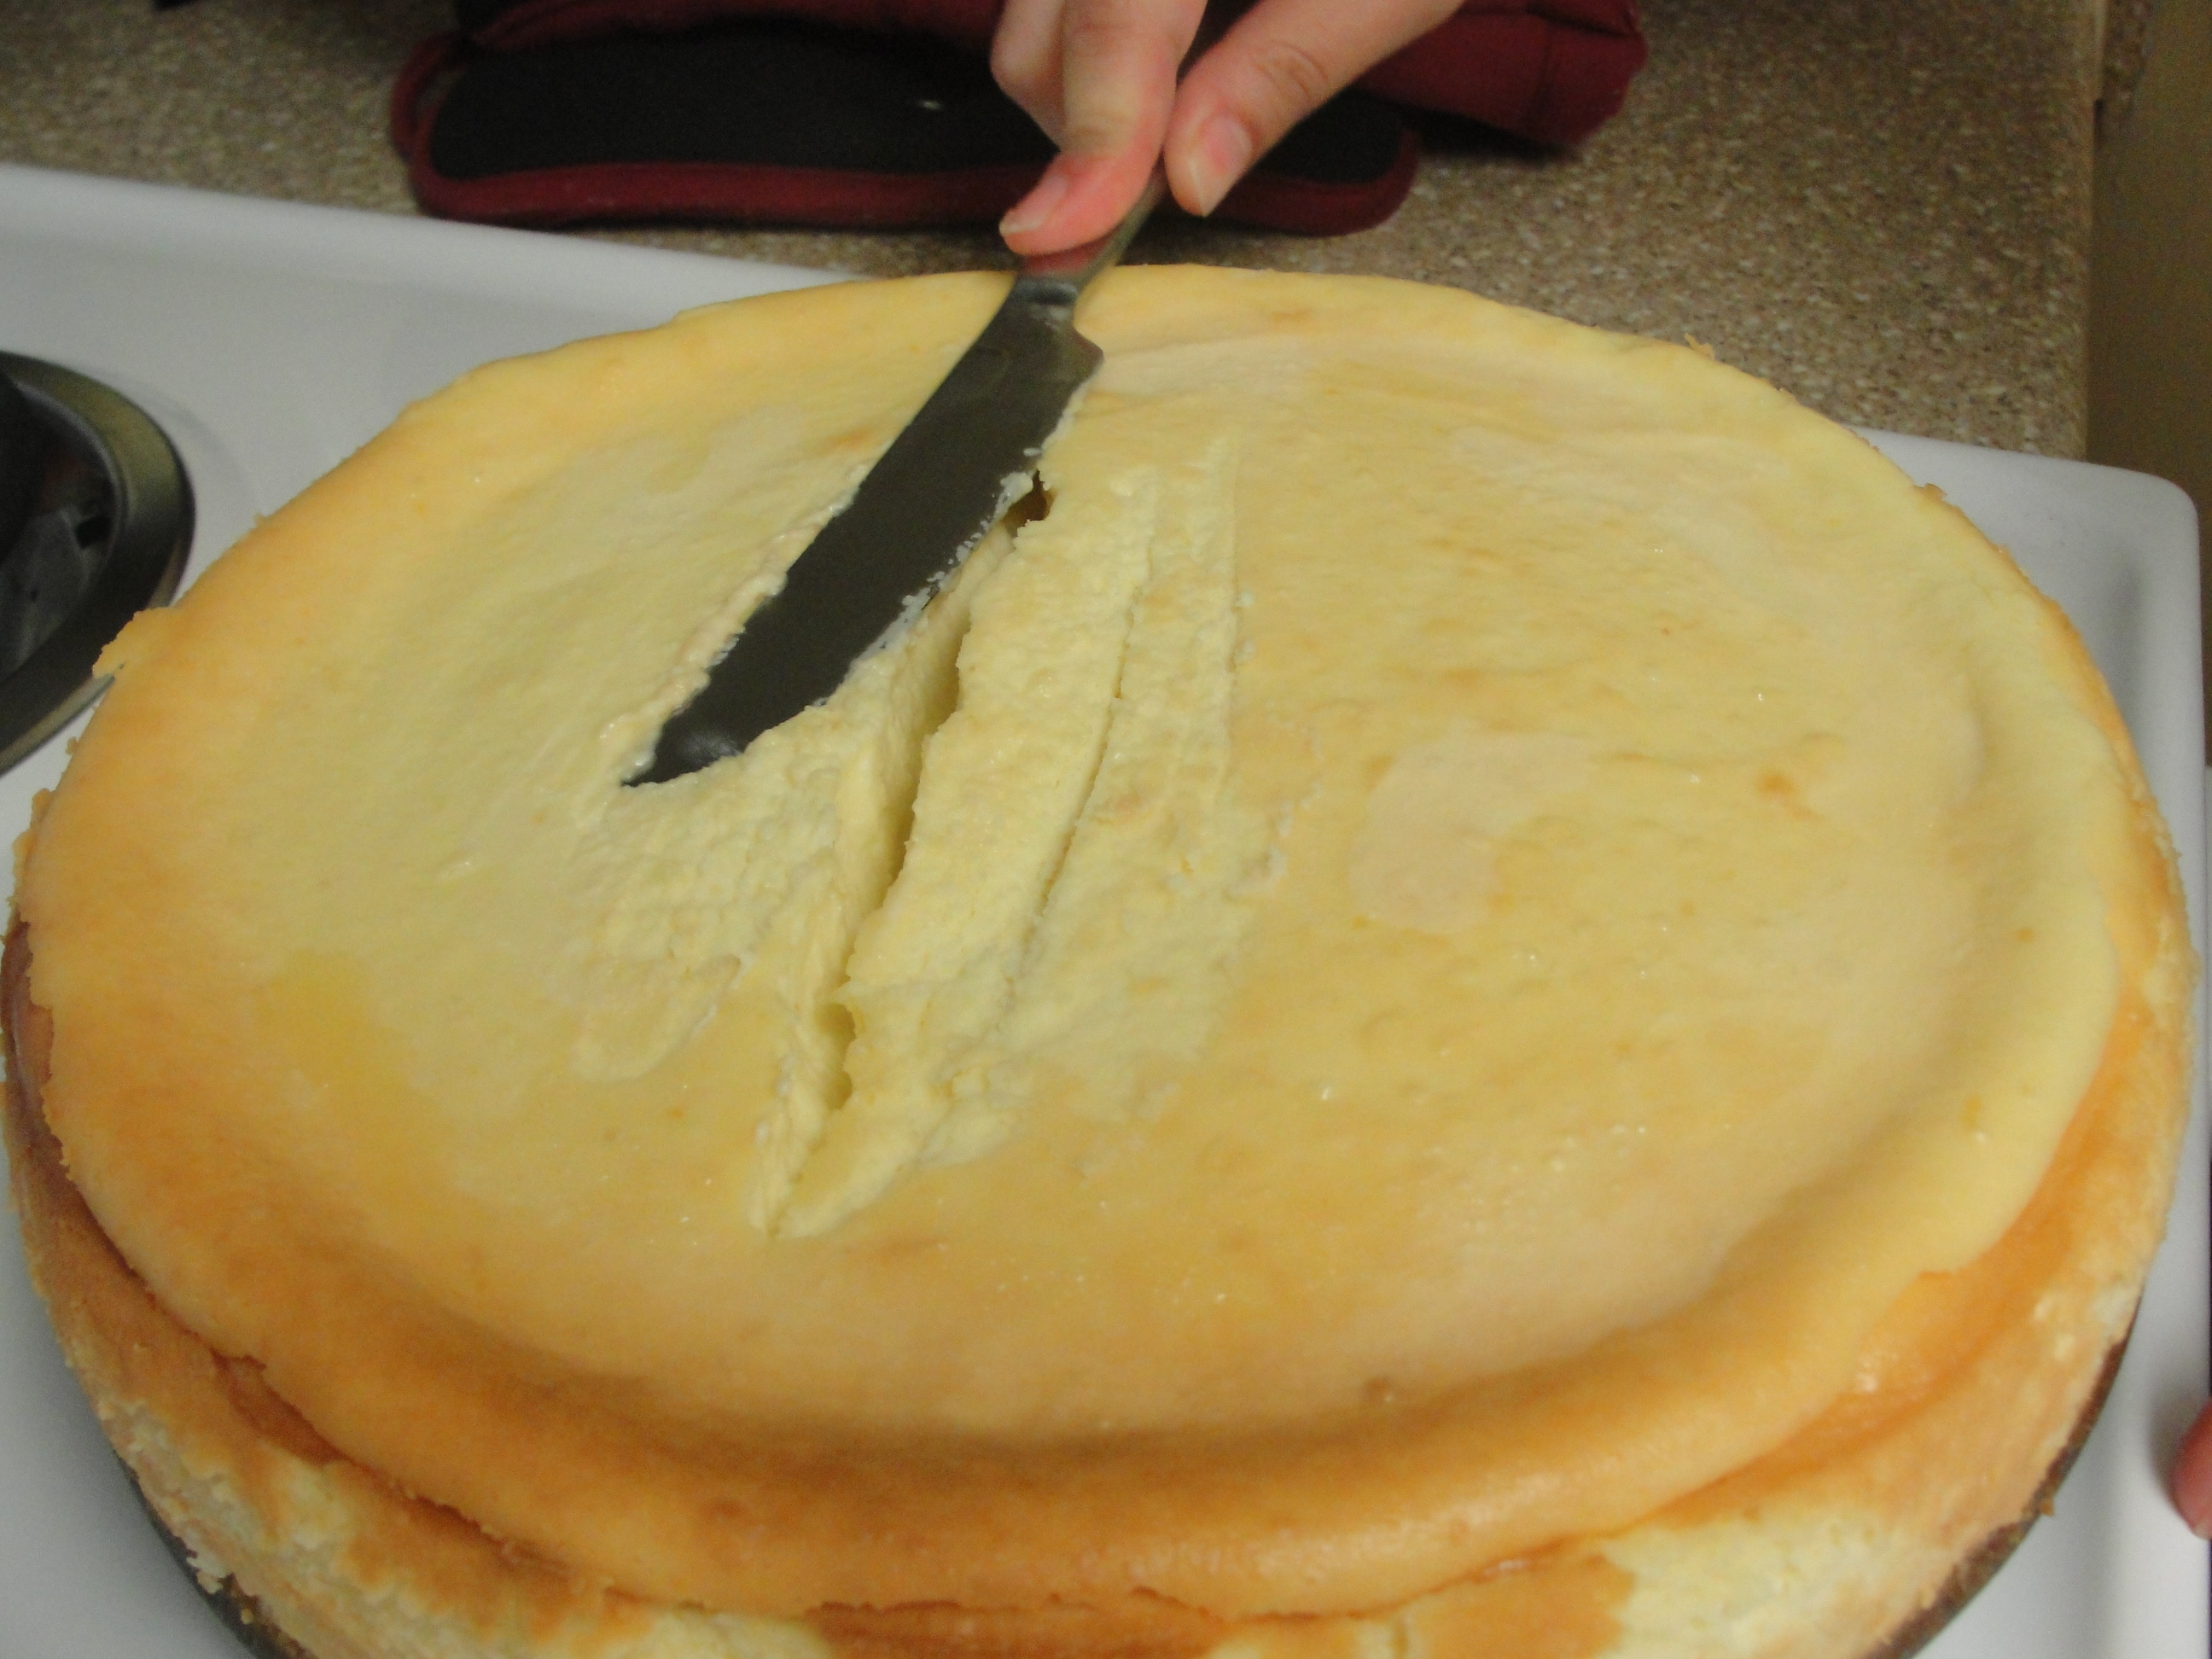
 Heat the butter knife in the hot water, then start pressing the crack to close it slowly by placing the knife in the hot water each time before pressing.
For deep cracks, start pressing far away from the crack to get it to close completely.
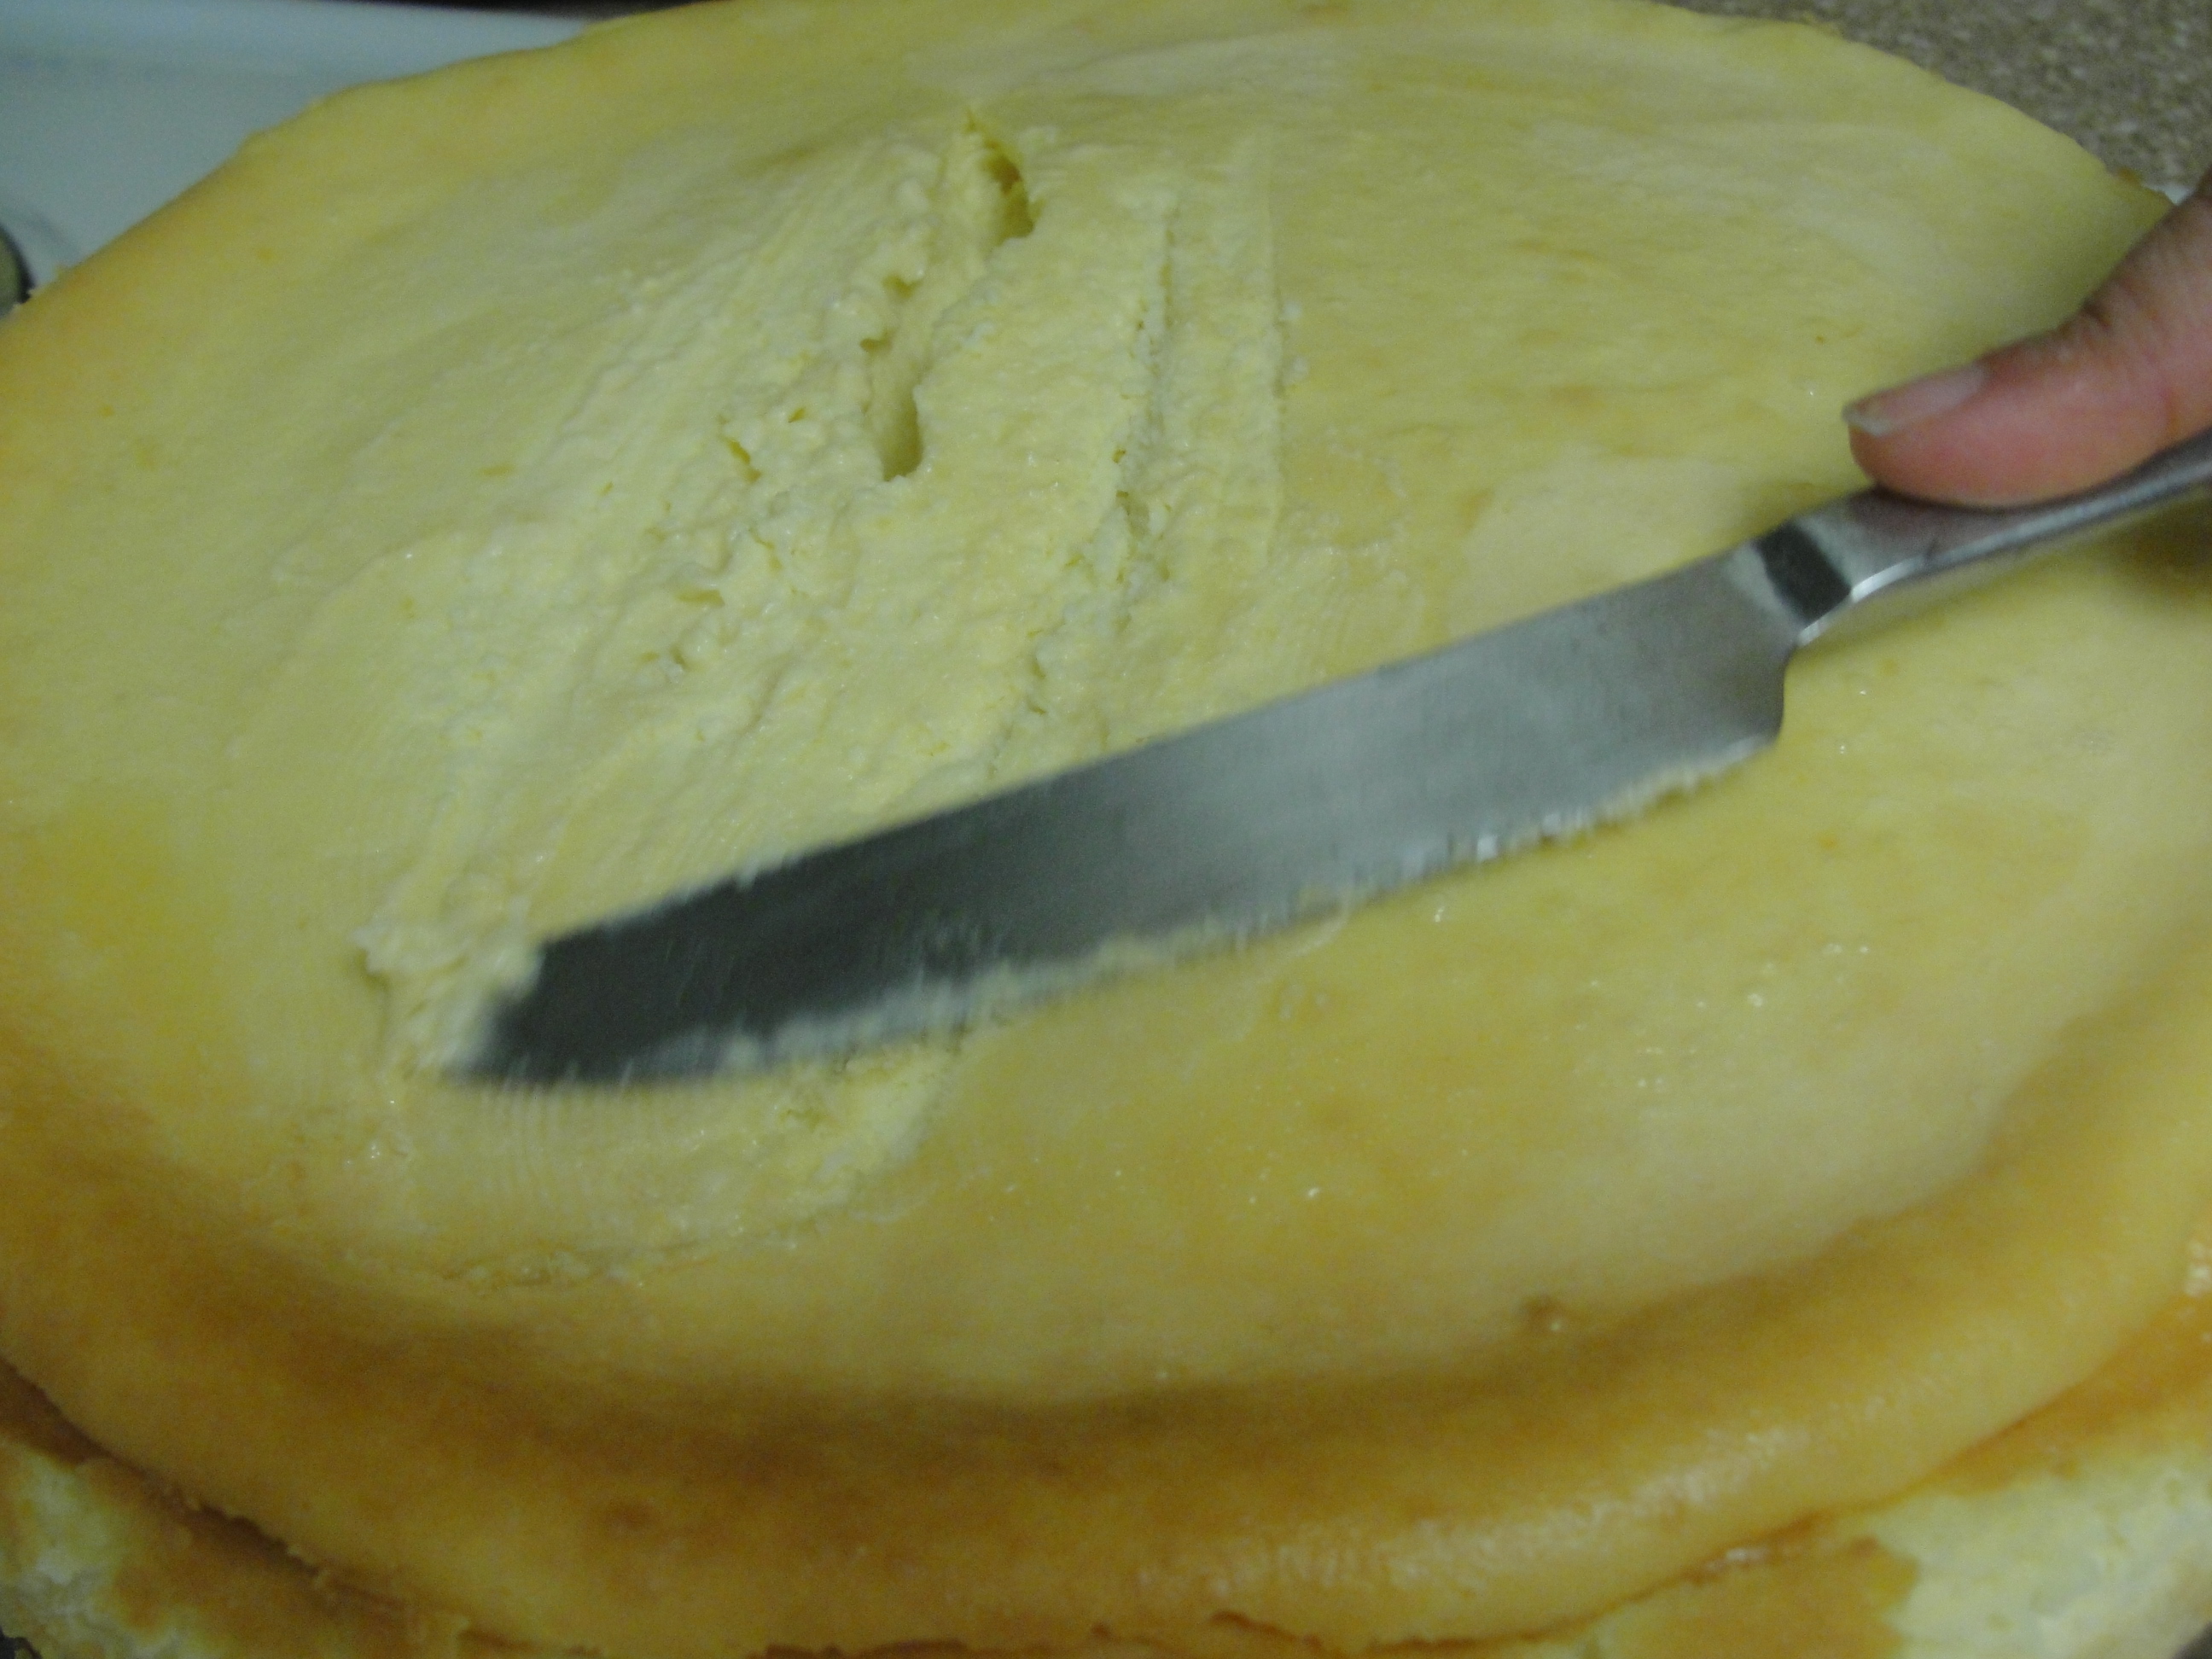
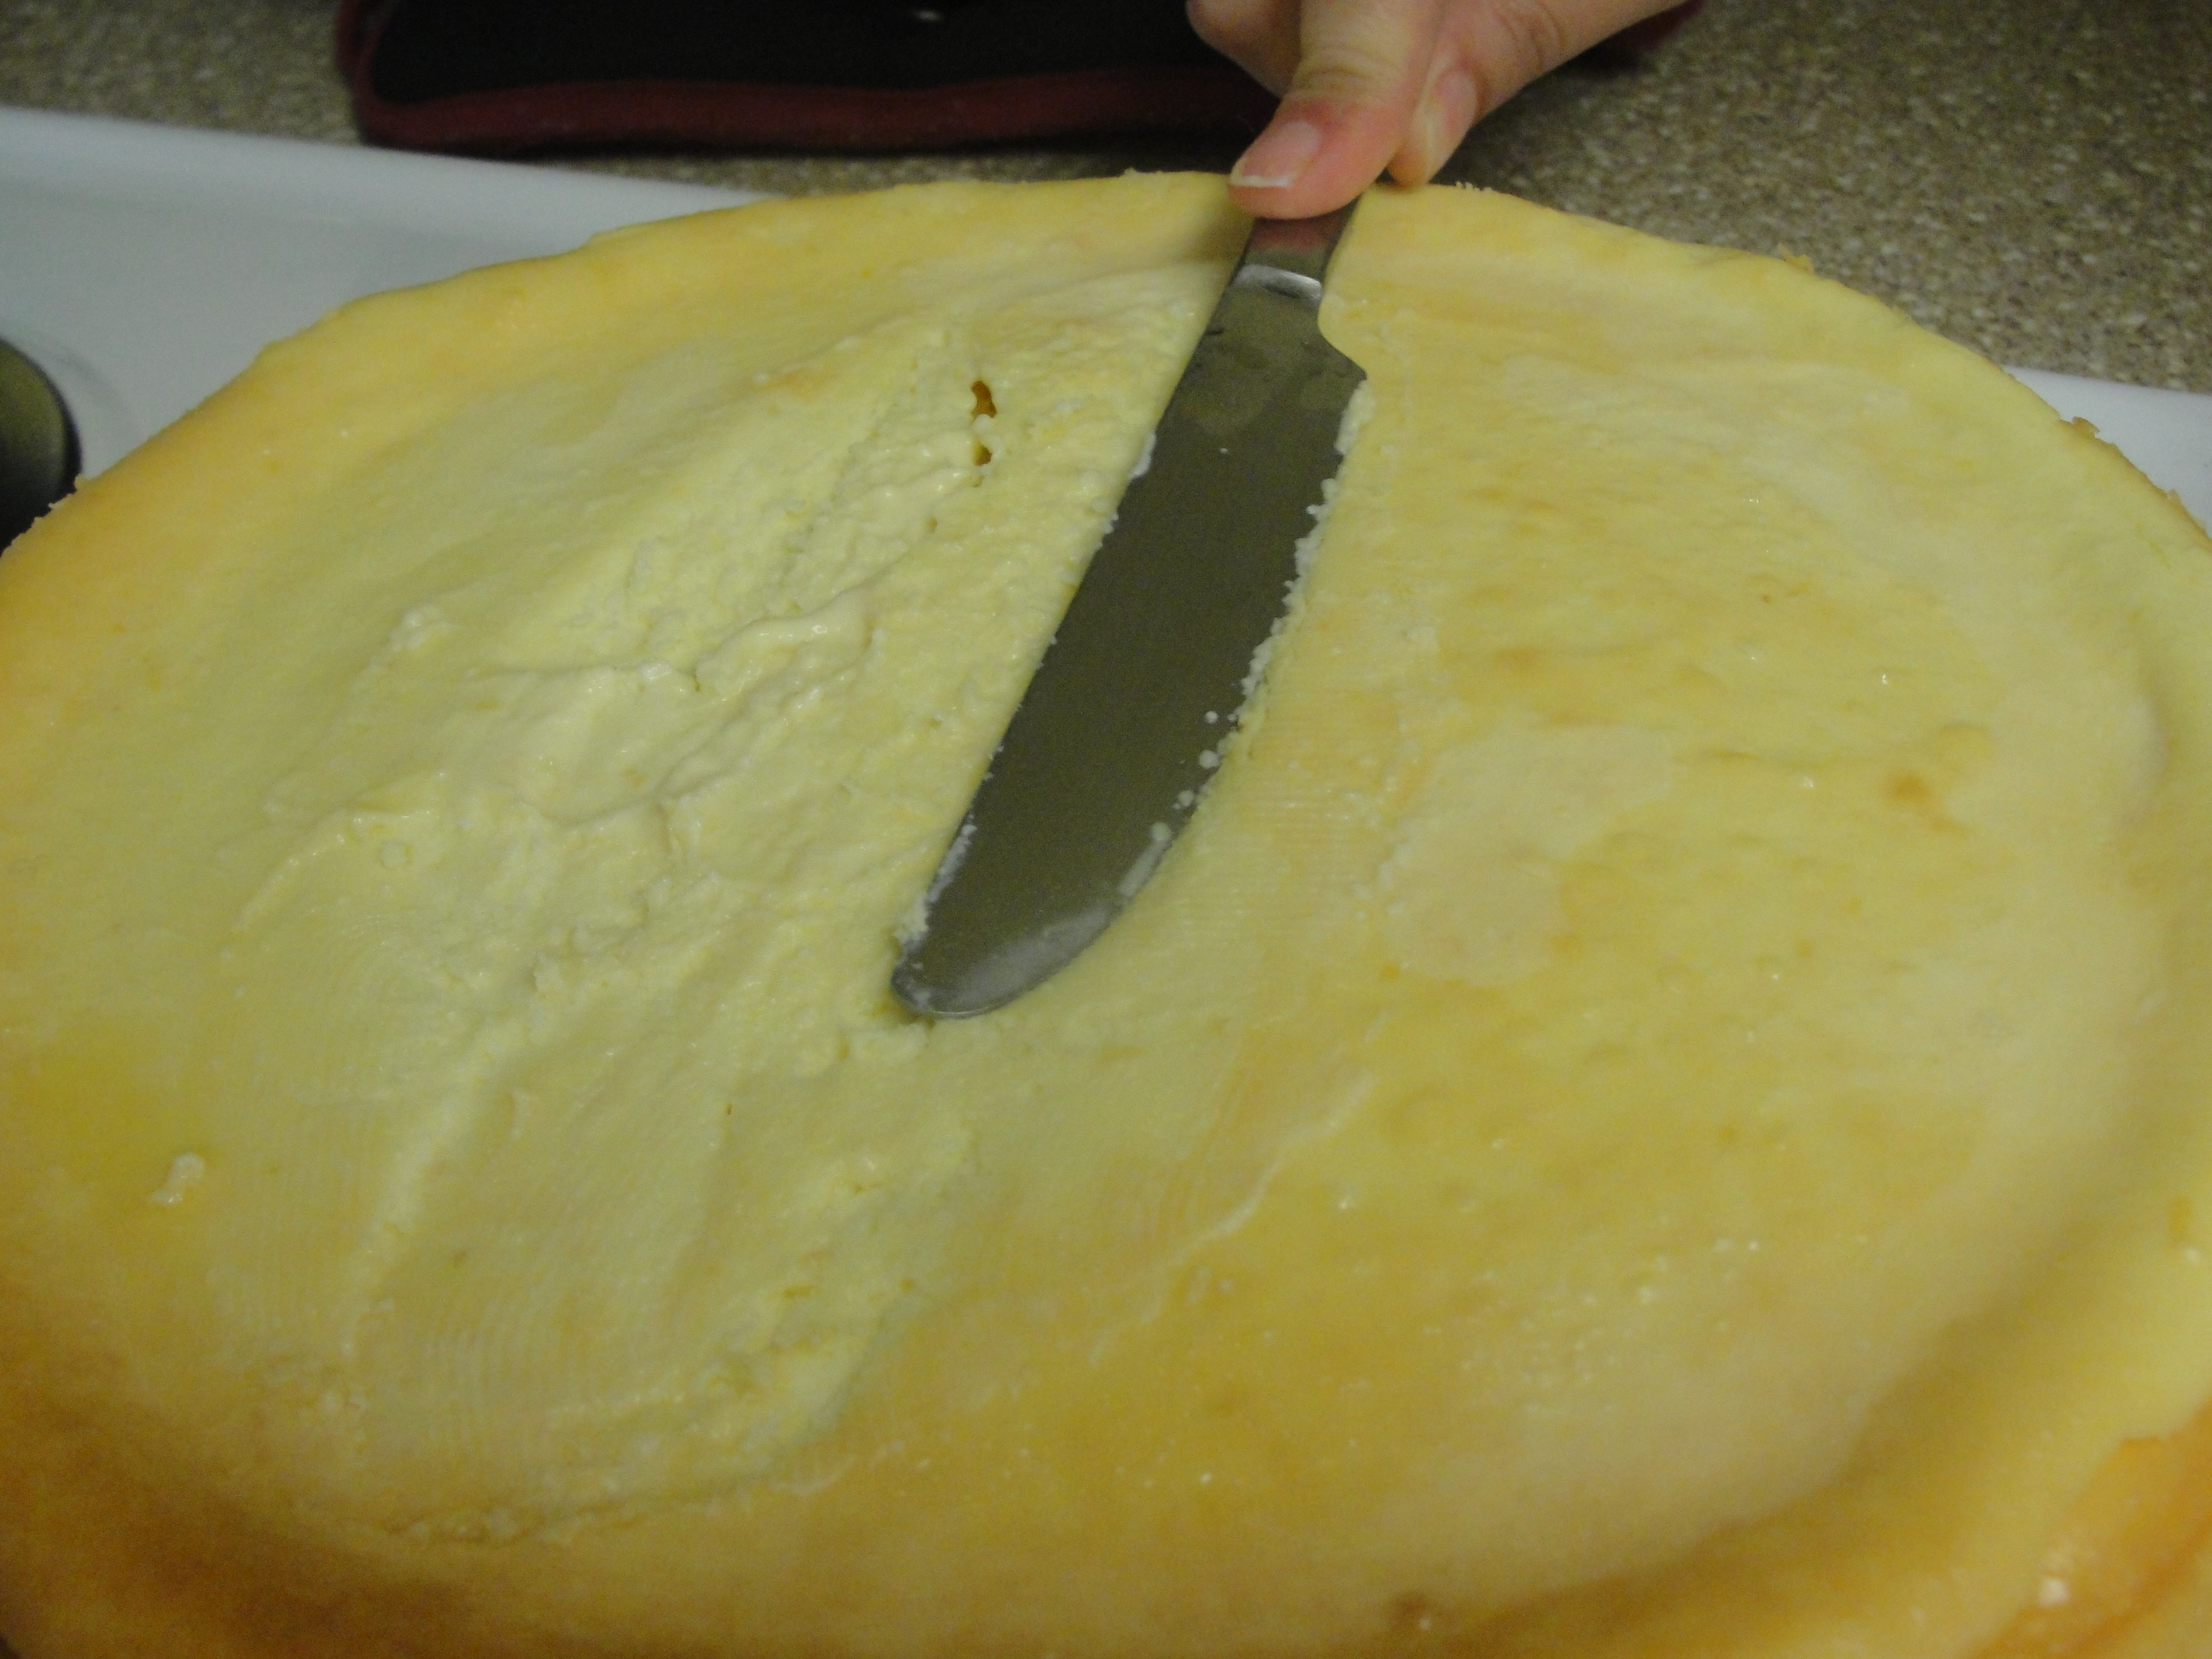
After closing the crack completely, put the butter knife in the hot water and smooth the surface of the cheesecake to make it even.

Smooth the sides of the cheesecake also using the same method.


Heat your choice of jam for a few minutes until it becomes liquid (You can also decorate with chocolate using the same way).


To decorate it easily, place a bowl upside down.
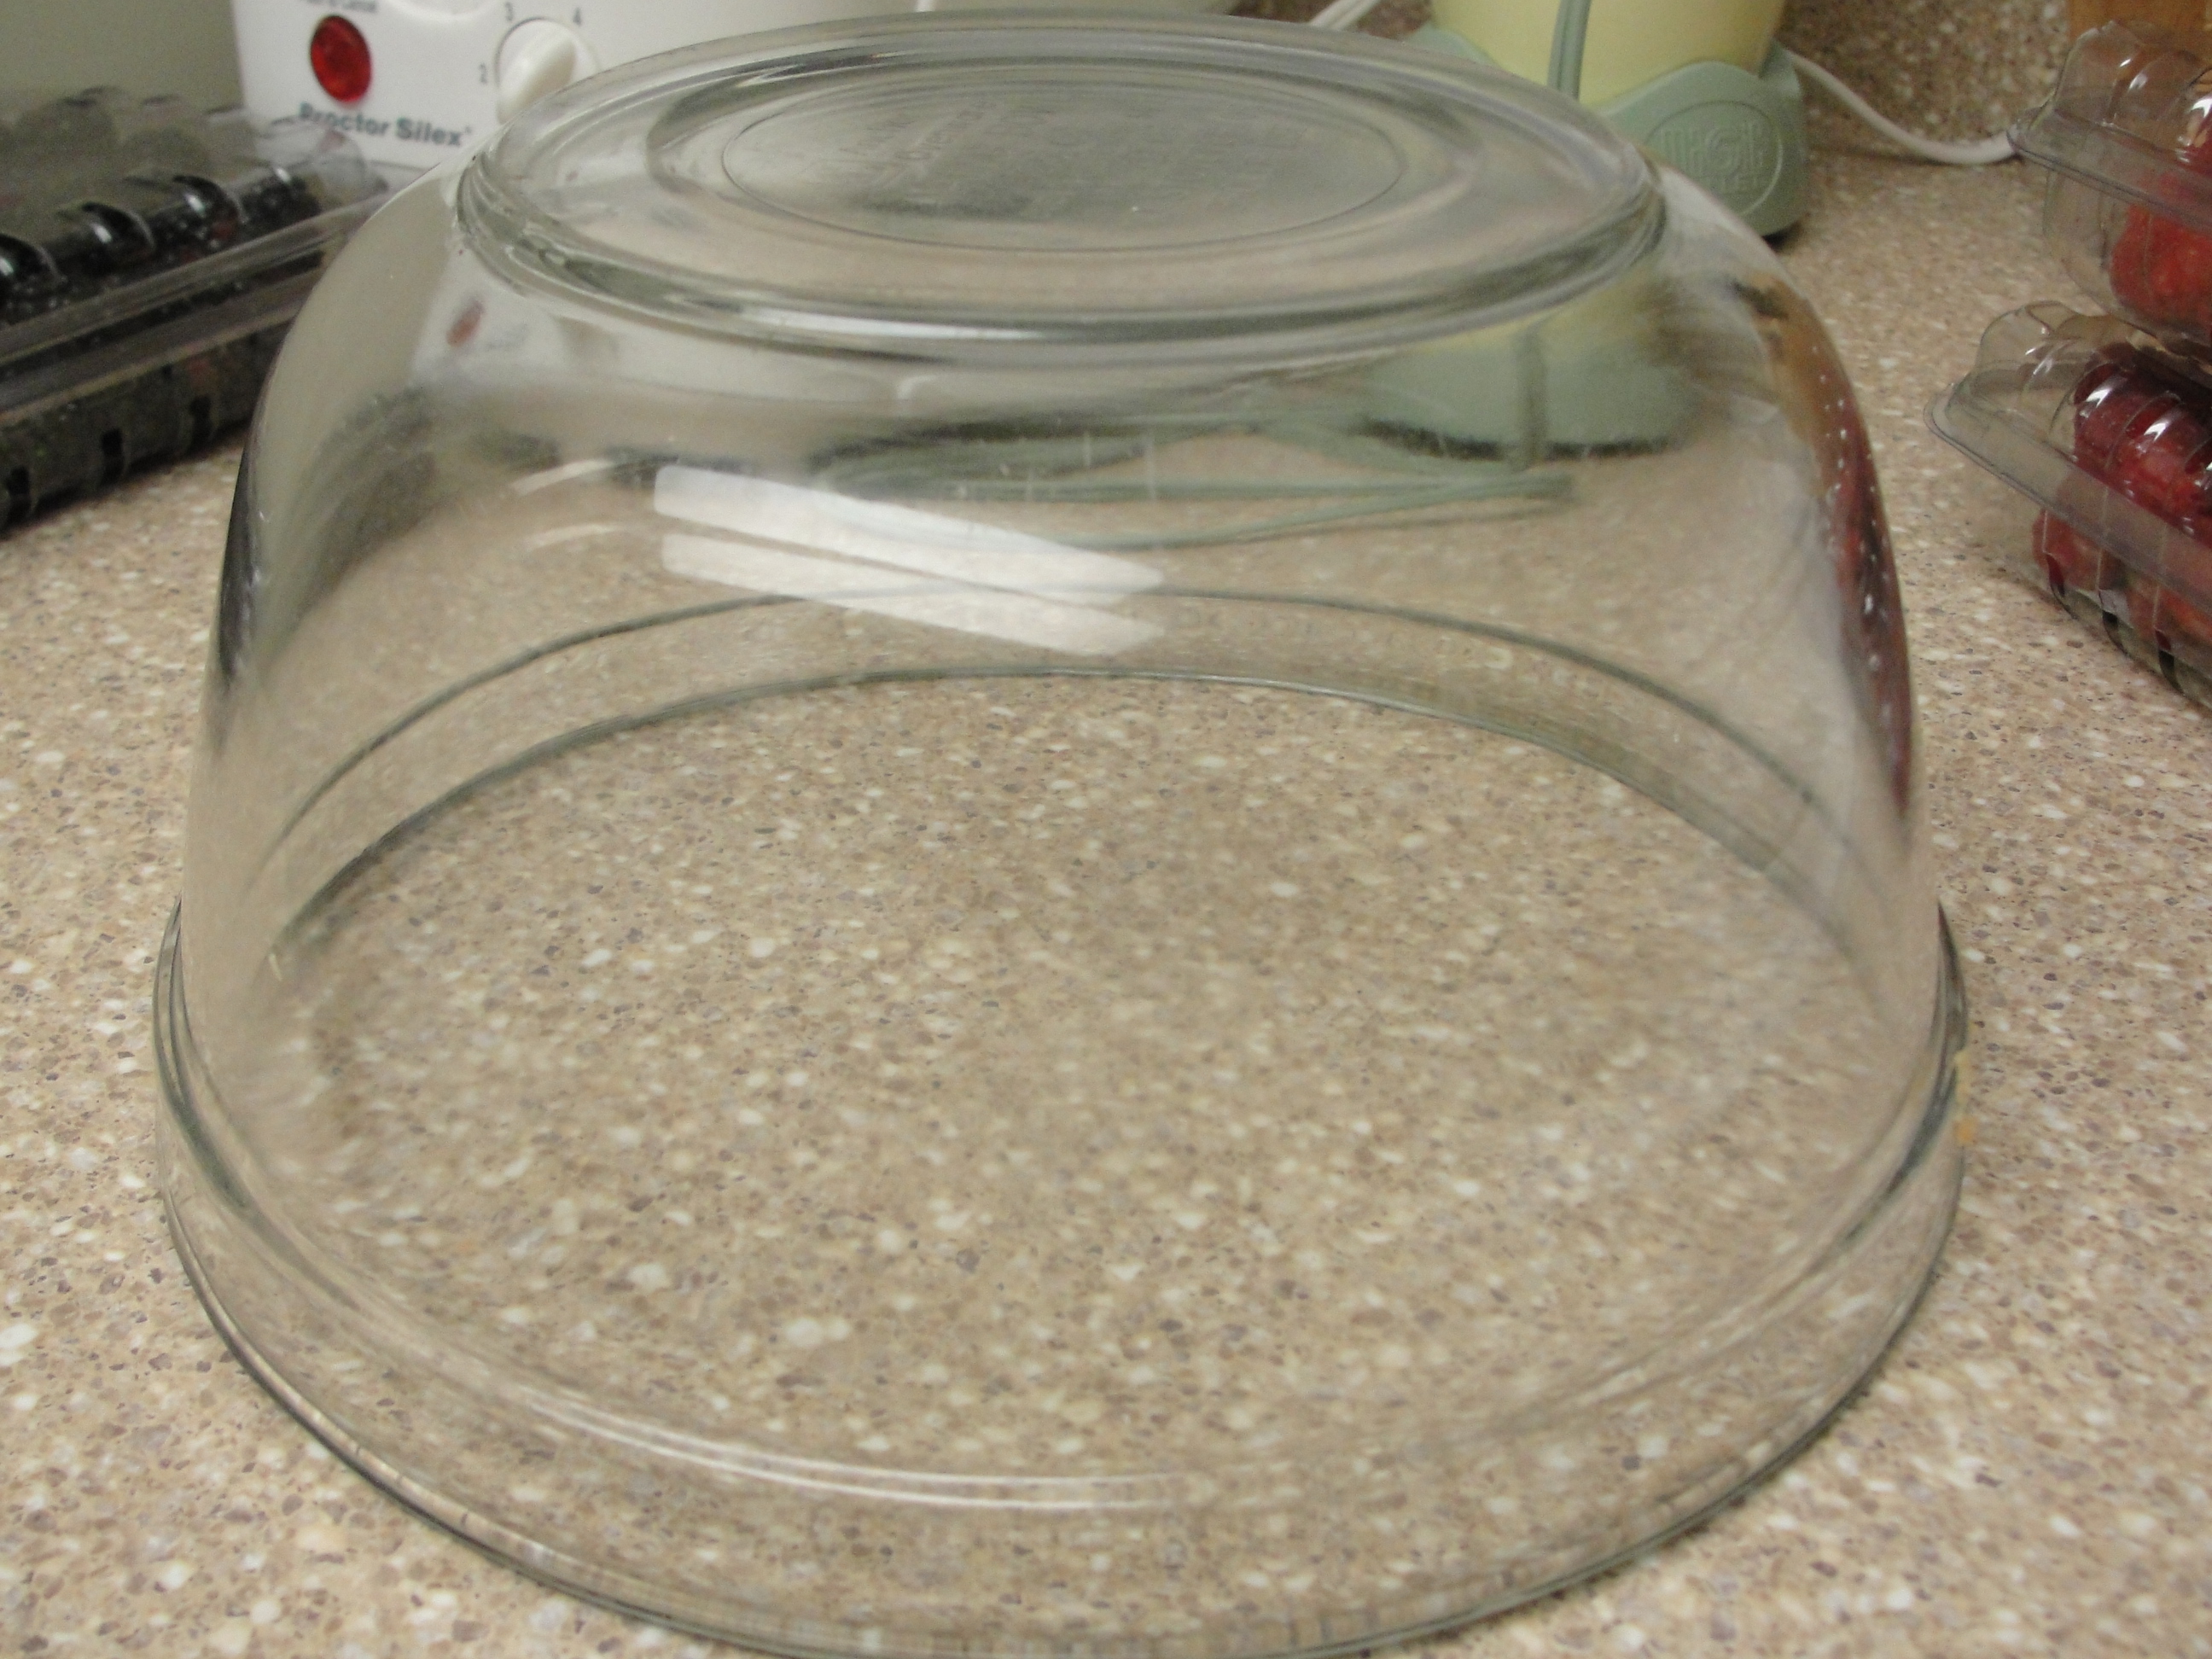
Cover the bowl with a kitchen towel then place the cheesecake on top of it to catch any excess jam.

Using a small spoon, start pouring some of the jam on the edges allowing it to drip down every 1/2 an inch.

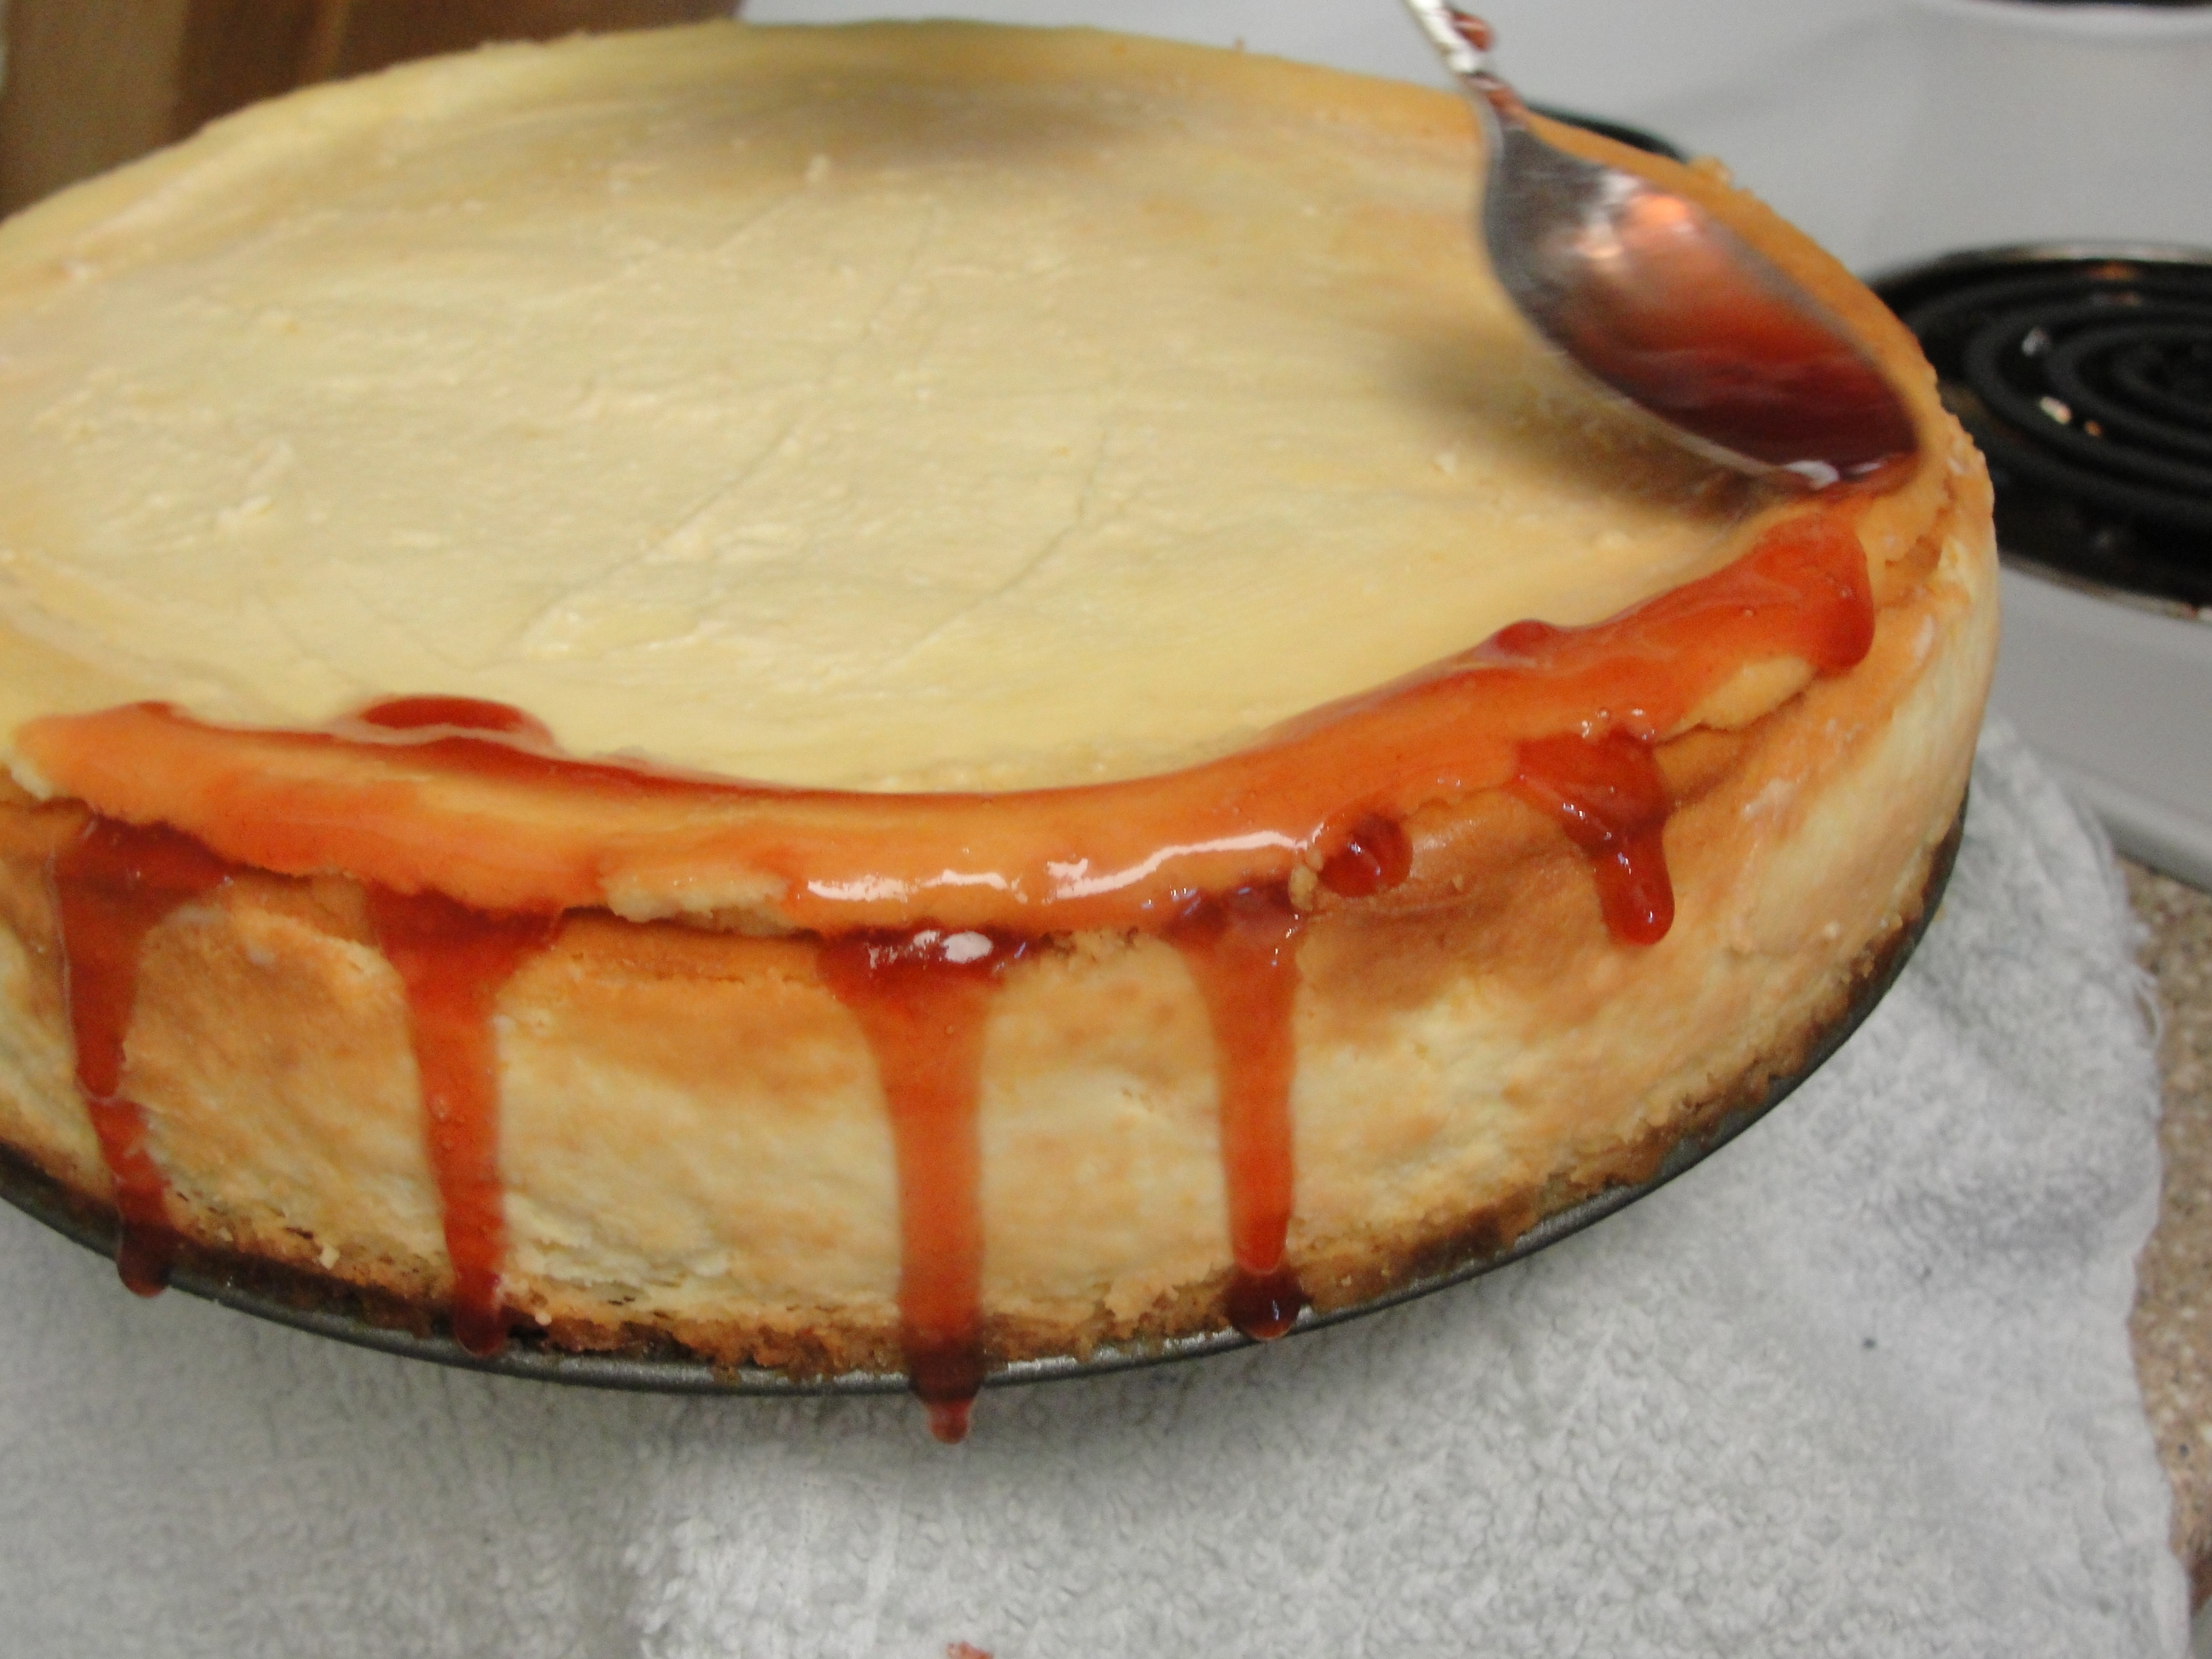


Pour the rest of the jam on top of the cheesecake and spread evenly to cover the top.


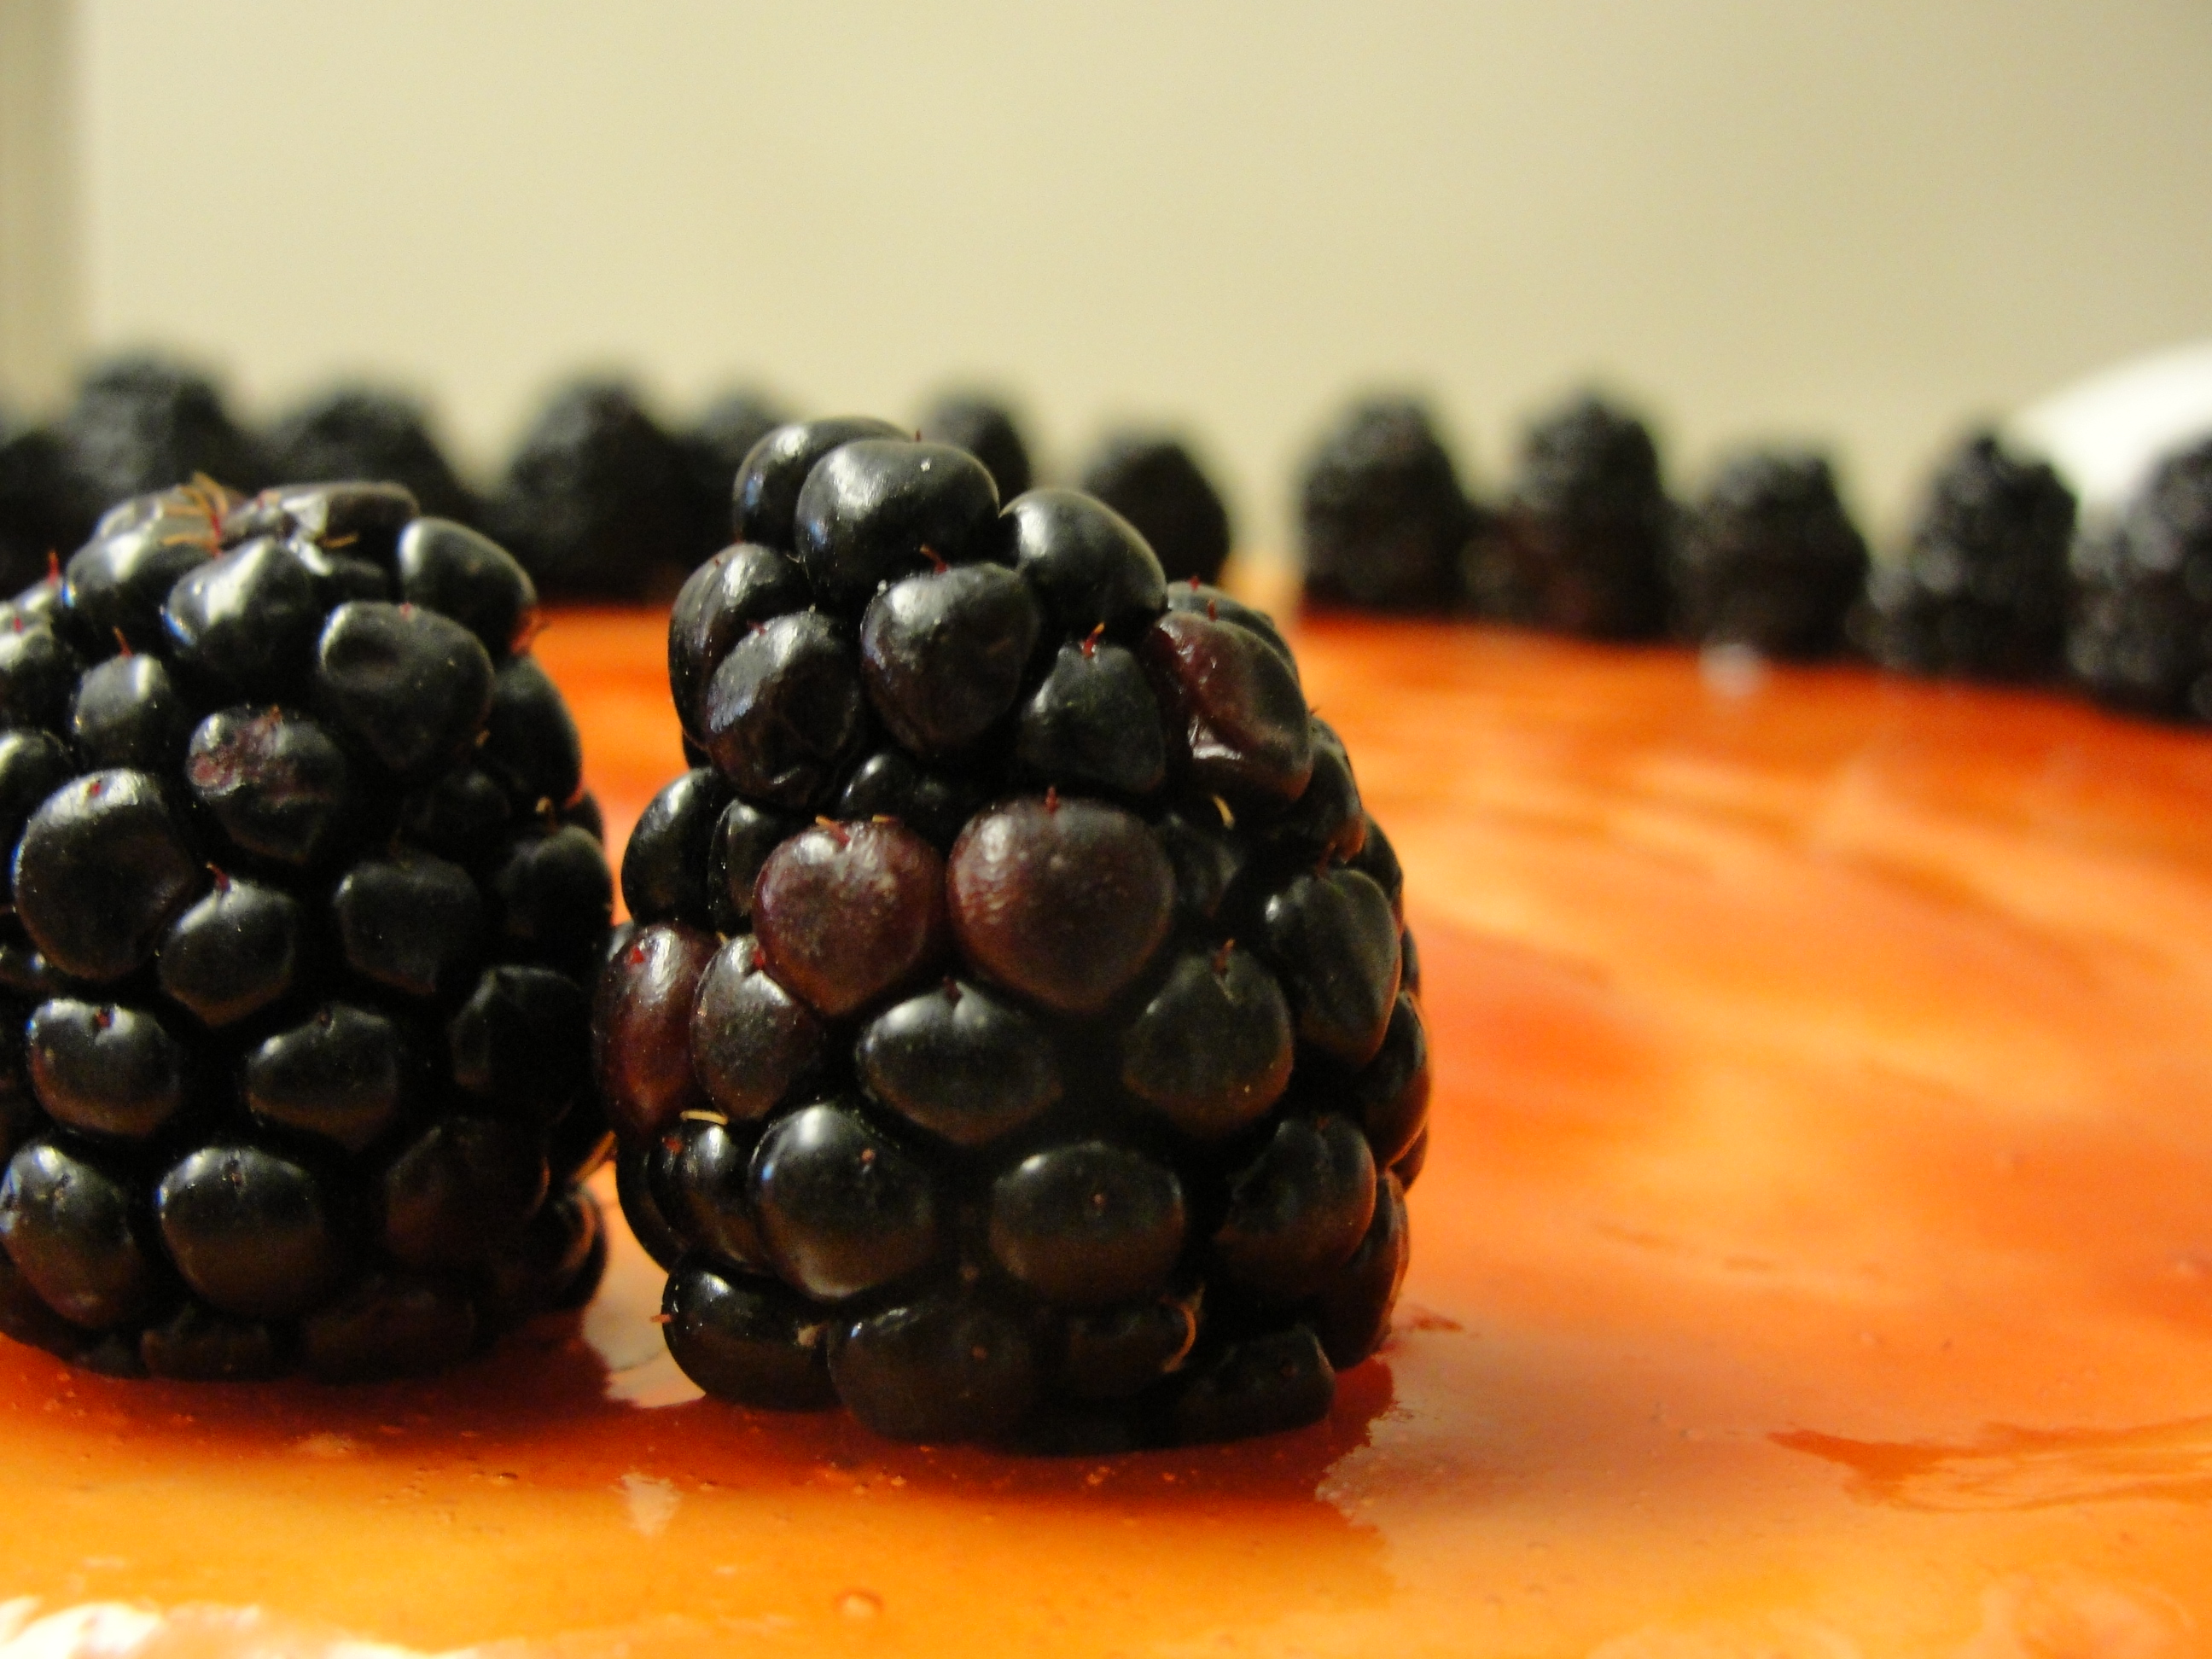
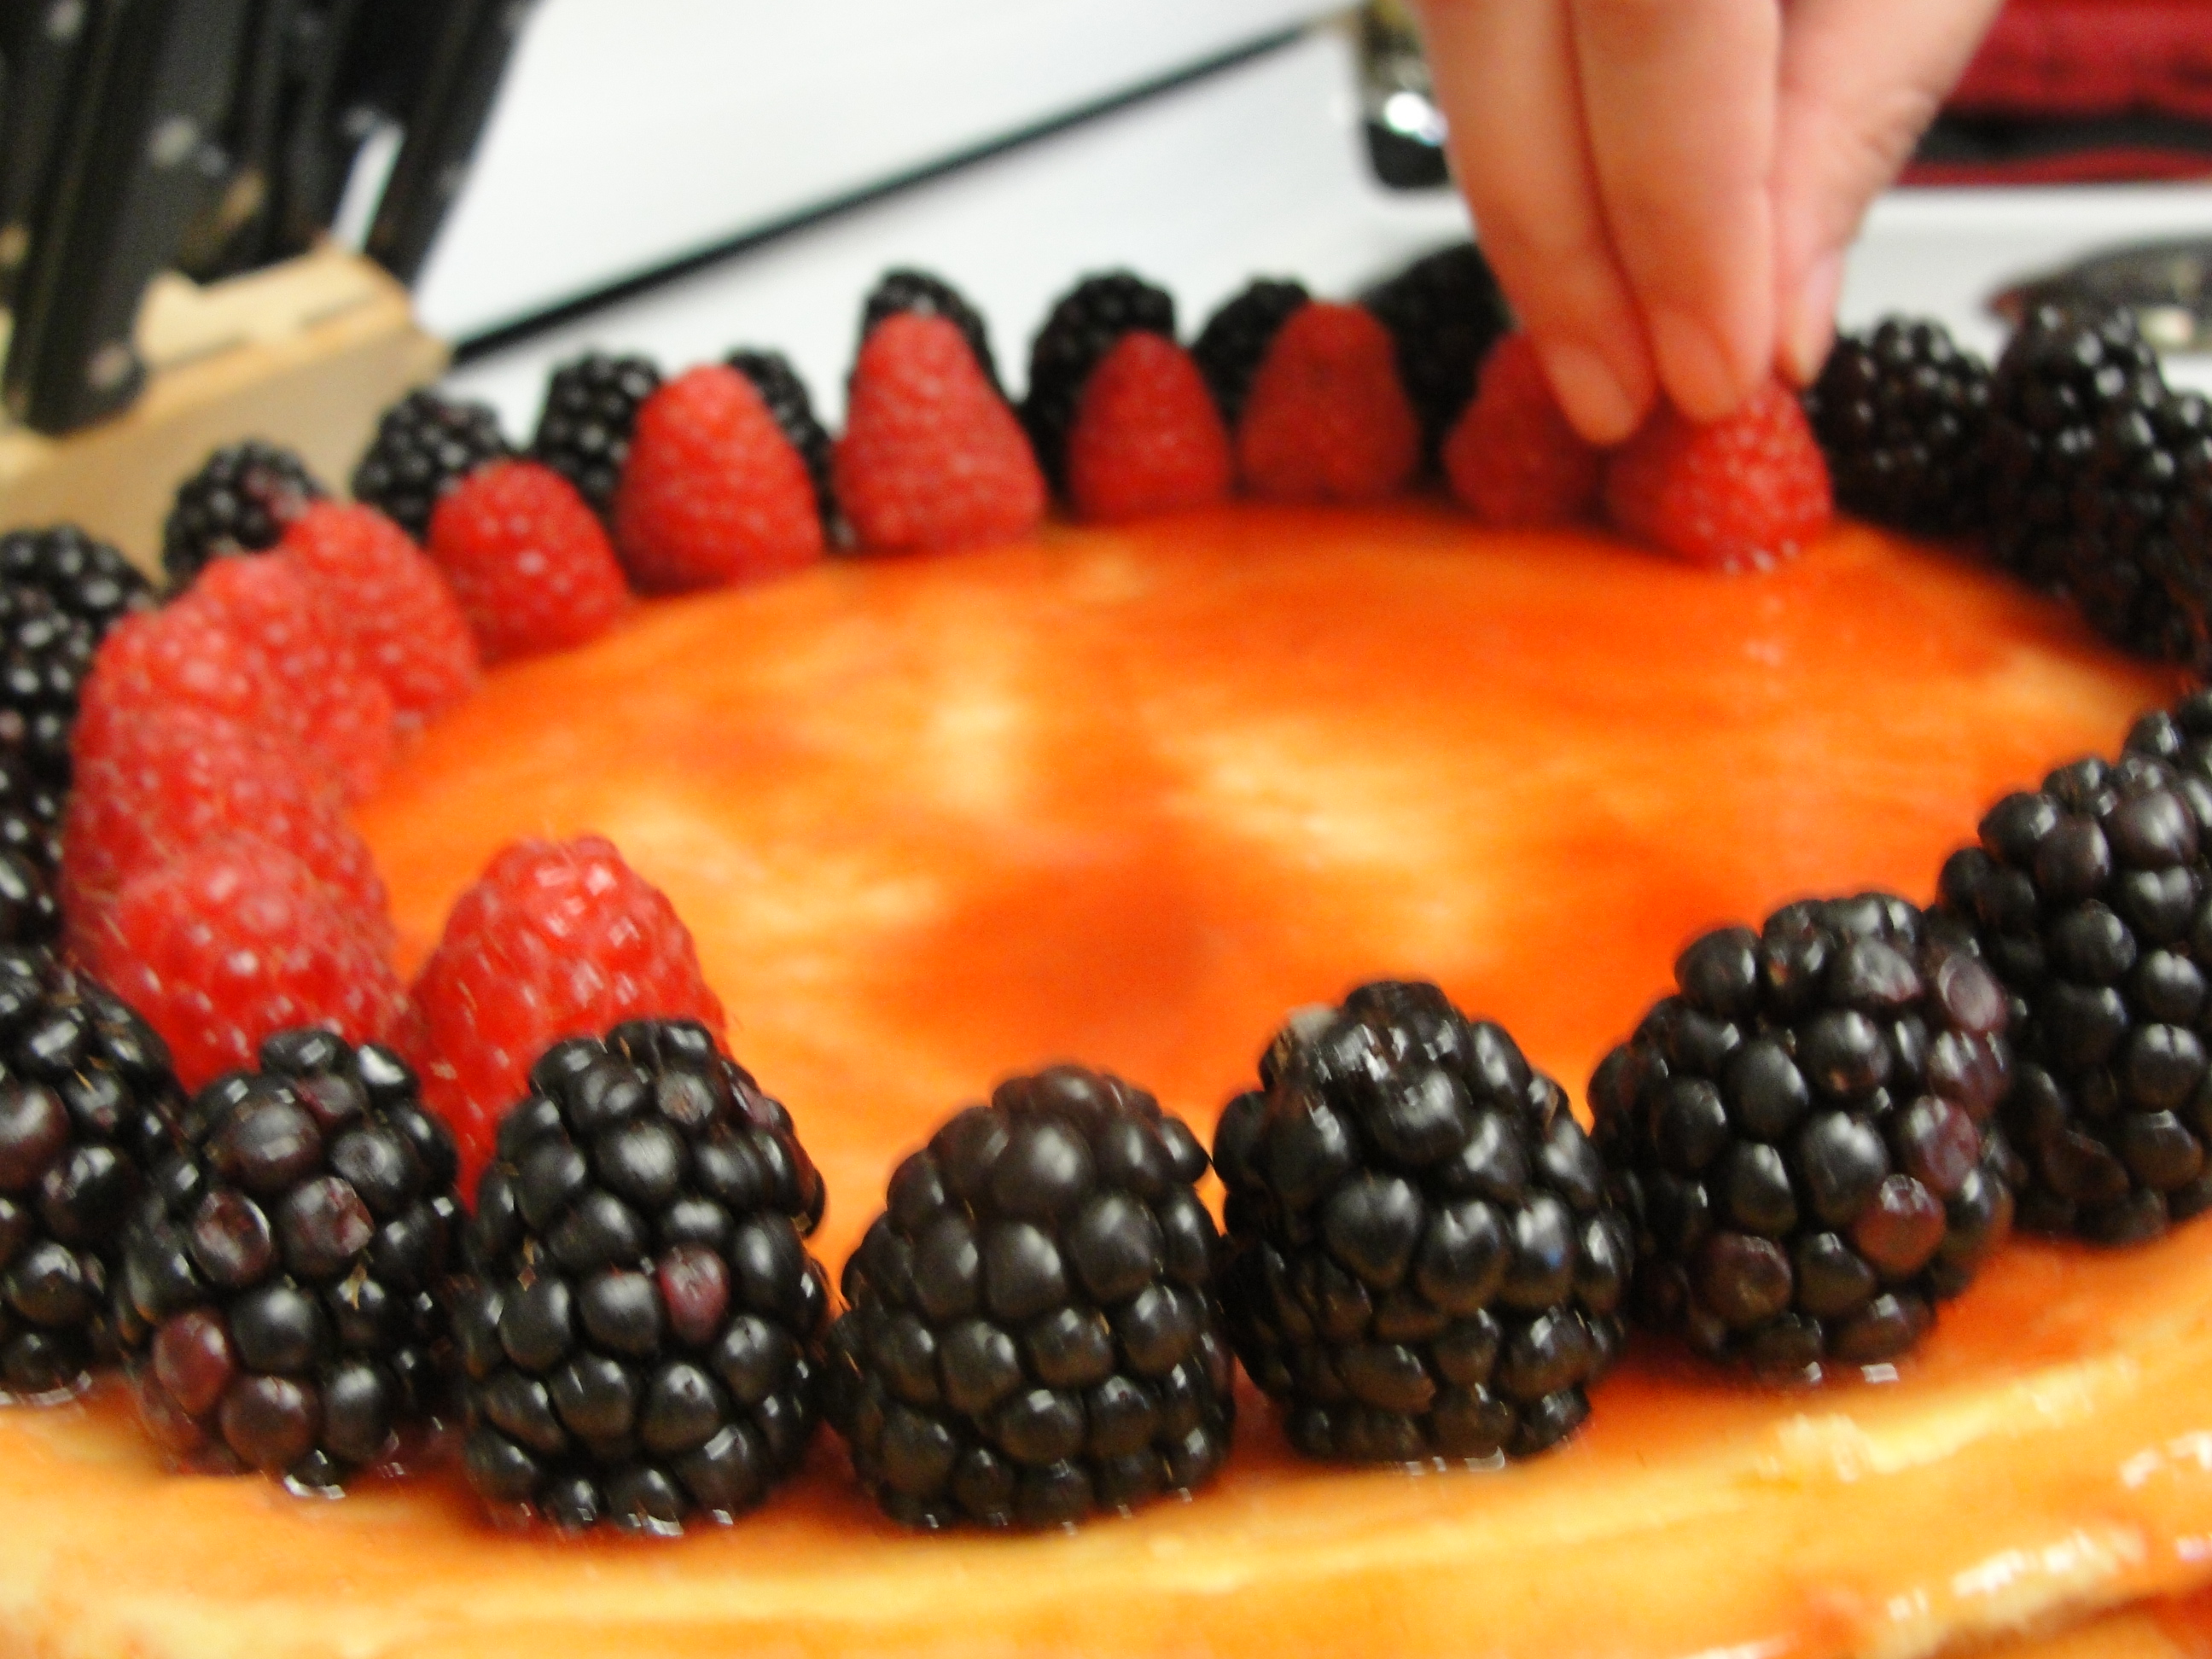
Now decorate with the berries or fruit of your choice.


Making your pizza at home cannot be any easier when you have the perfect dough for it. Here’s the ingredients and the steps to make a medium size pizza.

Ingredients for the Dough:
Two Cups of Flour
Two tablespoons of Vegetable Oil
Pinch of Salt
One Tablespoon of Yeast
One Cup of Warm Water
How to make the Dough:
Put the flour in the bowl.
Add the vegetable oil and salt to the flour.
Mix the yeast in a cup of warm water. Do this until the yeast dissolves.
Add the water and yeast mix into the bowl.
Using your hand, mix all the ingredients in the bowl.
Start kneading the dough until it turns into one piece of sticky dough.
Warm the dough by covering the bowl towels and/or blanket. The dough must get to 85F. Keep it covered for 30 minutes.
Or if you are in a hurry, heat the oven and place the dough in it after turning it off for 10 minutes. It is now ready to use.
Here is another recipe for the yogurt cheese which I shared with you in a previous post.
I love yogurt cheese and I add it to anything. I sometimes make scrambled eggs and mix the yogurt cheese with it.
This is a Salad recipe that contains yogurt cheese.
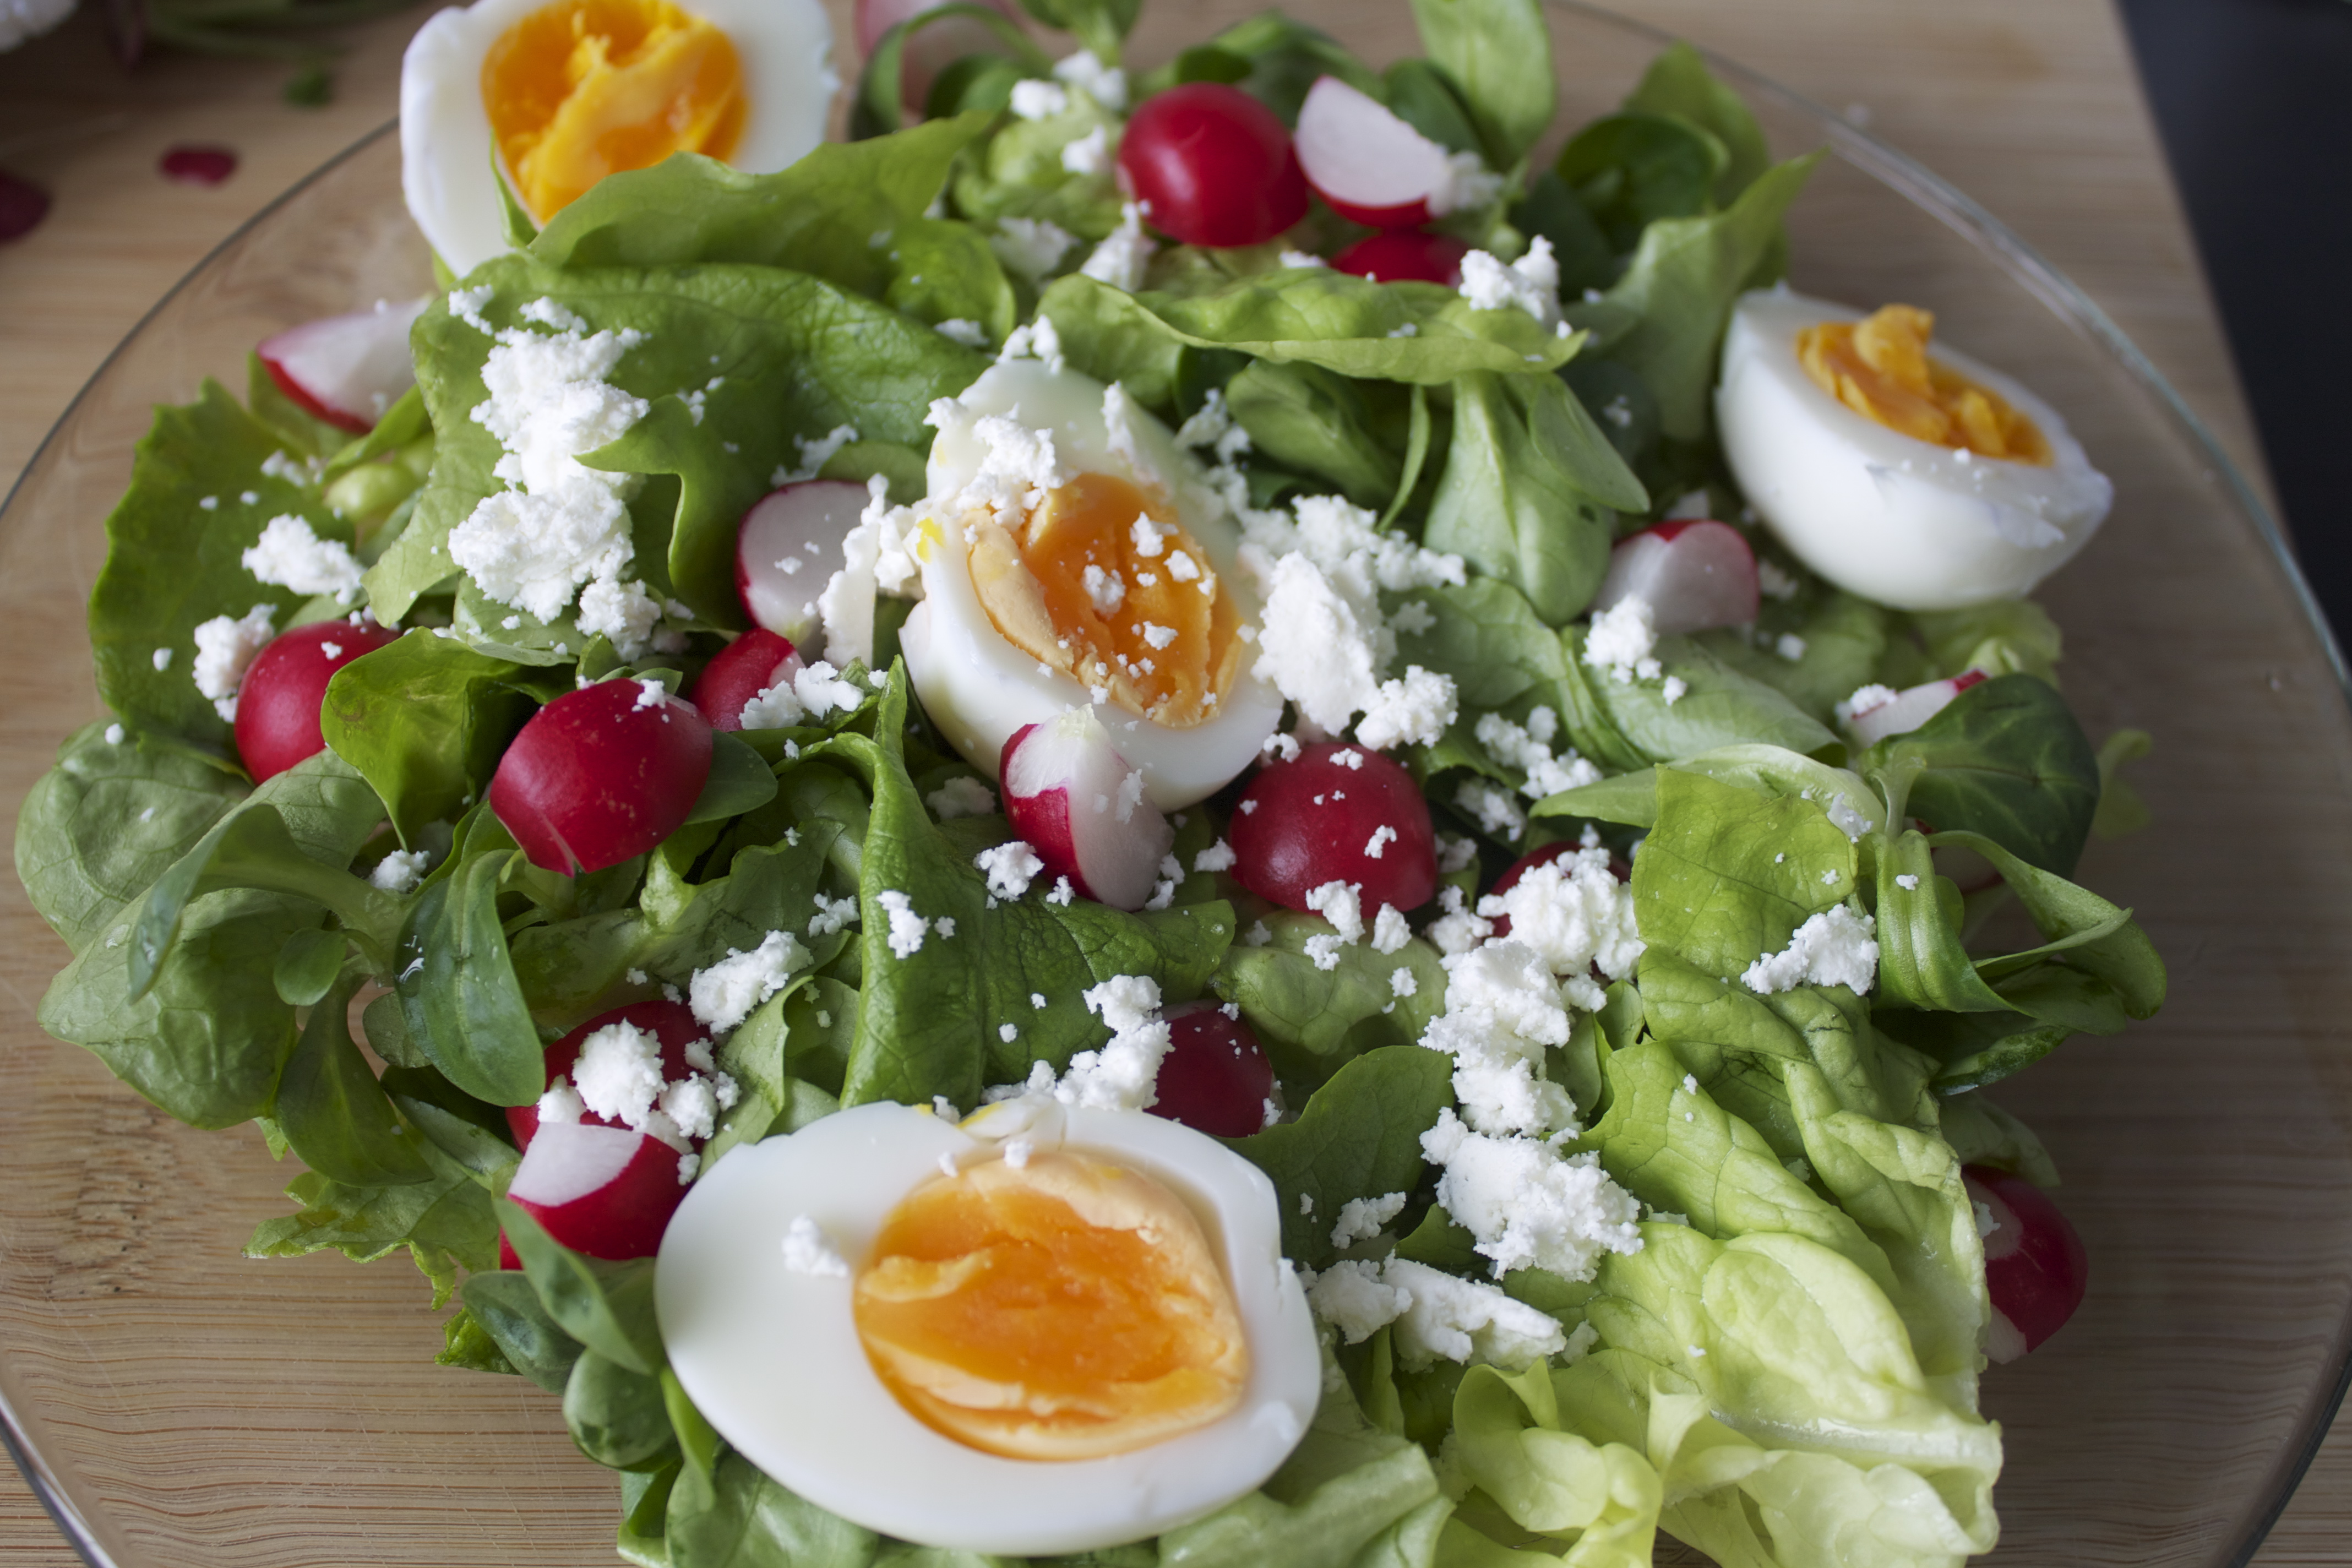
Ingredients:
Hard Boiled Eggs
Radish
Iceberg Lettuce
Purslane
Yogurt Cheese
2 Tbsp of Olive Oil
1/2 Tbsp of Lemon Juice
I previously introduced you to Yogurt Cheese Fatayer (Pies). Today, I will show you how to make yogurt cheese at home.
Ingredients:
2 Liters of Plain, Full Fat Yogurt (about 8 cups.)
Salt
Water
How to Prepare:
Mix the yogurt with water to get it a bit runny (not too runny though). I used 2 cups for the 2 liters.
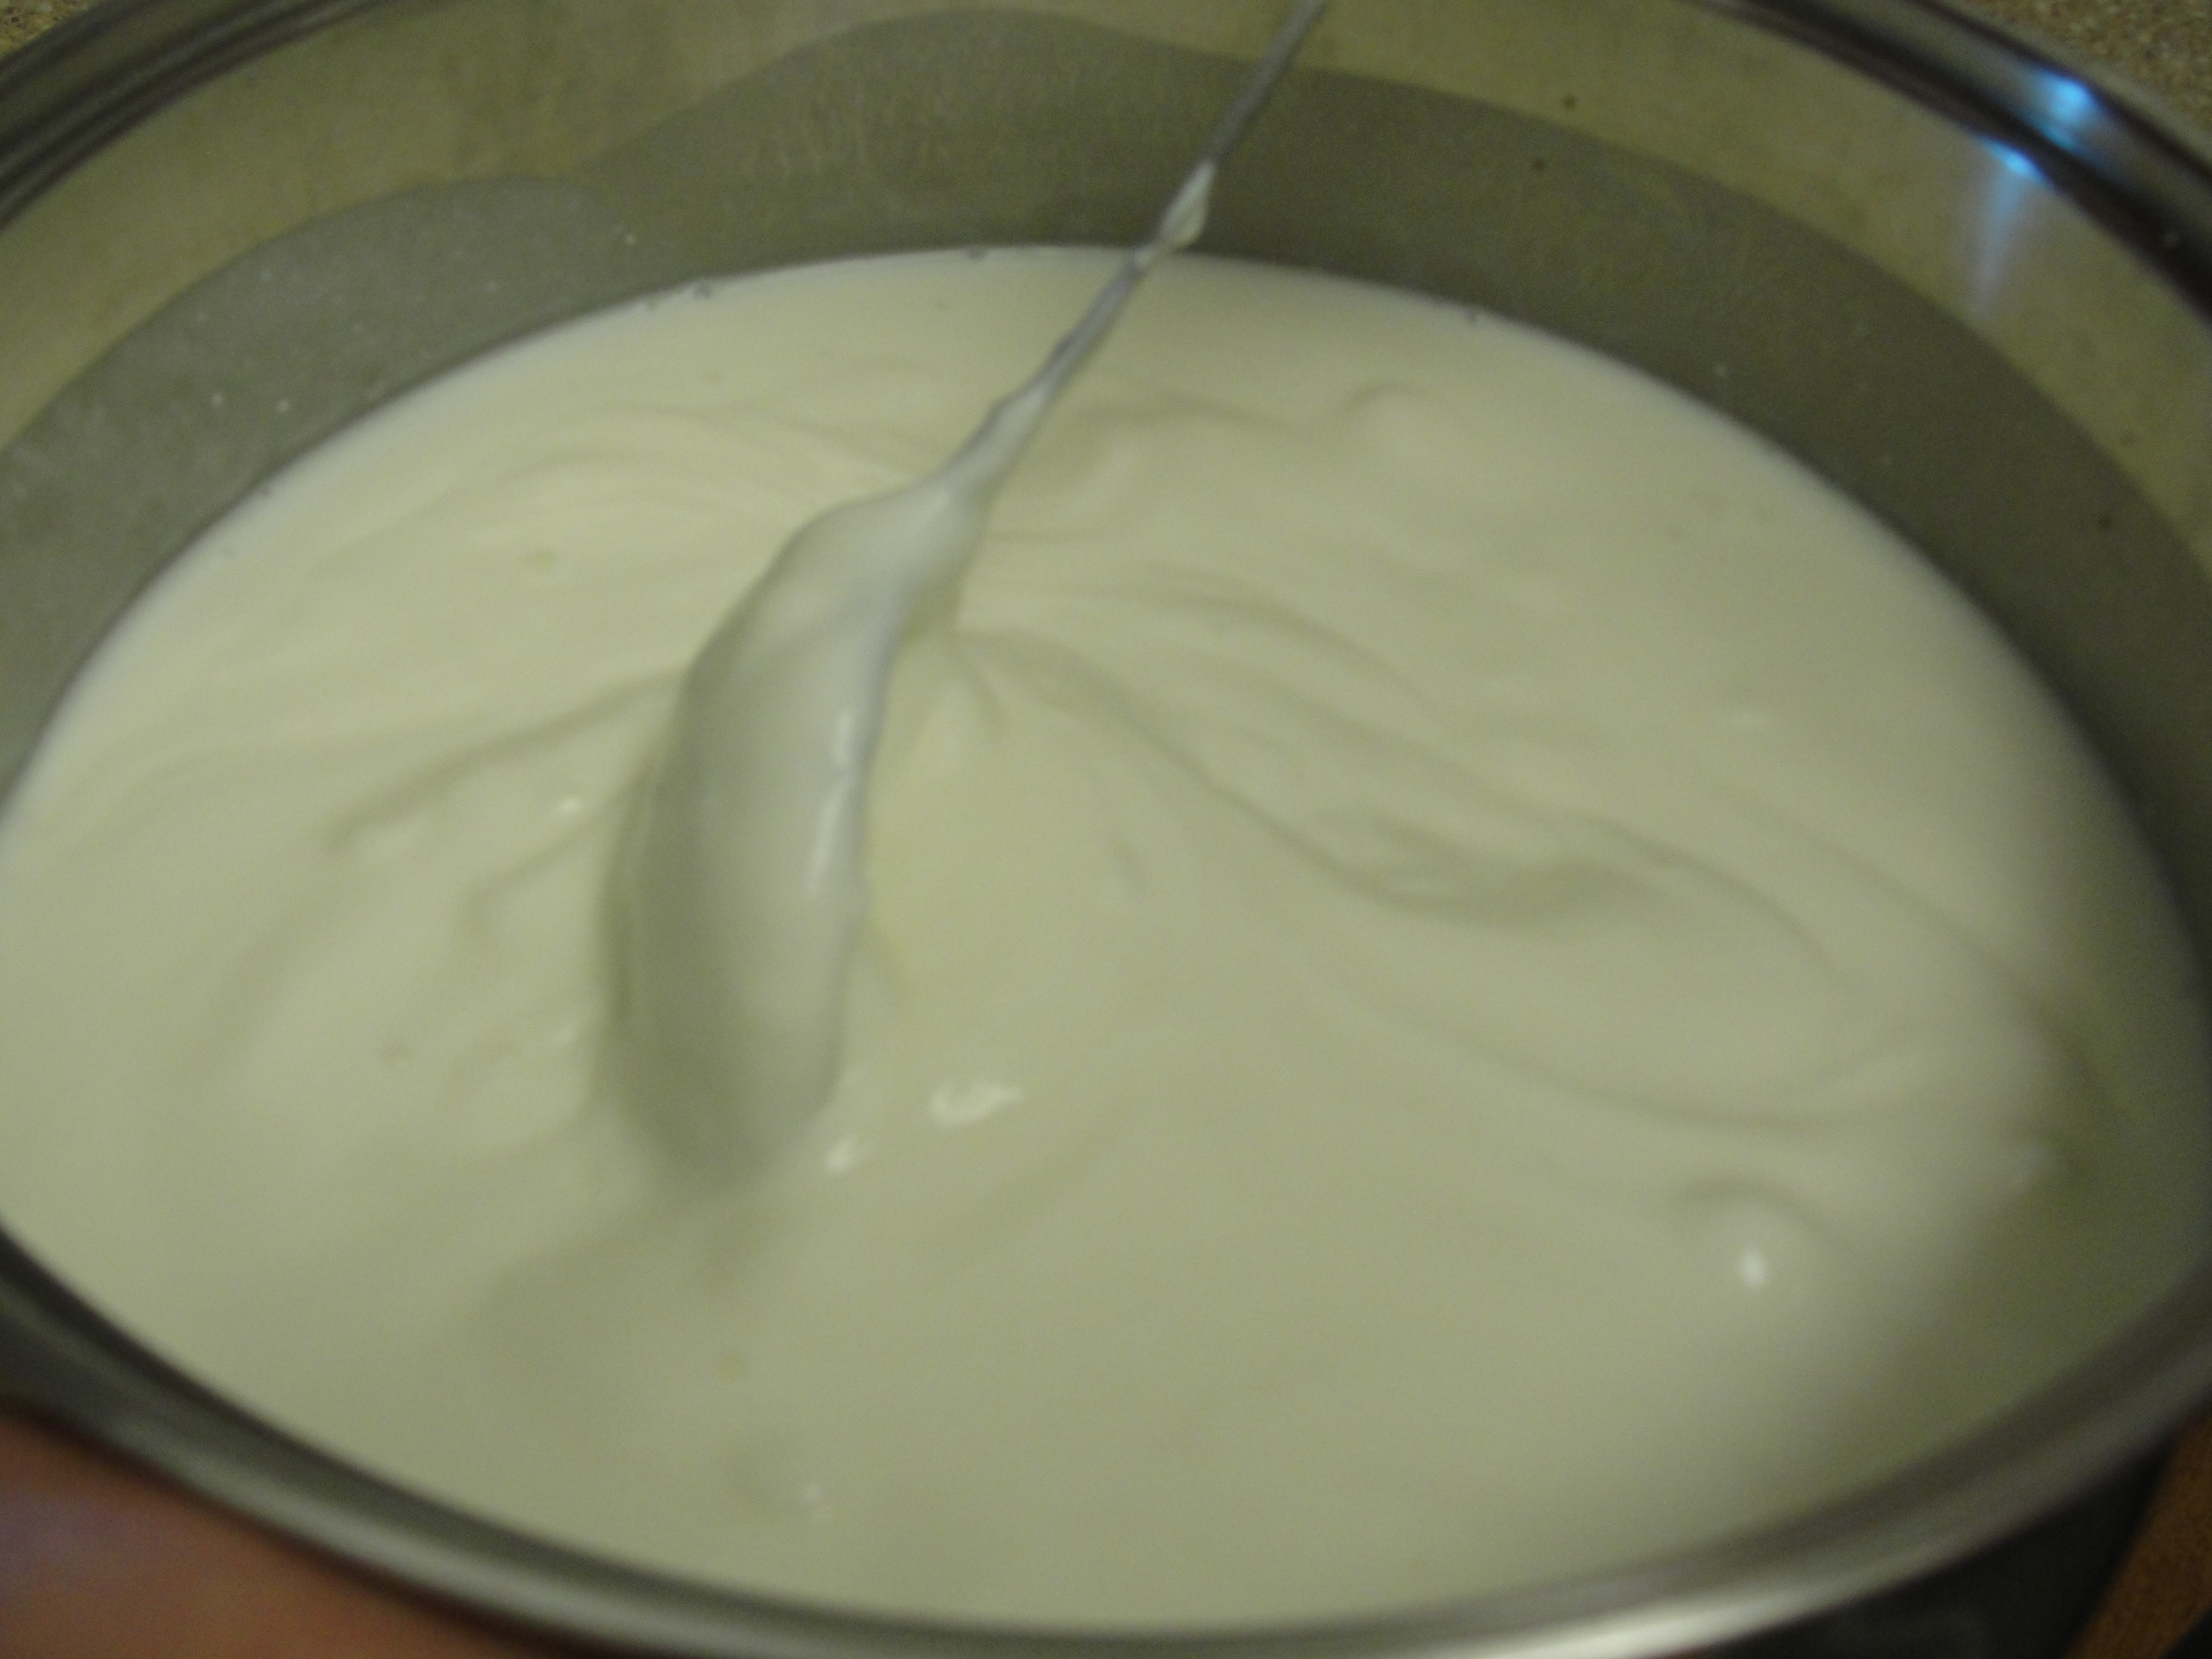
Add one tbsp of salt to it.
Cook on a high heat until it gets bubbly (do not stir).
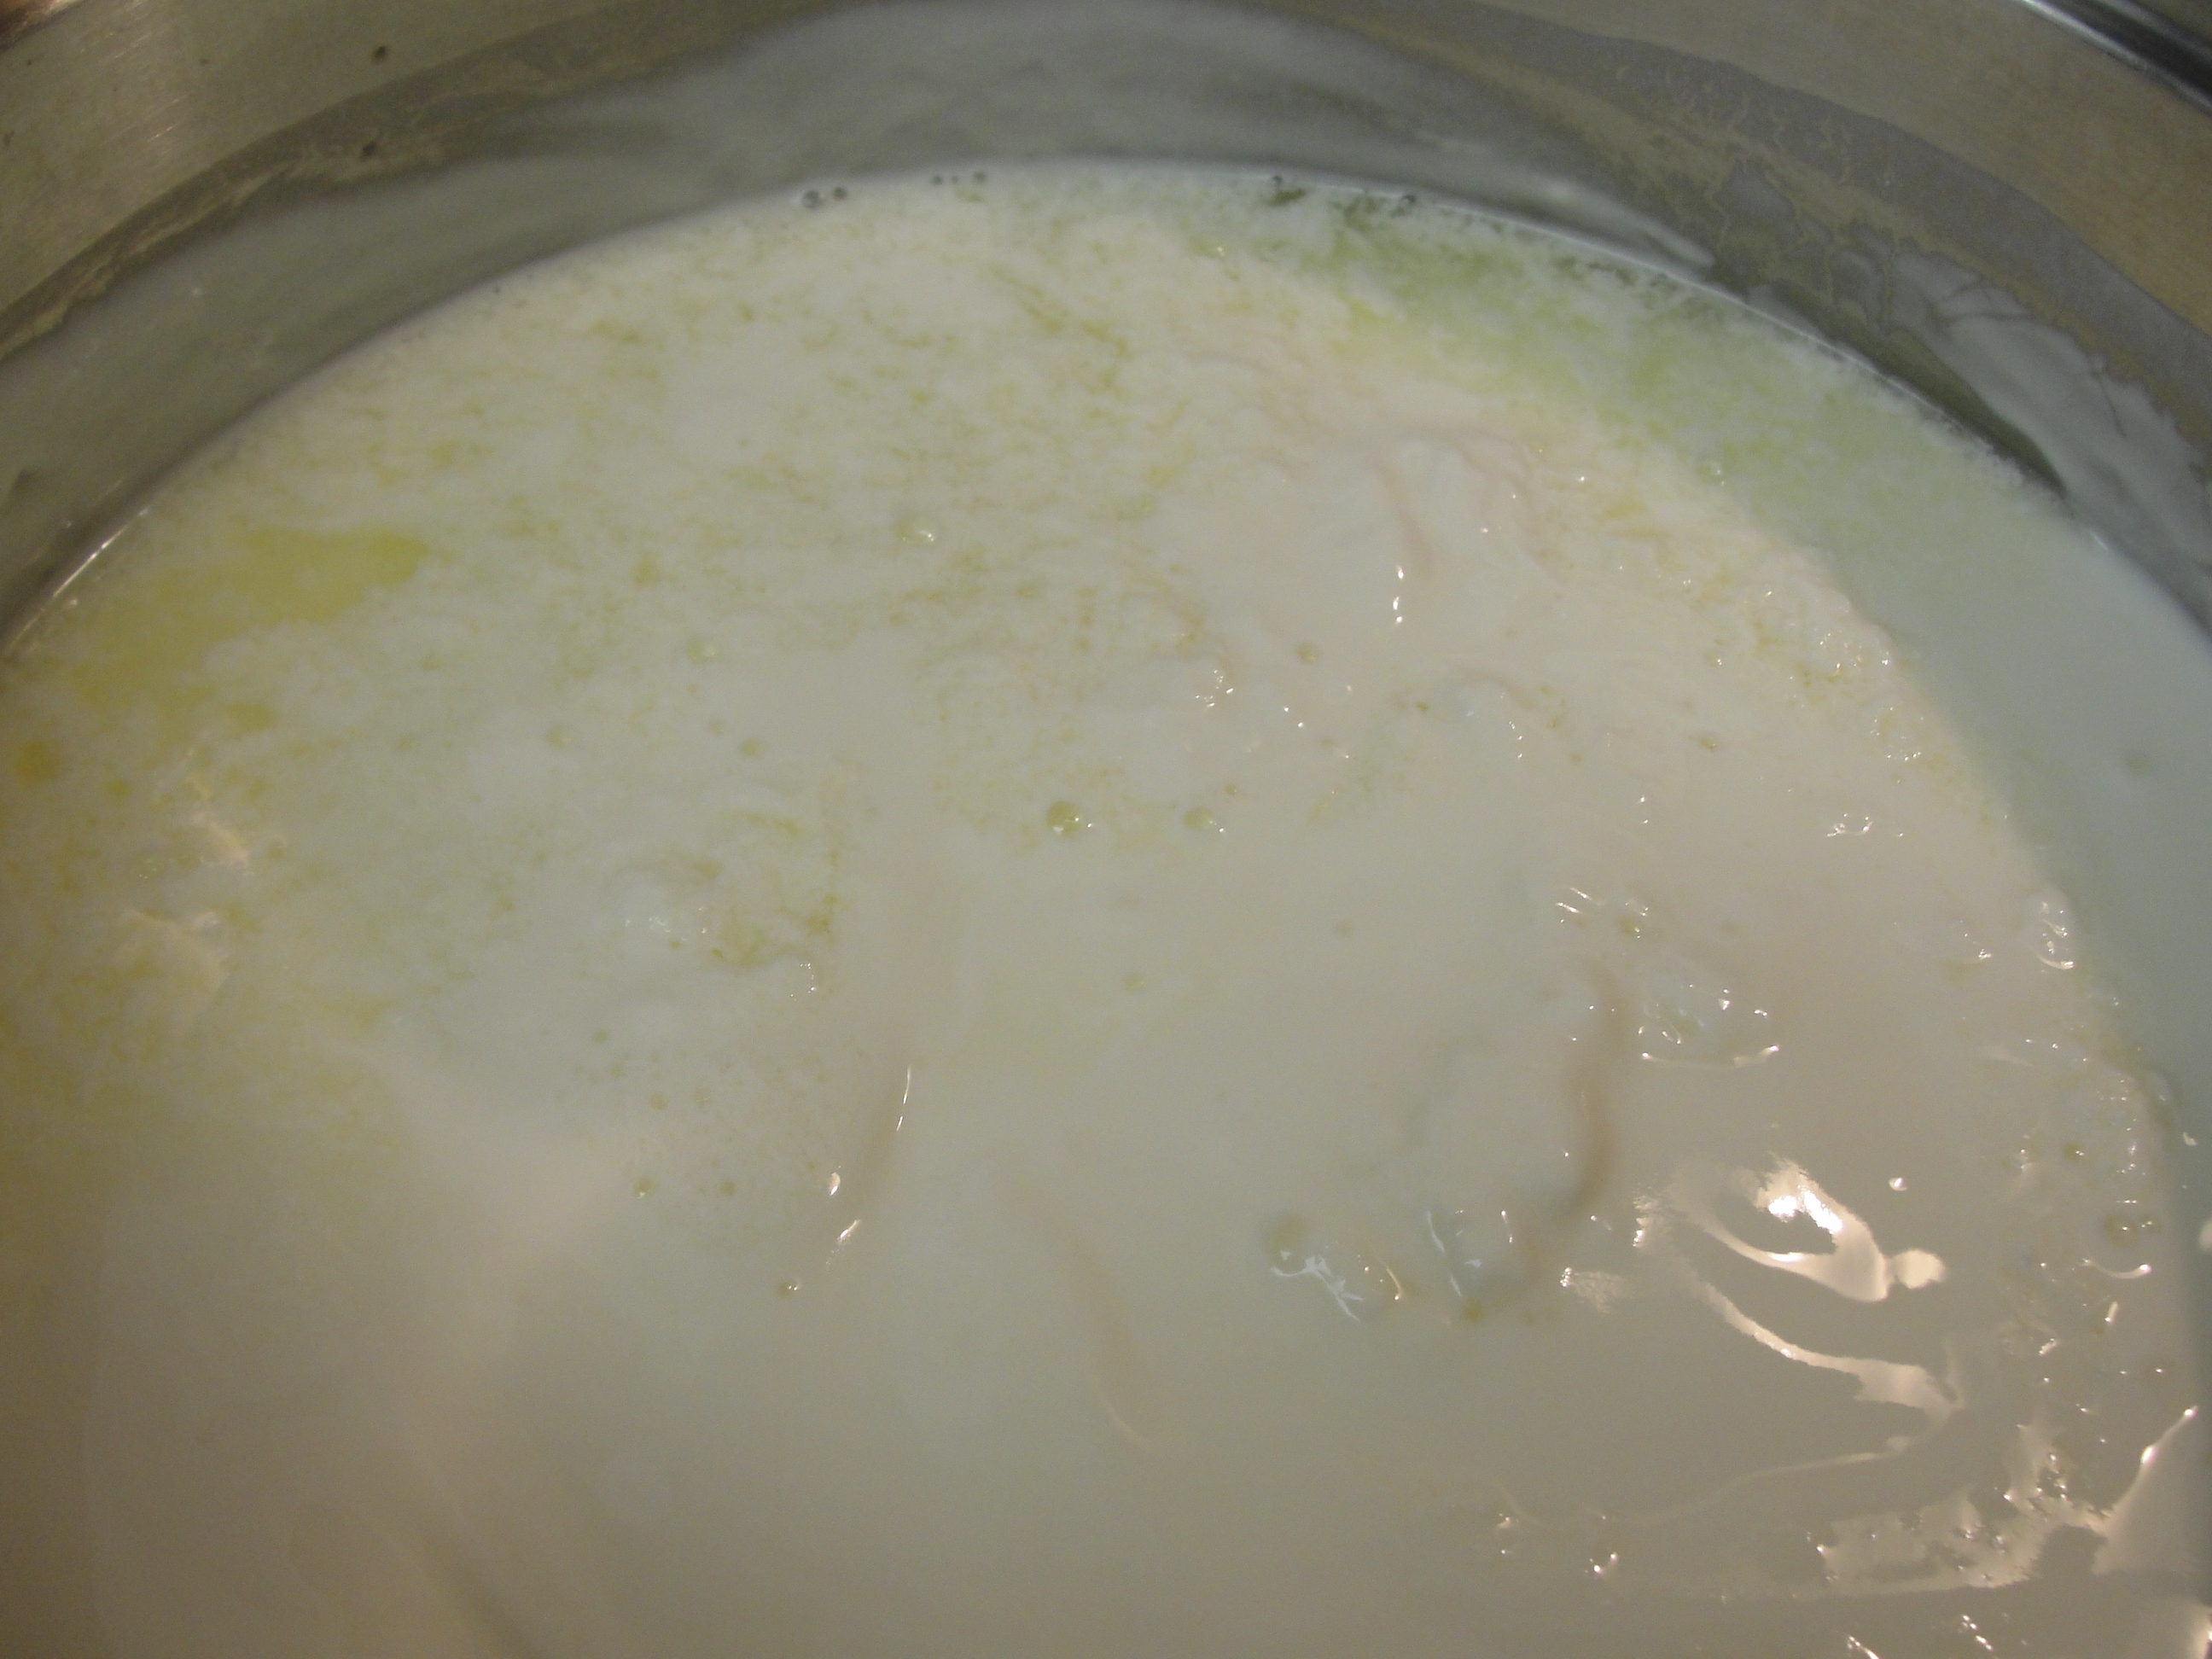

Once it bubbles, you will see the foam on top and the water below. Turn off the flame and let it cool on the side.

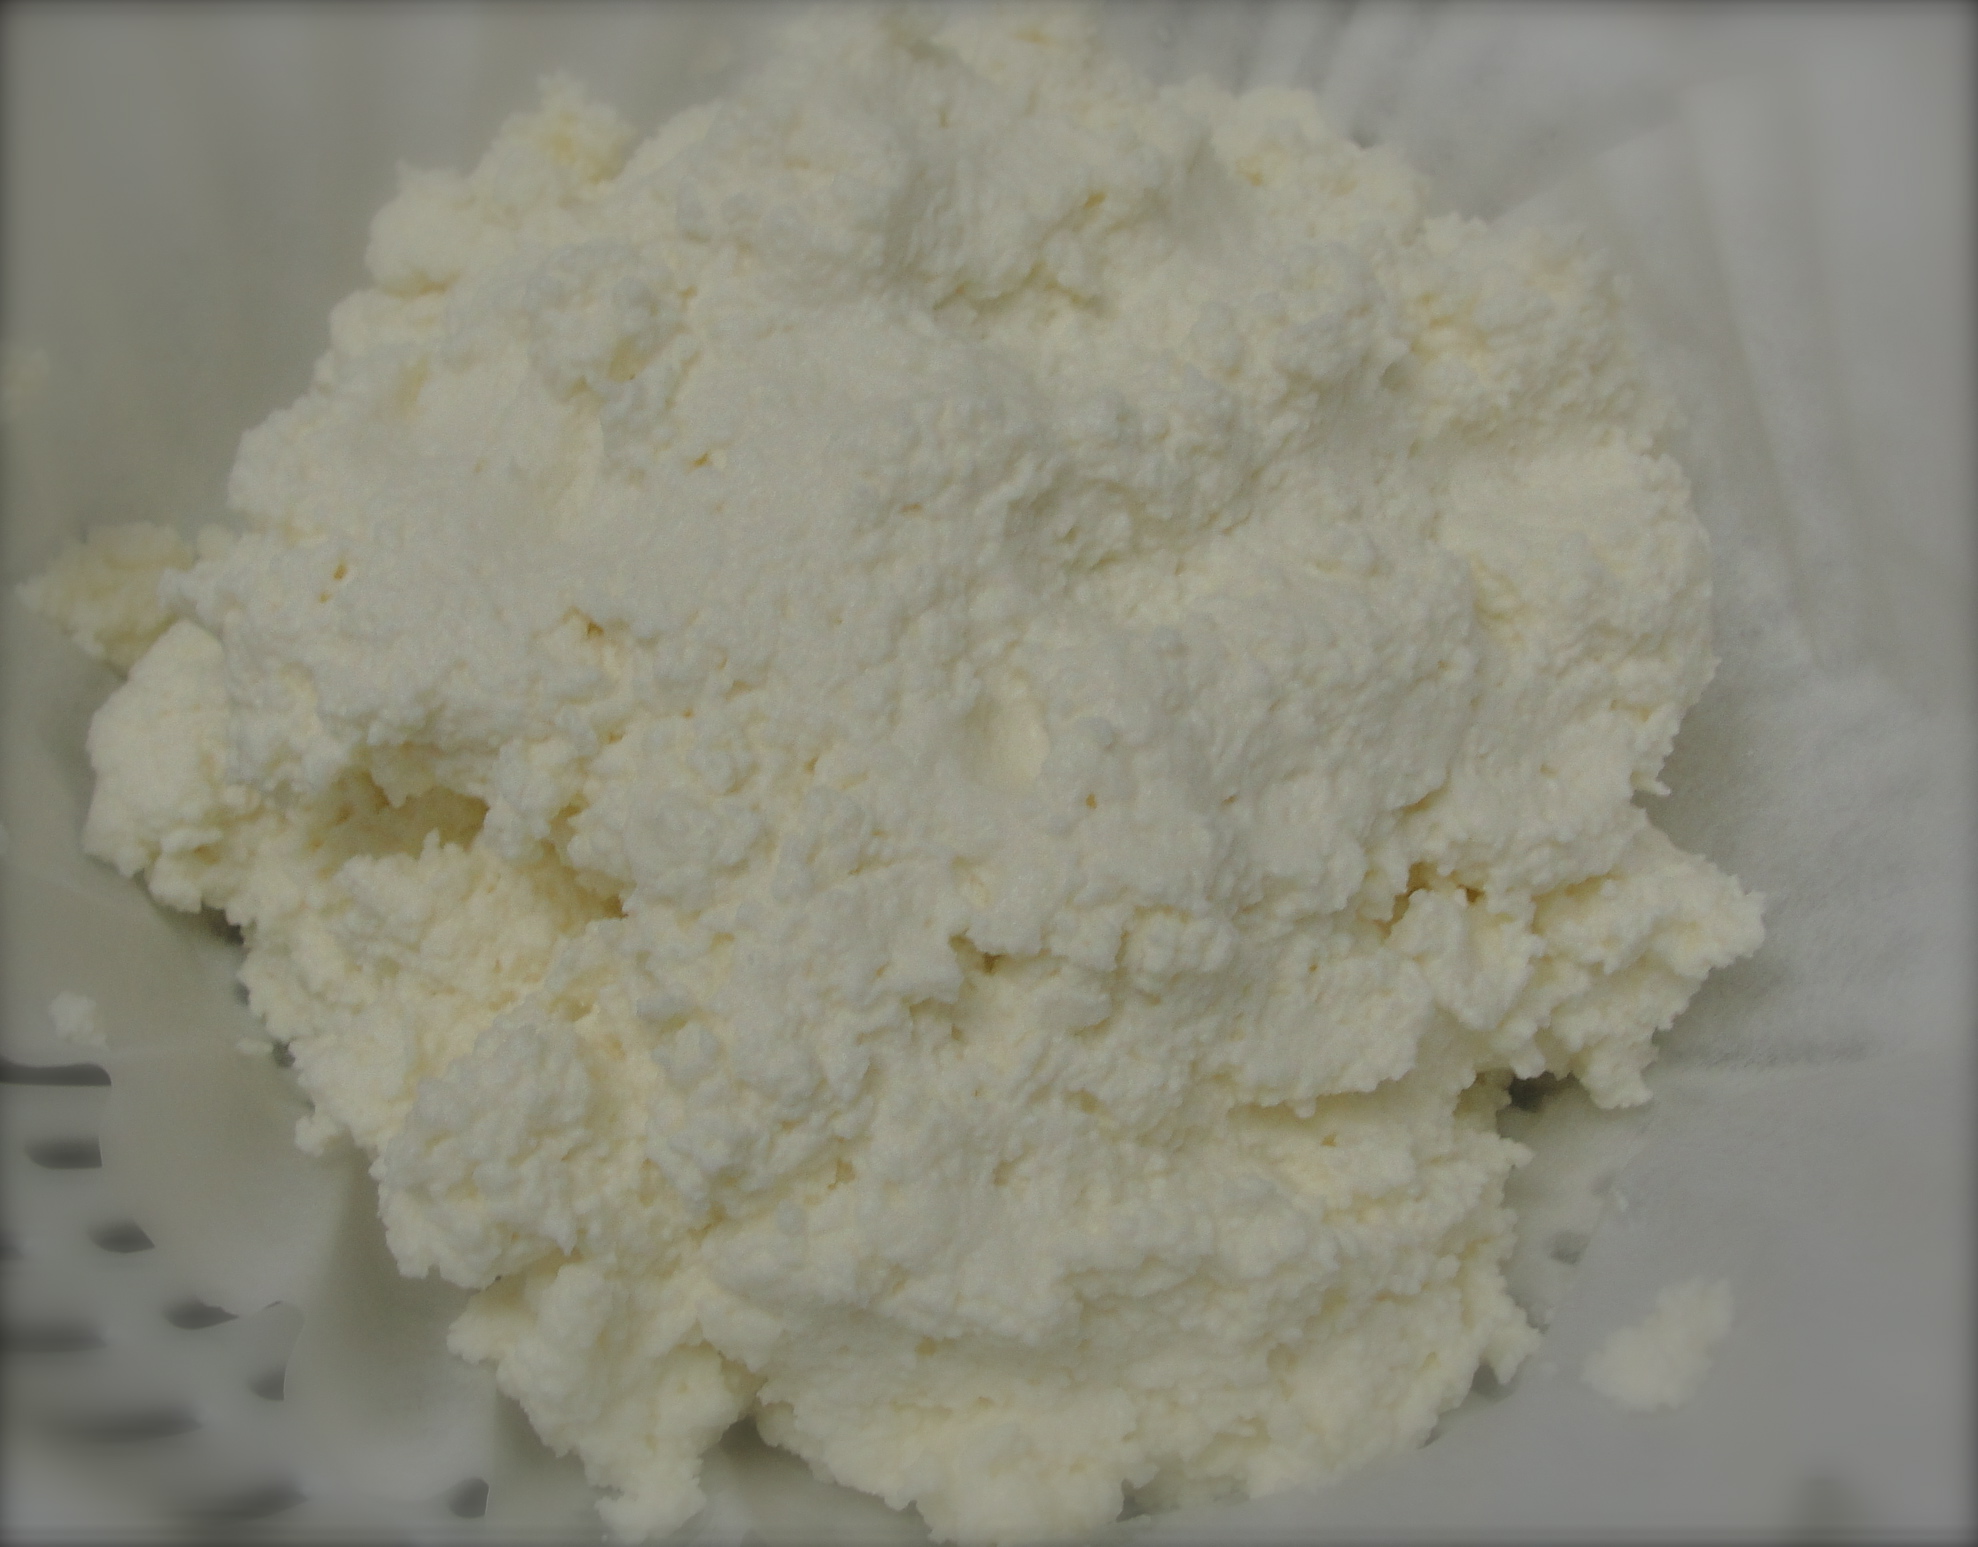
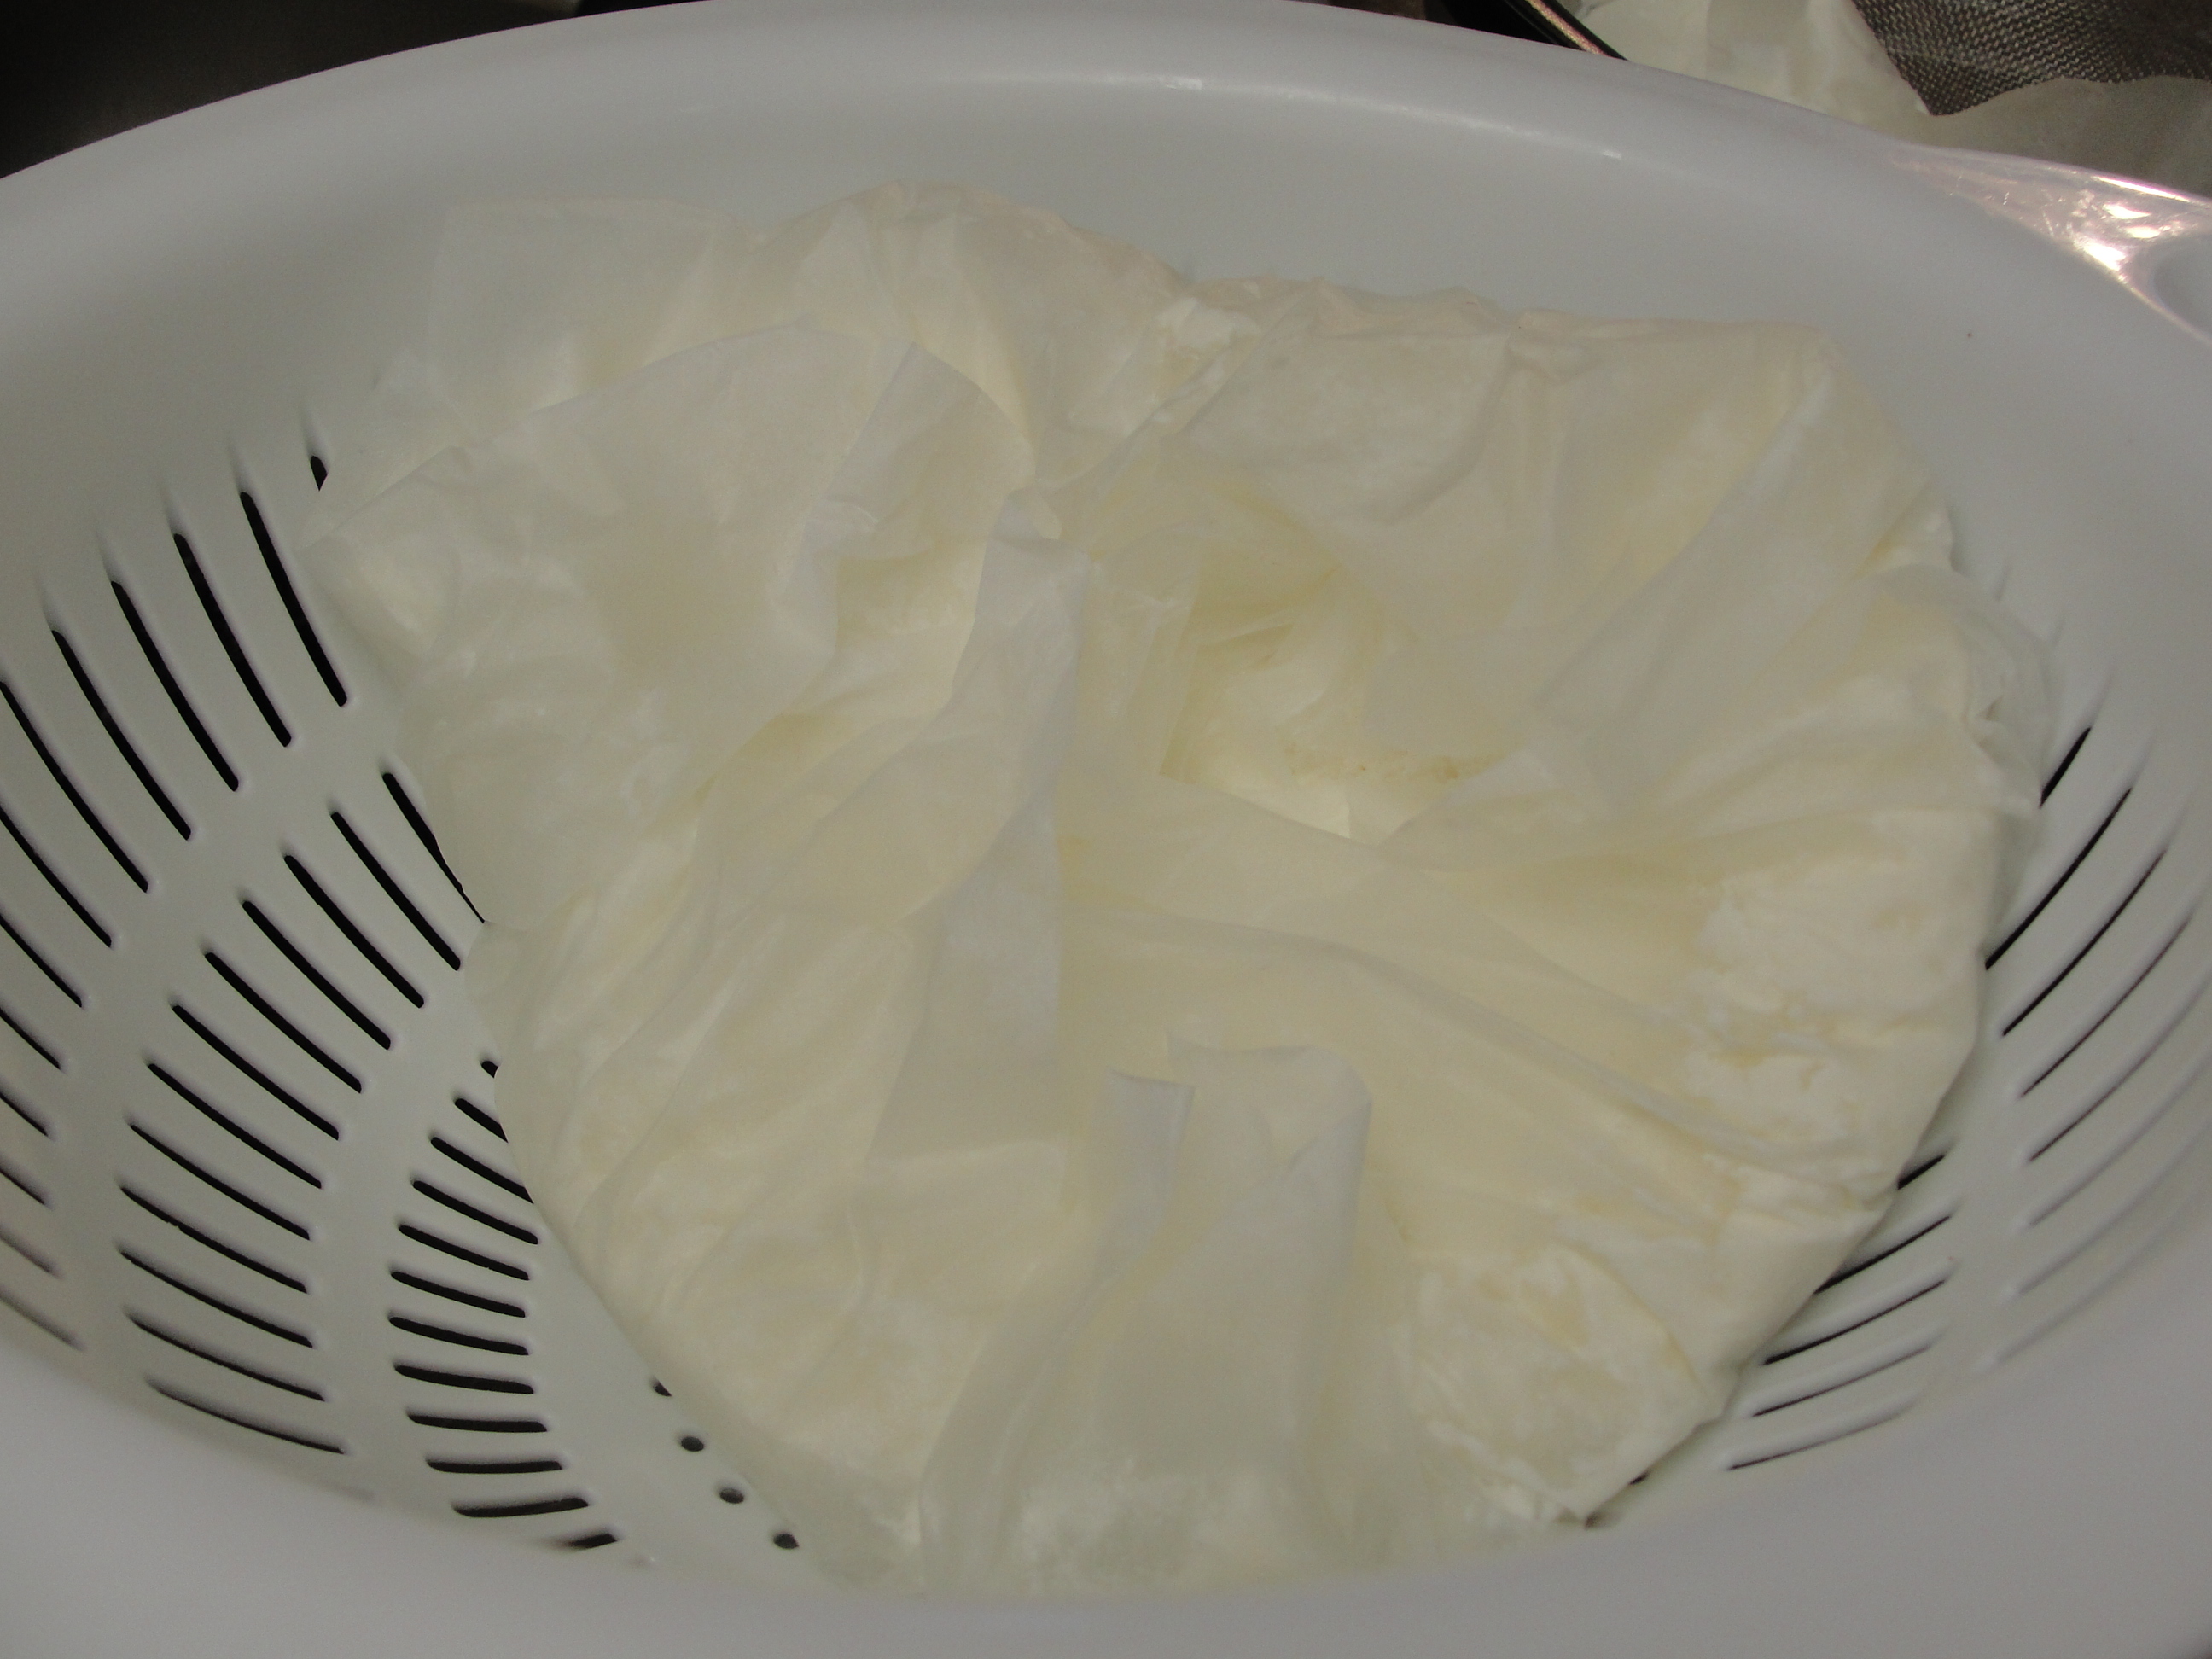
Using a cheese cloth (I used coffee filters this time), place it on top of the strainer and pour the yogurt into it.
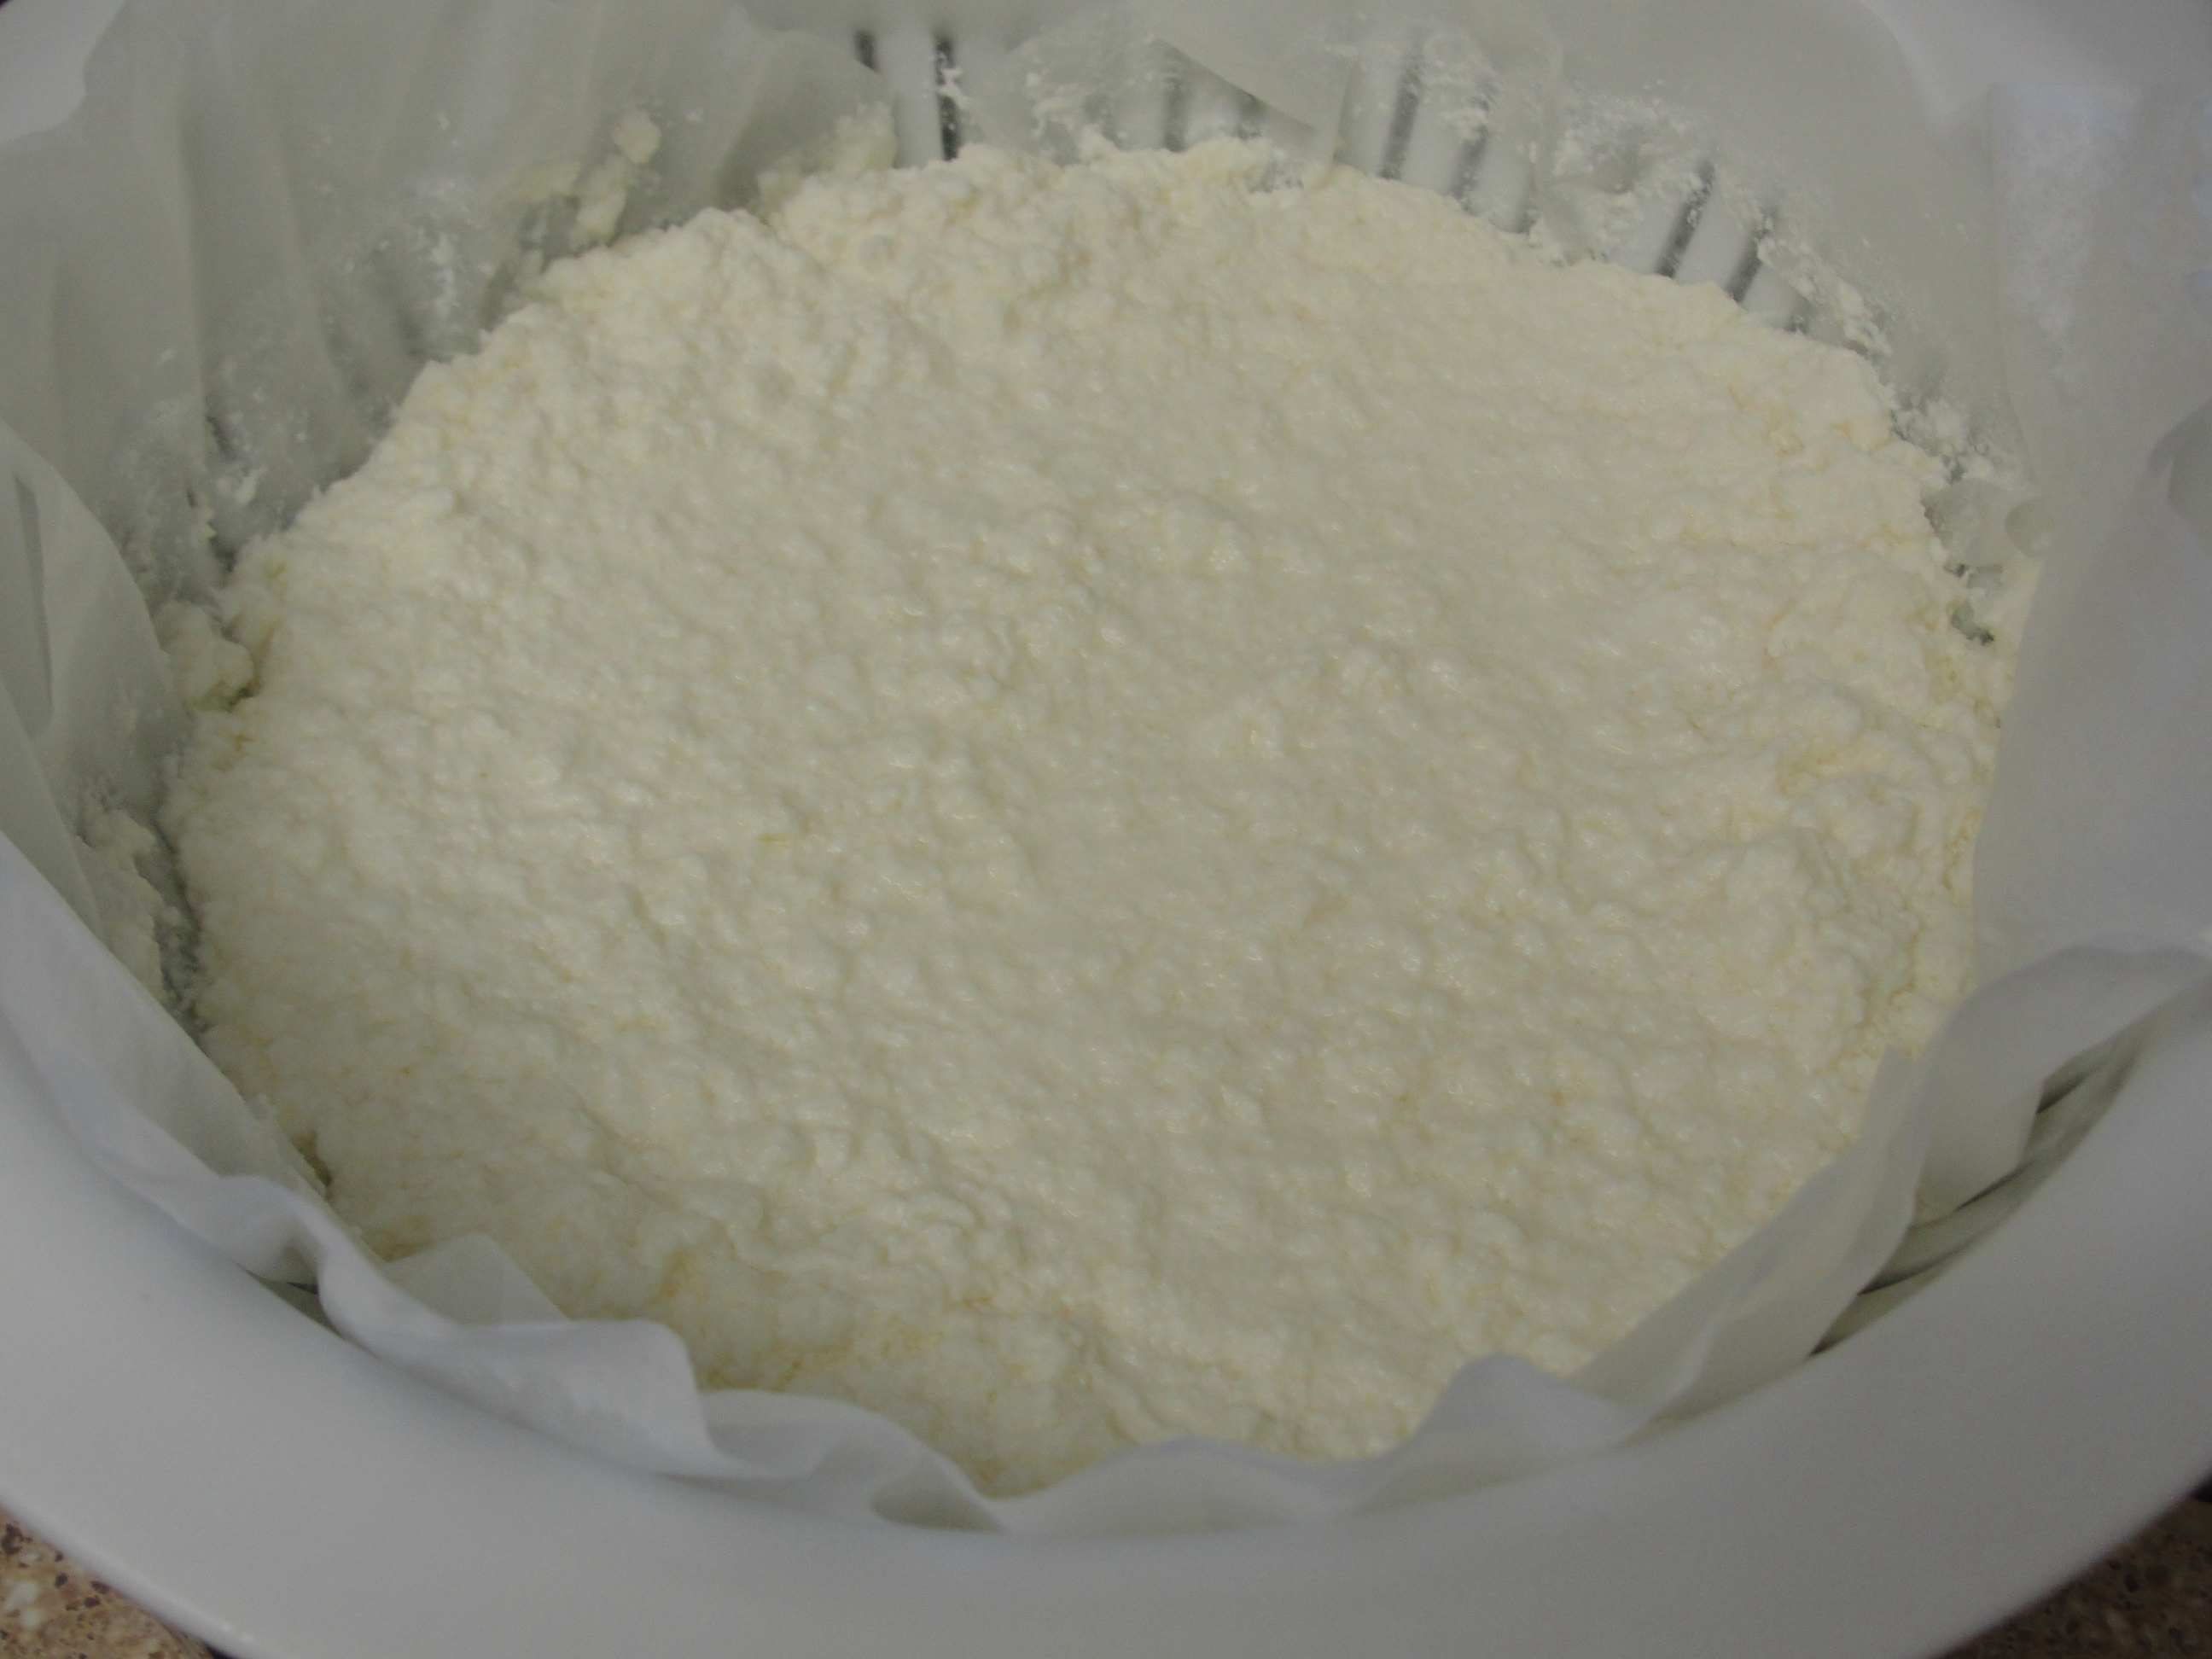
Let it sit until all the water is strained and it it is completely dry.
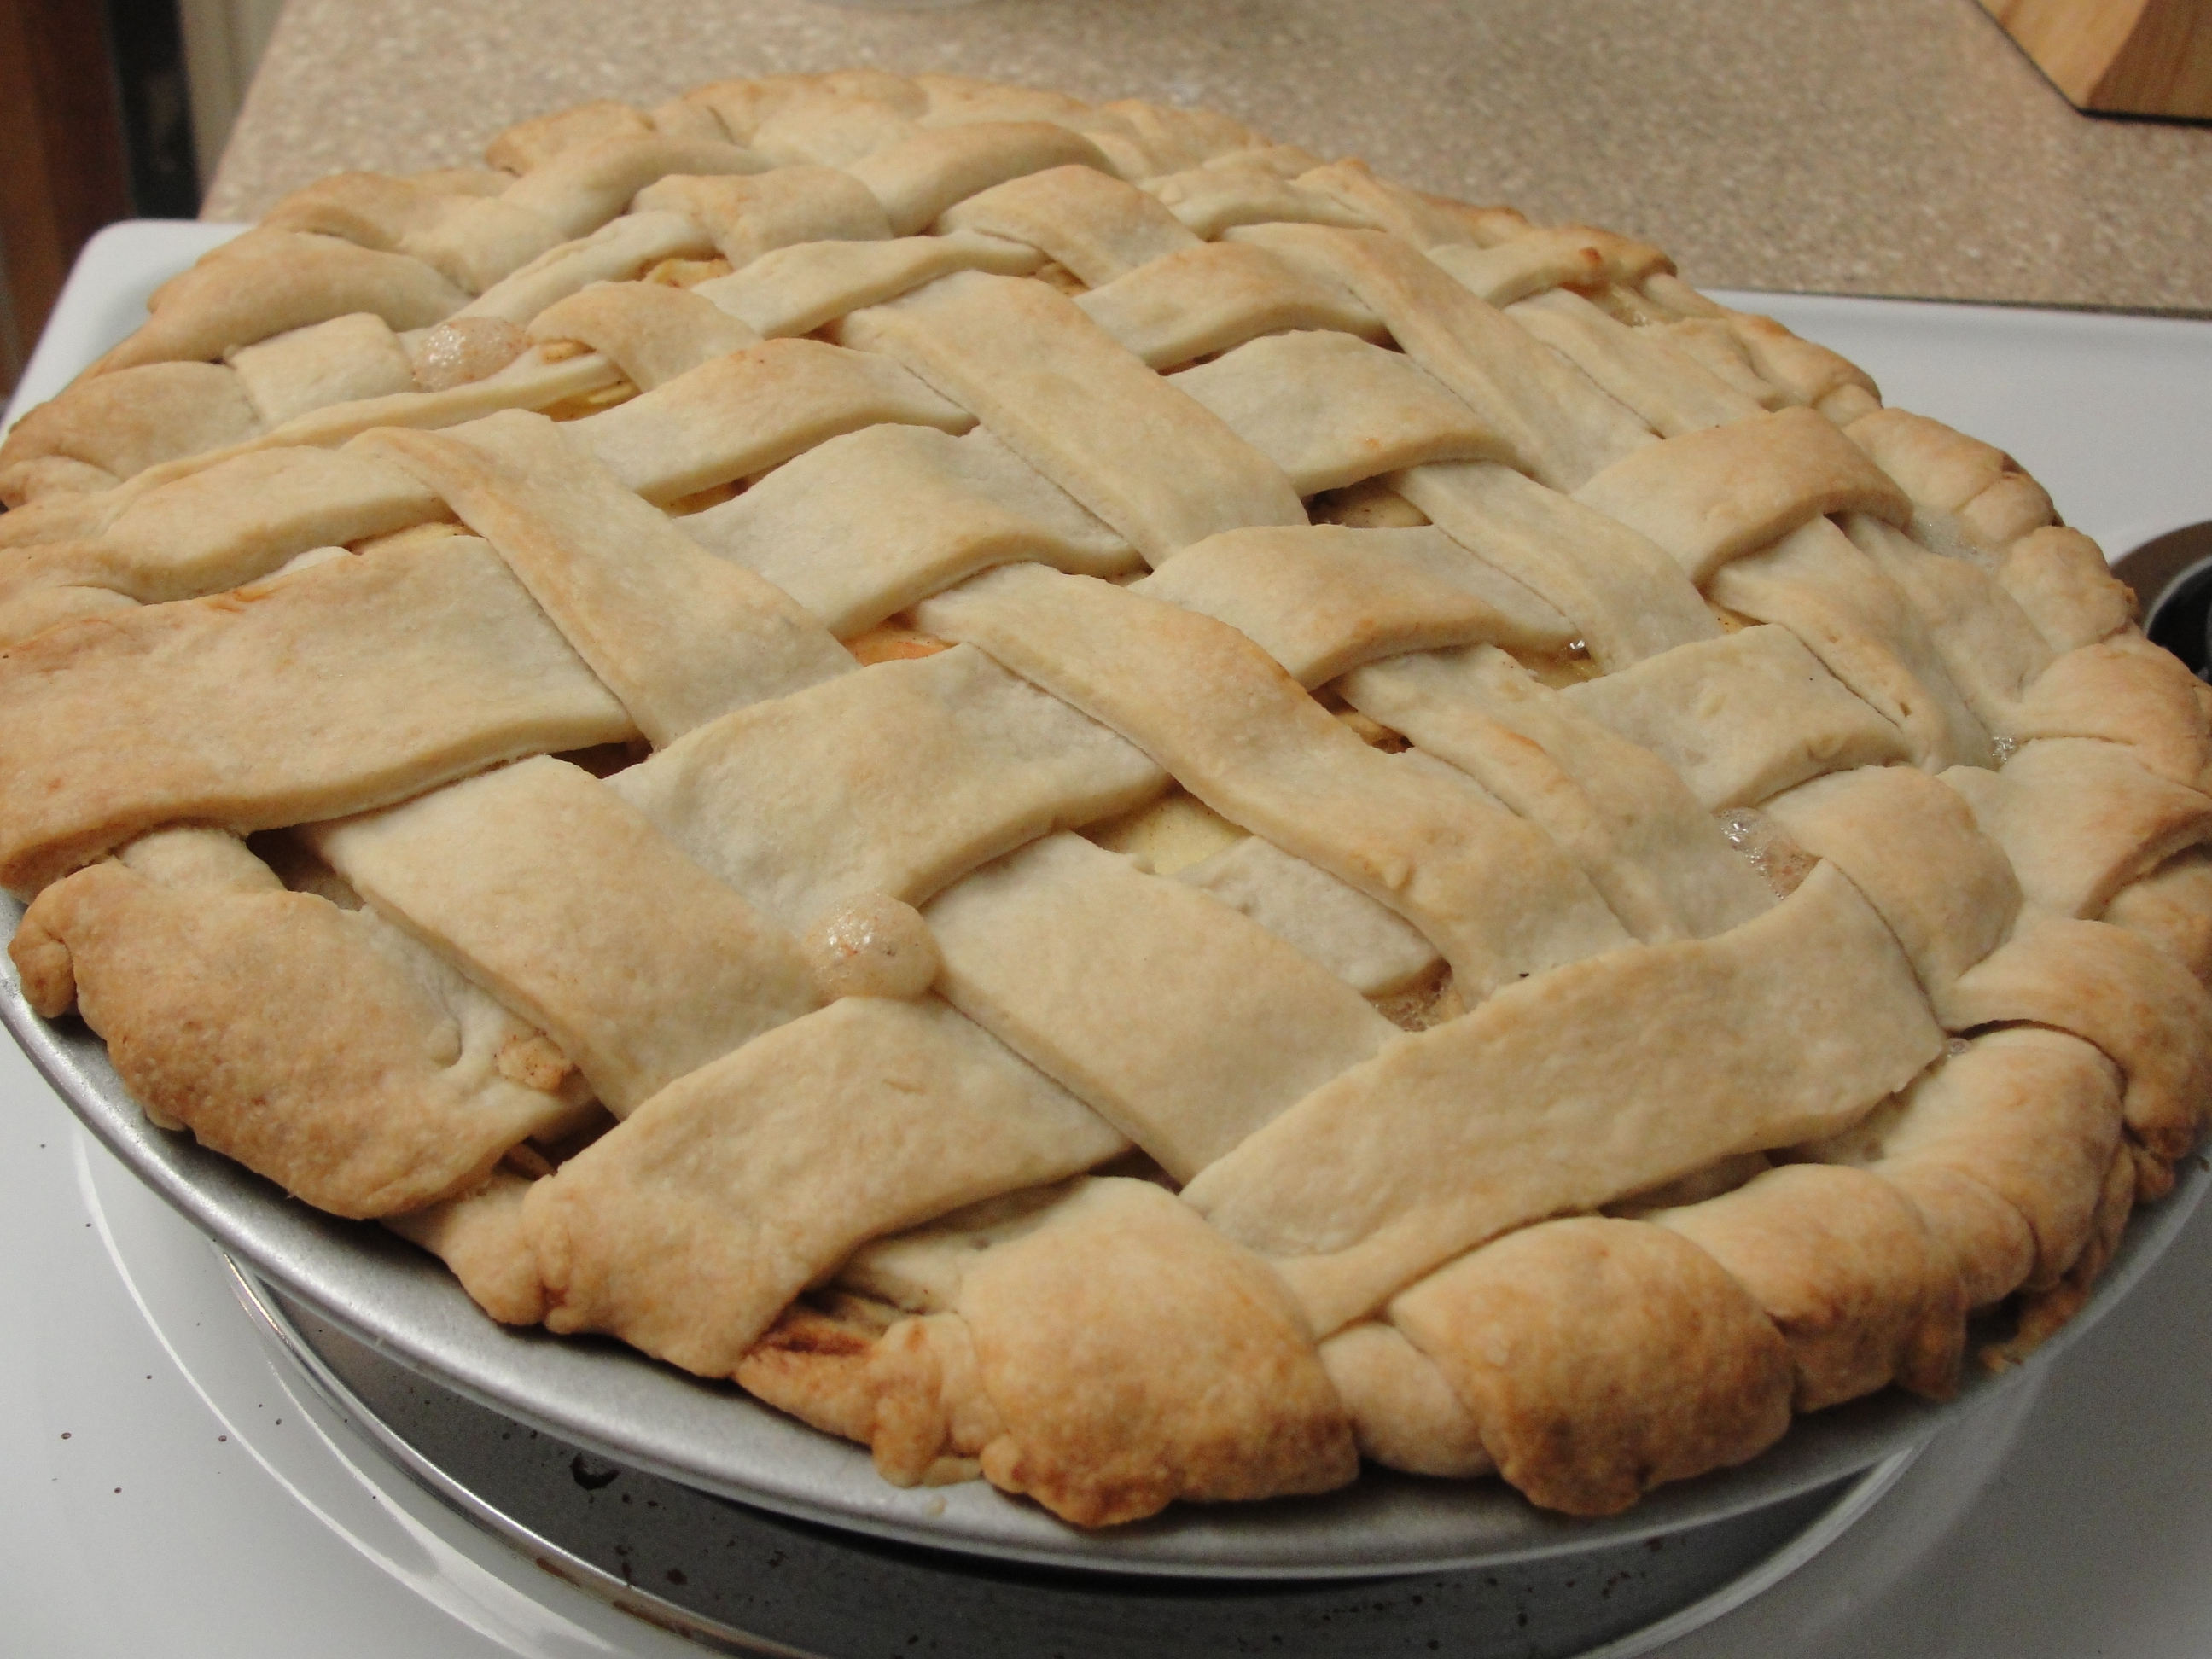
I tried for the first time to design the top crust in the classic way. It was not perfect but I loved the results for my first try.
Here are some pictures :).

 Here is the link to the recipe

